WIA 2015 (repost from PopWood)
Woodworking in America 2015: Some Sessions to Whet Your Appetite
Over the weekend, I edited the full Woodworking in America 2015 site, which will go live later this week (registration is scheduled to open at the end of the month).
I’ve already released the names of all of this year’s expert instructors; below you’ll find one session title and description from almost every one of them (in no particular order).
Don Williams
Keynote Address (at Saturday morning breakfast)
The Studley Tool Cabinet. Get a behind the scenes and inside-the-cabinet look at one of the most iconic tool collections in woodworking. Don and his team had unprecedented access as they worked on the book “Virtuoso: The Tool Cabinet and Workbench of Henry O. Studley.” You’ll hear his stories (it was an amazing journey to even discover where it was), see hundreds of gorgeous pictures by Narayan Nayar of the chest and its contents, and learn what Don has been able to discover about the man behind this stunning piece of work.
Tom Fidgen
The Kerfing Plane & Resawing by Hand. Resawing by hand is a skill every hand-tool woodworker should know – and there are several ways to go about it. Tom Fidgen shares techniques and tools that lead to success: a kerfing plane (that he developed) and the traditional frame-saw approach. With his expert instruction, you’ll soon be sawing wafer-thin pieces suitable for veneer or just cutting thick panels down to perfect size.
Jarrod Stone Dahl
Shrink Boxes. A “shrink box” is an ancient type of container that predates cooperage. The box body is hollowed from green timber, and after cutting a rebate (rabbet) in the base, a dry bottom piece is added. When the green body shrinks, it binds around the dry base. In this session, after sharing the history and photos of surviving period boxes he’s studied, Jarrod Stone Dahl will show you how to make this fun and fascinating historical form. While the technique is simple, you’ll find it offers great freedom with design and decoration.
Christopher Schwarz
Building Staked Furniture: Reviving an almost-forgotten furniture form. For hundreds of years, when you needed a chair, stool, desk or table you built it using a “staked” furniture joint – essentially a conical mortise-and-tenon joint that is back-wedged. With the rise of machinery and the professional furniture-making class, this joint has disappeared – except in some chair joints. In this session, Chris will teach you all about the mechanics of this joint and how to hugely simplify the geometry involved using only your eyeball and a square – no math. And you’ll get to see how this joint can be used for a wide variety of projects.
W. Patrick Edwards
Protein Glues Explained. W. Patrick Edwards, maker of Old Brown Glue, knows his adhesives. And in this modern word of PVA and two-part epoxies, he still swears by traditional protein glue. Patrick will share his more than 40 years of professional experience working with bone, hide, fish, horse and rabbit-skin glues, and teach you why and when they remain an excellent choice, along with how to use them.
Roy Underhill
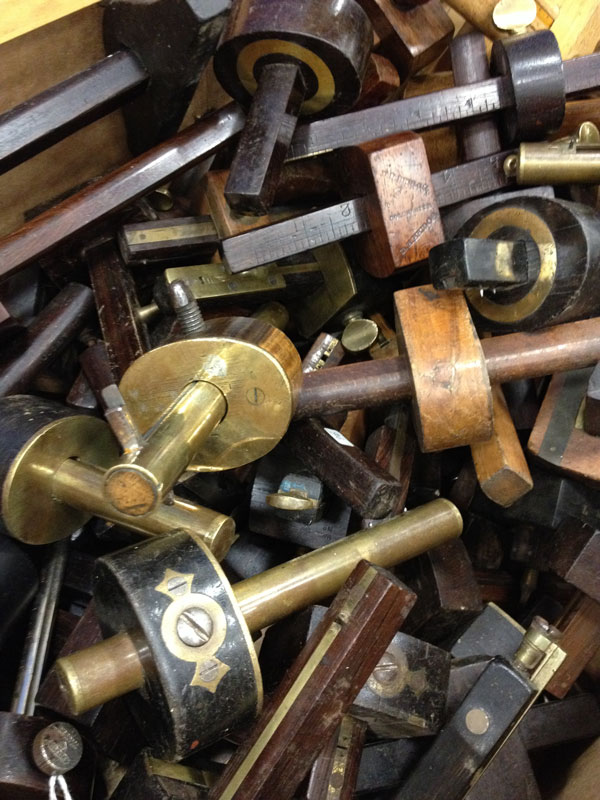
Combination Planes. The 1884 Stanley No. 45 “Combination Plane” and 1897 No. 55 “Universal Plane” were developed to replace an entire rack of wooden moulding, rabbet and dado planes. And they sure do look cool – like a woodworker’s steampunk Swiss Army Plane – but do they work? Roy Underhill puts these fancy (and sometimes fussy) planes through their paces and shows you the benefits and shortfalls of each
Phil Lowe
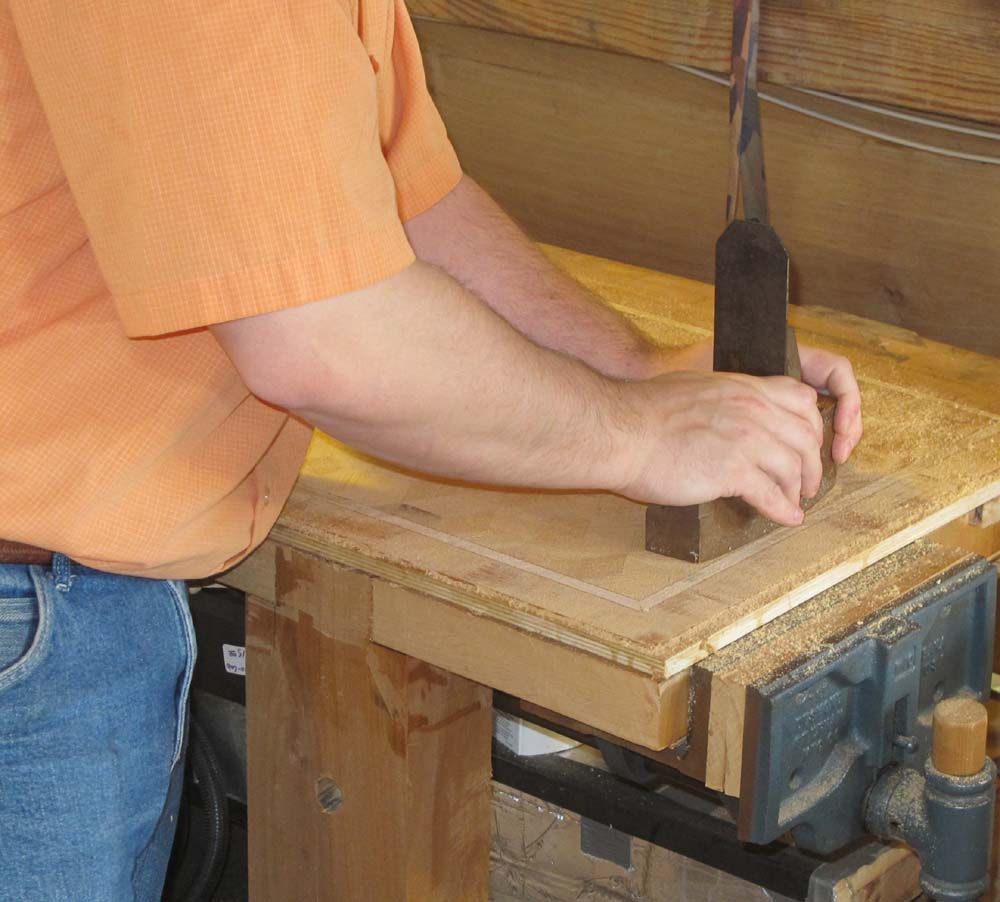
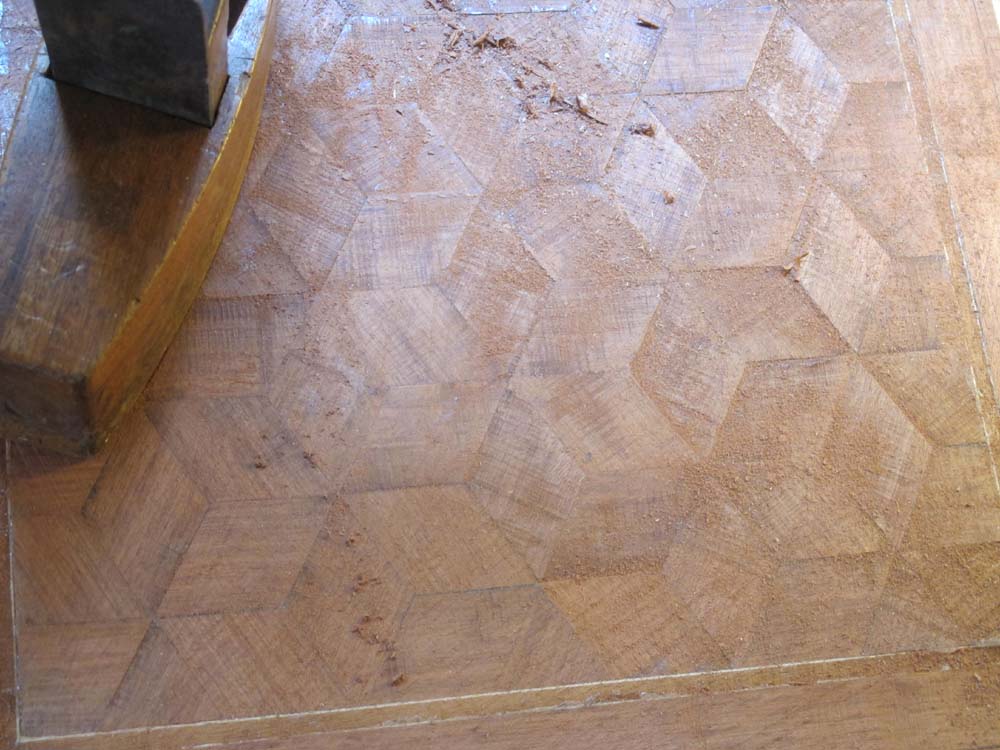
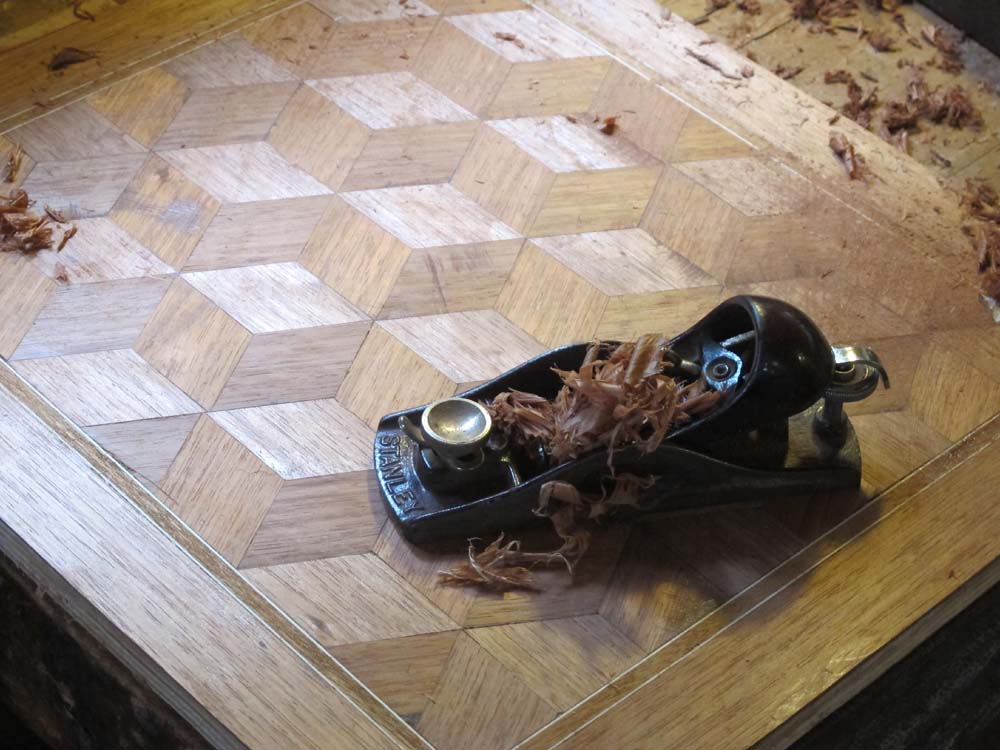
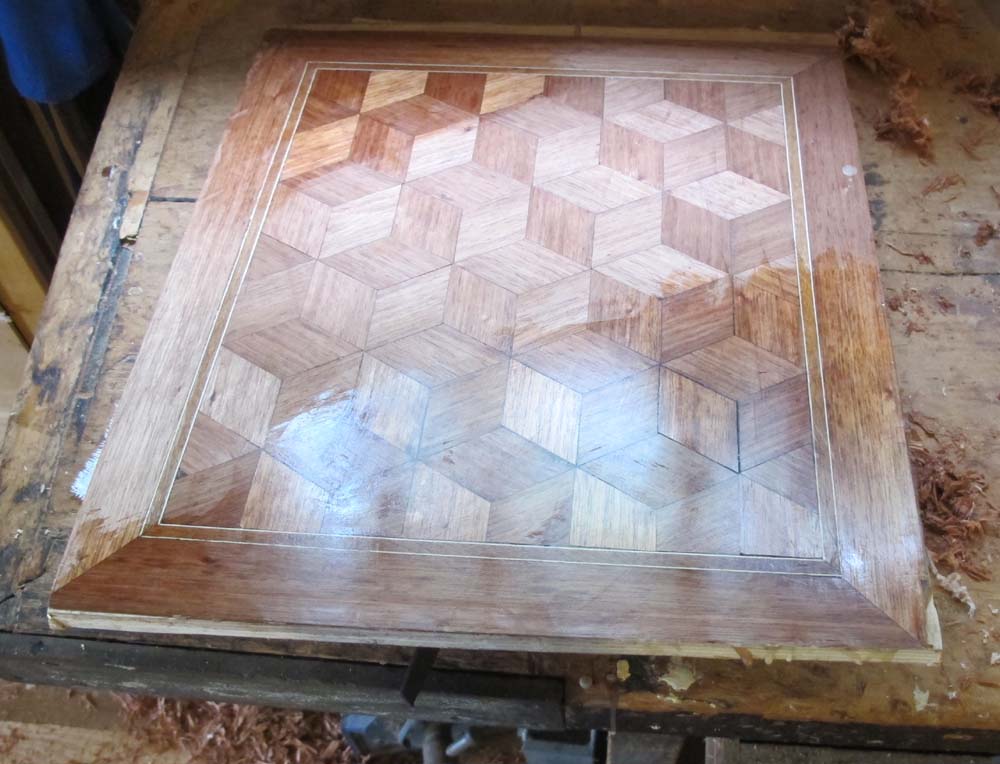
Inlay & Bandings. Phil Lowe shares traditional and contemporary techniques for making and installing inlay and bandings (commonly found on Federal furniture, among other styles). From scratchstocks to routers, you’ll discover myriad approaches for adding signature decorative details to your work.
Alfred Sharp
Design Inspiration for & from Period Work. In this session, Alf Sharp discusses “historical awareness” – part an investigation of the original sources and inspirations for the 17th- through 19th-century furniture styles and pieces that remain popular today – particularly with woodworkers! You’ll be surprised and inspired yourself – whether you’re a furniture designer or build period reproductions (or both!).
Marc Adams
Doors & Drawers. Marc Adams takes the fear out of making and fitting doors and drawers – essential components in so many fine furniture builds. You’ll learn techniques to guarantee success, as well as options for door hinges and drawer runners, and how to fit and install both. With Marc’s approaches, you’ll soon be building doors and drawers like a pro.
Vic Tesolin
Minimalist Woodworking. As the title suggests, “Minimalist Woodworking” is the idea that you don’t need hundreds of square feet of space or thousands of dollars worth of gear. What you do need is the desire to make something with your own two hands. You might be surprised at what you can accomplish with about 50 square feet and some hand tools. Vic Tesolin talks about his own small shop and how he has made it efficient – despite it’s 170-square-foot size, and gives you solid ideas about how to make the most of your tool budget and space – no matter how small they may be.
Jeff Miller
Bent Laminations. If you’ve seen Jeff Miller’s award-winning work, you know the man knows his curves – they’re a prominent feature of his signature Arch Table and rocking chair. In this session, Jeff shows you how he creates the curves in his work using bent laminations, including a discussion of stock selection and prep, various tool approaches, myriad considerations when making bending forms, what glues to use and why, and how to go about it. You’ll learn what you need to know to begin incorporating laminated curves in your own work.
Mark Harrell
Demystifying the Traditional Backsaw. When is a vintage handsaw worth saving and how do you bring it back to life? Mark Harrell gives you the answers, start to finish. He’ll teach you how to identify good candidates for restoration, then lead you through the process from disassembly to cleaning to handle work to reassembly and retensioning to truing up the saw and sharpening it. Plus, Mark shares the “continuum of a toothline,” to help you learn what saw gets sharpened how, and why.
David Marks
Gilding Vessels. The gilding processes David Marks introduces in this session can be applied to any surface that will accept paint. First he’ll discuss surface preparation and show you examples of projects in various stages. Then, you’ll see how to apply “gilder’s size” to the surface and the techniques for applying genuine silver leaf. In addition, you’ll learn how to apply copper leaf and dutch metal (composition gold) to your work to create dramatic patterns and effects.
Mike Siemsen
Workholding: With & Without a Vise. Mike Siemsen knows workholding – heck, he’s built a bench using 5-gallon buckets as a bench on which to build it. In this session, he’ll show you how to hold your work solidly on almost any surface. Sure, he’ll show you how to make typical woodworking vises such as a face vise and end vise work even better, but he’ll also give you solutions for when those vises don’t work. Or for when you have no vises. Plus, he’ll share strategies for holding round and curved work.
Scott Meek
3D Shapes with Rasps. Scott Meek wields rasps on an almost-daily basis as he shapes his sculptural wooden bench planes, and as a result, he’s a master at using the tool. With just a few tools, he can quickly create sinuous and fluid shapes that will blow your mind. In this session, he discusses tool selection and shows you the different uses for various rasps – then he shares his “secrets” by showing you how he uses them. With Scott’s instruction and a little time at the bench, you’ll soon be creating perfect sinuous shapes in your own work.
Deneb Puchalski
Joinery Planes. Joinery planes are some of the easiest hand tools to use – once you get them sharp and set up. In this session, Deneb Puchalski shows you how to get a keen edge on the cutters for rabbets, skew-rabbets, plows, routers, dado planes and their nickers. Some of these irons are odd shaped – such as the router’s L-shaped cutter – but can be sharpened easily once you know a few tricks. You’ll also learn to deal with grinding and honing skewed blades, which must be sharpened perfectly or they won’t work. And once the irons are sharp, using the tools is a snap. Deneb shows you how – and shows what these powerful planes can do in your shop.
Will Neptune
Carved Elements for Period Furniture. Eighteenth-century furniture often relies on carved embellishments to articulate form and lead the viewer’s eye around the object. Common designs were developed to be carved efficiently and carving still requires a systematic approach. In this session, Will Neptune will present several designs, and share strategies for designing patterns that relate the gouge sweep to the work, to help you make a set of parts that match. You’ll learn about several common carvings, from pattern making and layout through the carving process. You’ll also discover how simpler carvings, including a shell on a cabriole leg and waterleaf on a Duncan Phyfe leg are a good way to learn the basic steps, and how those basics can be developed to handle more challenging forms including ball-and-claw feet and an acanthus leaf.
Nick Lieurance
Cool Kitchen Cabinet Hardware. If you want to build your own kitchen cabinets but are overwhelmed by such a large project and the array of choices and decisions, this session will help. Nick Lieurance, online education manager for Popular Woodworking, spent 12 years building and designing custom cabinetry. To start, he’ll share with you his expert tips for online research tools, appliance specs and dimensions…and then get to the fun part: deciding from among the array of cool kitchen cabinet hardware (drawer slides, hinges, organizational hardware and more — all the cool new innovations!).
James Hamilton
Make Your Own Woodworking Machines. Who needs expensive woodworking machinery? This session takes jig making to a whole new level! James Hamilton (a.k.a. Stumpy Nubs) will show you how to make clever and precise woodworking machinery, tools and jigs in your own shop. From homemade band saws to unique sliding router tables, his designs are about innovation as much as saving money. Jim’s philosophy is, why buy it when you can make it yourself – and often make it even better. You’ll learn some of the secrets to designing accurate jigs and how homemade tools can open up a whole new world of woodworking in your shop!
Donna Hill
Advanced SketchUp. If you know the basics of the three-dimensional modeling program SketchUp but want to expand your knowledge to complex shapes and tricky joinery, in this session, you’ll learn how. Donna Hill, the project illustrator for Popular Woodworking Magazine, shows you how to create flowing curves, dovetails, moulding details and more.
Dave Jeske
Care, Feeding & Use of Marking Knives. The first tool ever offered by Dave Jeske of Blue Spruce Toolworks was a marking knife, on which he founded his successful tool-making business. In this session, Dave disusses the differences among various forms of marking knives (spear point, single bevel, striking knife and more), how to sharpen them and how to keep them performing like new. Plus, you’ll learn tips and tricks for wielding a marking knife like a master.
Kevin Drake
How the Body Turns. In this session, Kevin Glen Drake, founder of Glen-Drake Toolworks, will drill down on how the body functions behind the lathe, why “catches” and other common problems happen and – most important – how to overcome them. Kevin’s favorite turning tool is the skew chisel, and he’ll explain the subtle differences between flat skews, round skews and oval skews during this session. Kevin believes that understanding how tools work is the key to using them successfully, so you will leave this session with much to think about.
Megan Fitzpatrick
How to Make a Magazine – And How You Can Help. In this session, Megan discusses the changing world of publishing (and Popular Woodworking), and how we strive to make print and eMedia work together to create solid woodworking content “across channels.” Plus, she shares with you how to we decide what goes into every issue, what it’s like to work with us on an article, video or online education – and how you can be a part of it.


Recent Comments