A New Wax Mold
Since I am ramping up for mega beeswax production (about 500 pounds to process and pour into blocks for sale), I thought I should make a new rubber mold more to my liking. My previous mold design was a spur of the moment sorta thing that I needed in a hurry. It has served me well for a while, but I never really liked it all that much. So it was time for a new one.

The new one is based on a poured-wax block of 1/4 pound, whereas the previous one was approximately 6 1/2 ounces, not exactly a nice round figure. Once I determined the new mold size of 4 inches long by 2 inches wide and 1-3/4 inches thick, I needed to make a design to match the size of the face. I settled on a background of the barn with the word “BEESWAX” overlaying it.

I printed out the pattern I created, and using spay adhesive glued it to some 1/8″ mat board,

then glued that to a wood block.
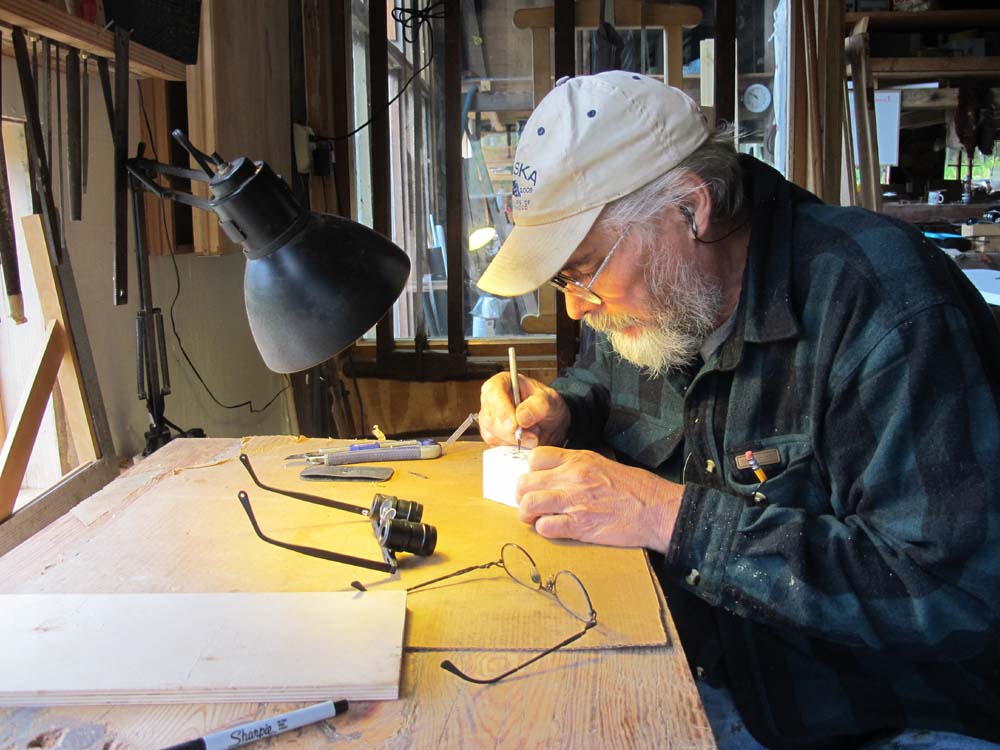
With a scalpel I incised the completed design,

then dipped the whole thing into molten wax since the edges of the paper were a tad ragged in some places.

When the wax hardened I re-carved the master pattern to show some various relief levels in the design,

and readied everything for pouring the rubber mold by first mounting it to a piece of cardboard using hot melt glue.
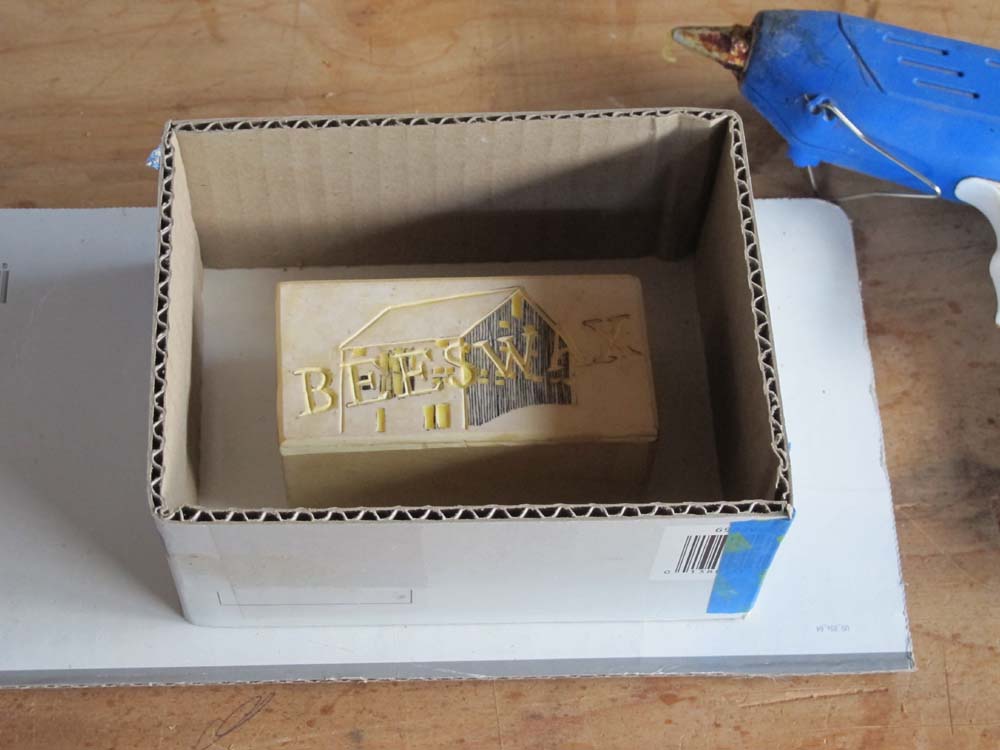
Then I built the cardboard dam around it (I could not find my molding clay and Lego blocks I normally use),

and filled the flask with RTV silicon rubber.
Done! I can’t wait to see how it turns out.

Join the Conversation!