Desk Finishing – I
With the construction finally completed it was time to dive into the part of the project that had no down side, the part where it was all fun all of the time — finishing. In my back-and-forth with the client I decided to shoot for a non-filled-grain look, a general tonal consistency, and with craqueleure underneath the the final surface. In short my overall strategy for the process was to have the desk looking like it was “old but well-cared-for,” looking new was not part of the plan, nor was “antiquing” nor “distressing.”
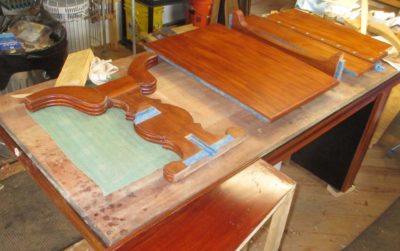
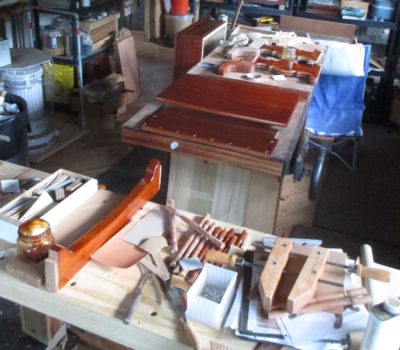
Since the desk was small and convoluted I intended to finished almost all of the pieces prior to final glue-up. So the full glory of it was not revealed until nearly the last step when all the pieces were put together. Finishing each piece separately required a careful masking of all the surfaces that were glued together in that assembly.
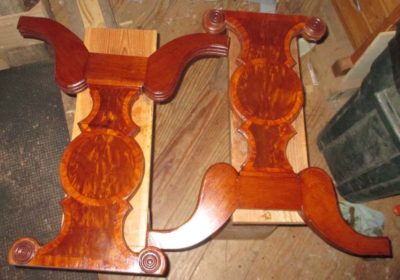
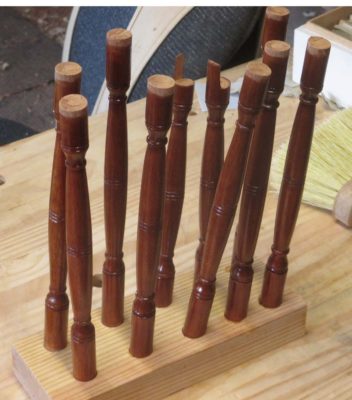
The first step was to lay down a few seal coats of garnet shellac brushed on in three or four applications of a one pound cut. This allowed me to get a good sense of how I needed to shift the visual coloration and tone of the pieces to bring them into harmony. I would make no attempt to make each and every piece identical to the other, that was nonsensical given the variety of grain directions, etc. involved, but simply to bring everything closer en suite.
For the most part the starting point for this shifting was accomplished via the addition of dyes to the garnet shellac being brushed on. I am loathe to employ chemical stains to bare wood as part of the finishing exercise; they are simply too difficult to control for an equal outcome when the starting points are different, and when they do not behave their reversal (removing the surface of all the wood) induces foul language in the shop.
By building the finish with dyed coatings the depth of the wood’s beauty soon emerged forcefully.
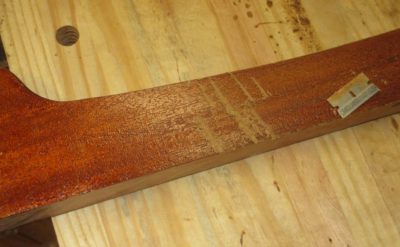
I built the finish steadily, five coats becoming ten, then fifteen. I smoothed all of the flat surfaces by scraping with razor blades and the curved surfaces with pumice pads and before long I was ready for the home stretch.
But the real magic of final blending of the coloration, along with imparting craqueleure, was achieved in the next step.
Stay tuned.

Join the Conversation!