I Got It, You’re Pretty — Now Get To Work!
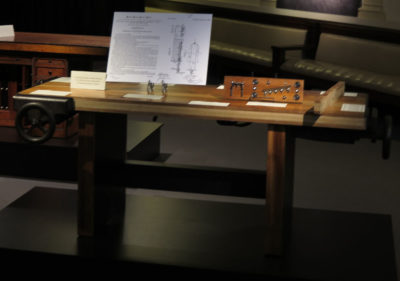
For last year’s Studley Tool Cabinet and Workbench exhibit I fabricated a mock-up of Studley’s workbench top to use as part of the exhibit itself. I set the top on a display base in order to hang a number of Studleyesque vises from it, and to show the construction techniques he used for the slab. I used some *&^%$# African “mahogany” for the outer lamina with white oak for the core, and finished the surface nicely with several coats of Tru Oil.
Since returning home in the aftermath of the exhibit the bench has been sitting in my studio, covered with a furniture pad and cardboard, serving as nothing more than a nice work table. That episode has come to an end as it was time for the little beauty to be put to work.

The first thing that had to go was the slick shiny varnished surface. A half hour with the toothing plane took care of that.
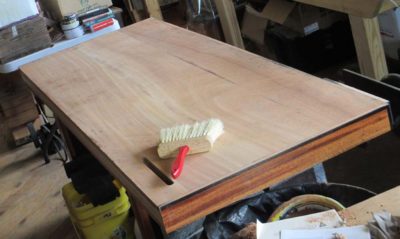
I doused the toothed surface with a 1:3 mix of Tru Oil and naphtha and let it sit over night. The result is very pleasing, providing a sealed surface with a flat but pleasantly textured work surface.
The bench top already had one vise on it, a true piano maker’s vise that was very generously supplied by DanD. For the end vise I will mount a Sheldon in the coming days, not nearly the same quality as the piano maker’s vise but adequate for the task. A series of dog holes will be drilled through the top to make it ready for work.
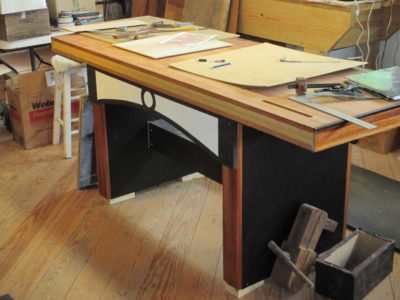
To overcome the unsteadiness of the base, it shimmied a bit on the longitudinal axis and slides on the floor too much since it was designed as a display stand not a functioning workbench, I first added a pair of apron stretchers to cut the wiggles to a nearly unnoticeable minimum, and that works very well. Some day I may build a cabinet base a la Sleepless Jim, but it will not be this day.
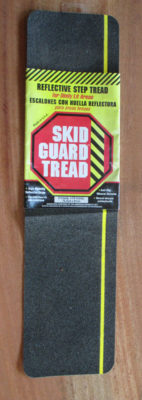
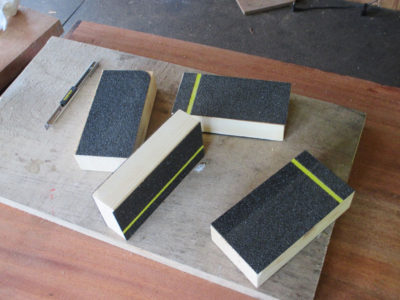
The final step was to get the bench top higher than the 32″ as constructed. I made a set of non-skid spacers to put underneath the feet by cutting some 2x stock to the right size for four spacers and facing them with some PSA non-skid matting for flooring. Slipped under the bench feet, the top is now at a more amenable height and I promise you the bench does not slip on the floor one bit.
Now my Little Pretty is all dressed down and ready for work. I have not yet decided about what to do with the rear edge of the bench so I am leaving that unfinished for now.
This addition leaves my total workbench inventory for The Barn as 3 Roubo benches, 2 piano makers’ benches, 2 torsion-box-top benches, one Nicholson, one Sjoberg Euro bench, one planing beam, and a partridge in a pear tree. Once I get done with the three more Roubo’s I have in various states of completion I will be flush with workbenches. But surely I will have to build myself a Roman style bench, won’t I? And I don’t have a Morvian bench yet, although Will Myers’ video is really enticing. And I still have that extra Emmert #1 laying in the corner…

Join the Conversation!