Making and Using Traditional Gesso
My recent presentation on “Gold Leafing” at WIA was the most I could cover in a short period, but it was still woefully shy of a thorough understanding. I hope it was a solid teaser. We were able to complete the entire process in the compressed time of two hours, ending with laying gold leaf by both oil size and water gilding, with a little burnishing tossed in. (If you were at the presentation and have some of the pictures to share with me, I would be delighted).
I emphasized that the truths about finishing in general became stratospheric when that “finishing” was with gold leaf. Namely, each step of the processed is conveyed clearly in the following step, so you’d better make sure to get it right every step along the way. Integral to gilding in my opinion is the making and using of traditional glue-based gesso as the primer built up to the point where the surface was ready to apply the gold leaf and it would look good. While I will not go into detail on the techniques of each step here, I do want to take a minute to talk about how I make and use gesso. I do not know if it is the “right” way, I only know it is how I do it and it has been working fine for me for more than four decades.

I start with an empty jar, and place dry glue granules in the bottom to fill about 10% of the volume. My preferred glue for this is either 379 or 444 gram weight strength glue, but I have had fine results with glue as low as 192 g.w.s.
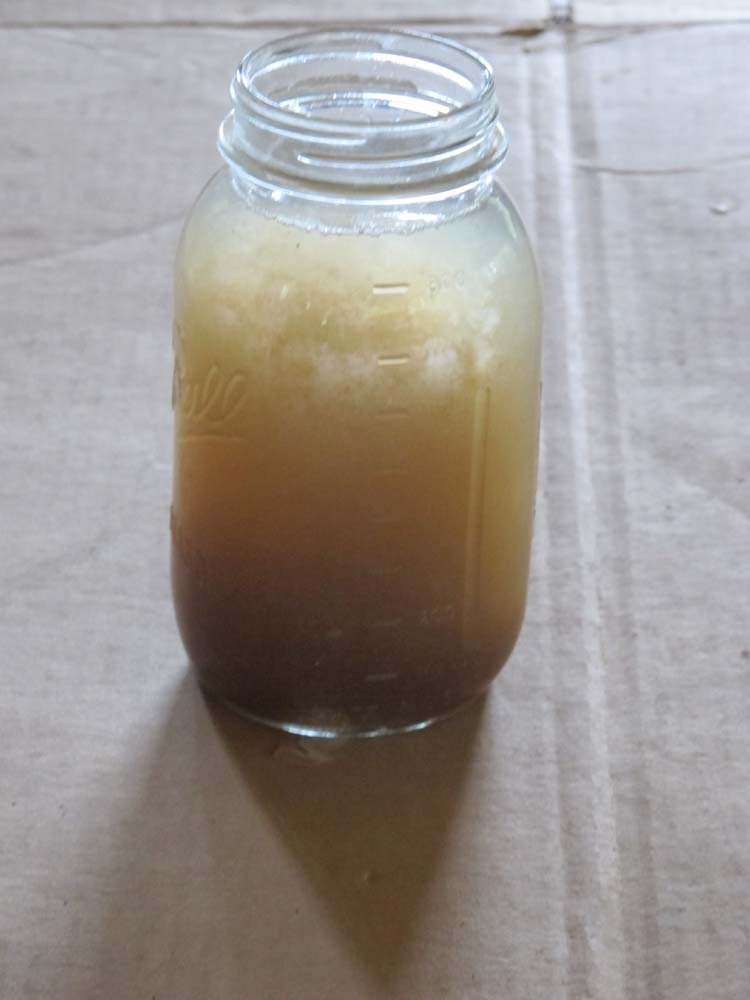
I fill the jar with clean water and let it soak overnight, then cook it to make it a homogeneous solution. THIS DILUTE GLUE IS THE CORE OF THE GESSO MIXTURE, AND IS NOT MODIFIED FROM THIS POINT ON.
I use this as my glue size and binder for the ever thickened gesso and I NEVER add more glue to the solution. The ideal is to progressively dilute and make the glue weaker, to render a leaner and leaner admixture as you build up the gesso ground. You always want gesso to be getting marginally softer as you apply additional layers of this ages old primer to your workpiece.

I first brush on a generous application of the dilute glue size to the wood surface, and allow it to dry thoroughly. (see center section of the sample)

When that is dry, to the heated glue solution I add enough calcium carbonate, sold as “Whiting” by art suppliers, to make the jar seem like it is filled with skim milk. Here I am preparing to add the amount of whiting to the glue solution.
I brush this on to the surface and allow it to dry. In the follwing steps, I make note of how much whiting I added to the glue size to render this first “skim milk” solution, and I add that same amount for the next iteration, which I also brush on and allow to dry. Then a third portion of whiting,and a fourth, and as many as is necessary until you get to the point where the heated gesso acts like heavy cream. Make sure to “pounce” the gesso in the early stages with a coarse brush to make sure it fills all the interstices if there is carving.

Here is the progression of the applications and the built-up surface ready for abrading and re-carving as needed. In this case I could have stopped after the sixth application and it would have been fine.
And as I said, the addition of more and more whiting serves to dilute the glue portion of the mixture. Also remember to stir the heavier gesso as you use it because the whiting will settle to the bottom without agitation.
This is as perfect a primer as I have found for my work whether gilding or japanning. How much you build up depends on how well you prepared the wood to begin with, and where you want the surface to end up.
At some point over the coming winter I will work a surface through from beginning to end so you can get the detailed blow by blow. Until then you can go to the Writings page of this blog and read the article I wrote on Japanning, which gives a good summary of the process.

Join the Conversation!