Parquetry Tutorial – Trimming and Banding
I am earnestly trying to wrap up some frayed threads in the blog posts, and this one and two more will complete the tutorial on simple parquetry, which I will combine, edit, and post as a downloadable document.
===================================================
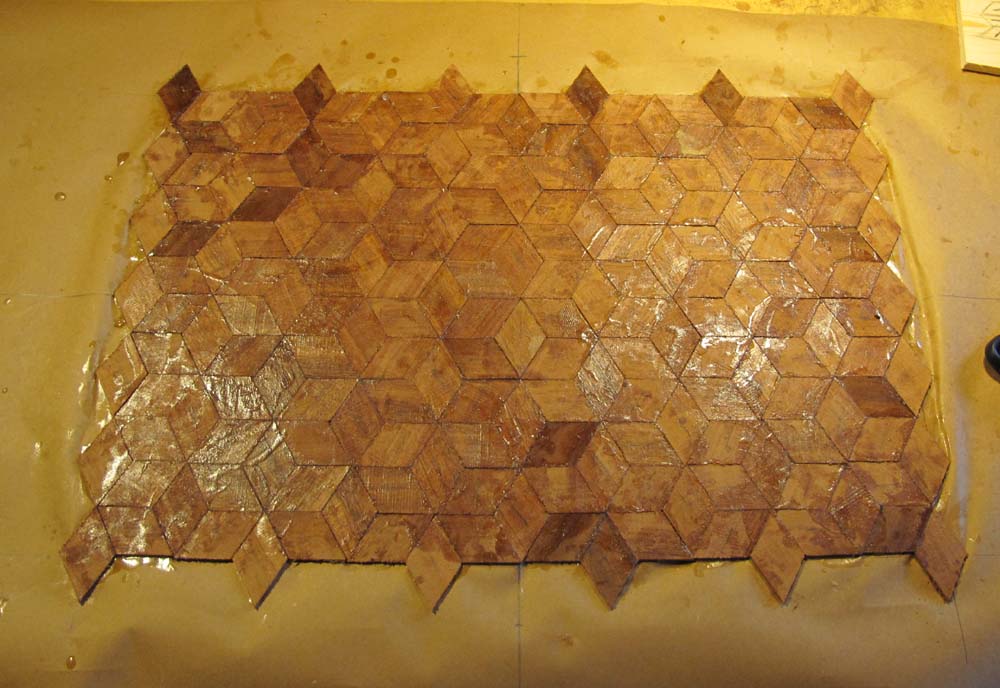
Once the parquetry composition has been assembled such that the area completed is larger than the field of the composition as it will be presented on the panel, the time has come to trim it to the exact size you want. But before that, you have to decide exactly how large you want the central field of the parquetry panel. I tend to work my way in from the edges of the panel as determined by the sizes and proportions of the furniture on which it will reside, then subtract a symmetrical border and a symmetrical banding.


Once I have done that, I simply re-establish the center lines of the parquetry assemblage and precisely mark out its perimeter, and saw it with any of the veneer saws mentioned earlier. The desired end result is a rectangular and symmetrical composition. Once I have the field trimmed to the proper size, I re-mount the unit on a second, larger sheet of kraft paper using hot glue. It need be adhered only at the perimeter.

I tend to make my own banding, frequently making a simple stack of veneer faces with slightly thicker centers, assembled and glued between two cauls until they are set. Then I just rip of as many pieces of banding as the assembled block can yield.

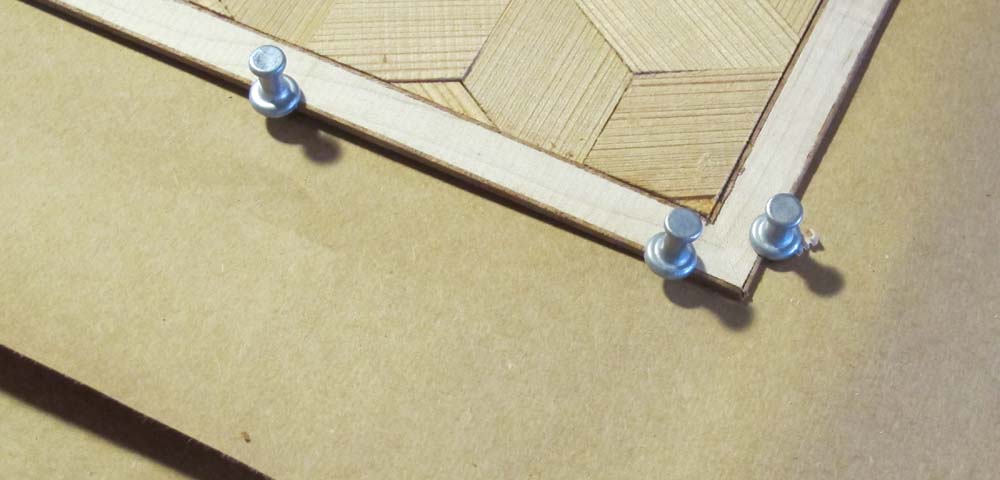
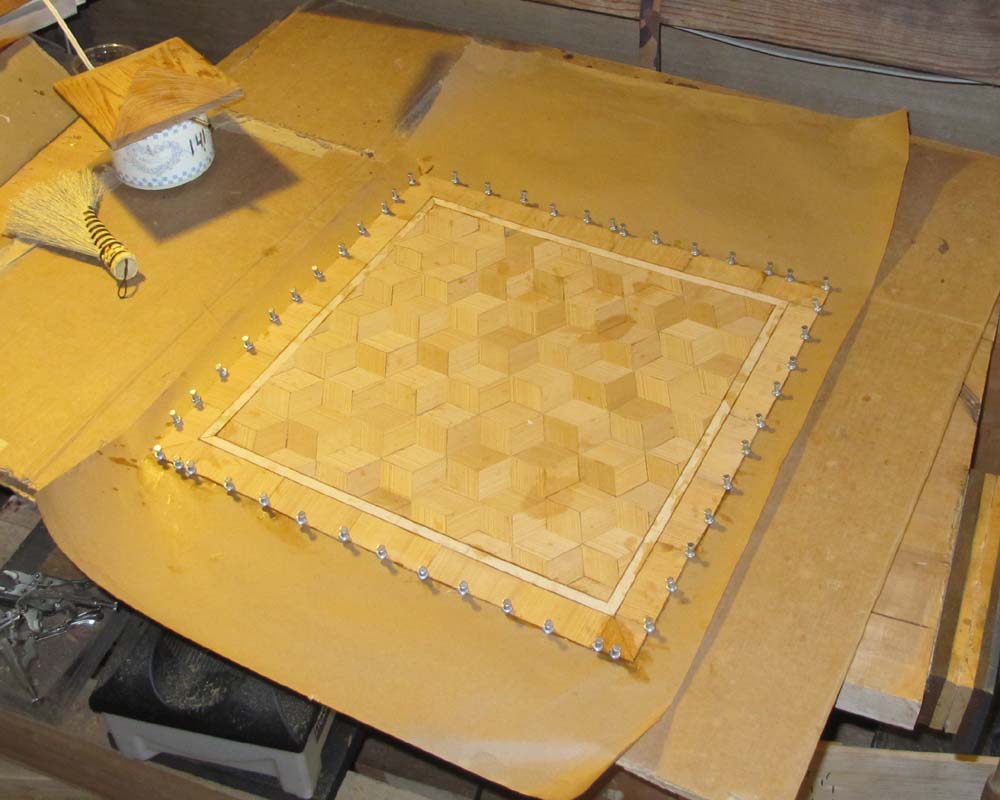
Once the banding is available, I cut them then trim the ends with a plane and miter shooting jig. Once the first piece is ready to apply, I place the entire composition on a large board with a corked surface. Then just like Roubo, I glue the banding down on top of this second piece of kraft paper, tight against the cut edge of the field, and “clamp” it in place with push pins, similar to those illustrated by Roubo. By the time I get all the way around the perimeter of the field, cutting then trimming each of the banding pieces, the piece is ready to set aside for a bit.
For the outer border, I tend to use a simple approach, often employing some of the original veneer stock in either the long-grain or cross grain orientation.
Once the banding is set I remove the pins then hammer veneer the borders in place, and the assembling of the parquetry panel is complete.
Up next – Gluing Down the Parquetry

Join the Conversation!