Simple Parquetry Tutorial 2 – stock preparation
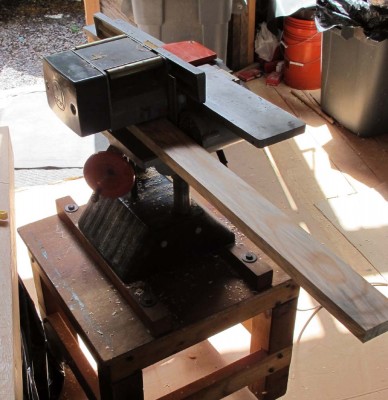
Once you select your wood, prepare it such that the edge of the lumber is the radial orientation, and make the board flat and true. Using a power jointer and power planer or drum sander is perfectly fine. It’s how I do it. My favorite little Makita combination 4″ jointer/4″ planer is darned near perfect for the task
The thicker the board, the larger the eventual veneer lozenges (and pattern) will be, and the converse is equally true. For first timers. unless you have a specific design aesthetic in mind I recommend lumber stock finished to about 1-1/4″ thick.
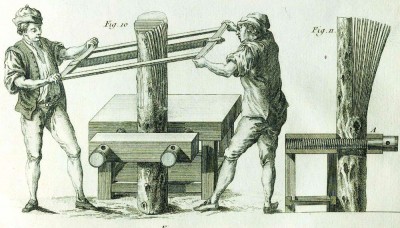
The final step in acquiring the raw material for the parquetry is to saw the edge of the prepared lumber into slices about 1/12″ thick. You need not follow historical precedent precisely.
Whatever tool or machine you use for such processes is fine. I set up my band saw with a fence and simply run off slices until the board is gone.
And, you do not need a big, expensive band saw. My favorite tool for the job is an old Delta 10-inch benchtop model with a 1/4″ narrow kerf blade. A single point or half-fence guide is perfectly fine, and as you can tell, I do not invest much money or time on this. This arrangement has cut hundreds, probably thousands of linear feet of veneer stock for parquetry.
To figure out how many strips you need for your project, simply lay them down next to each other as you are cutting them, and compare that area to the area you are trying to cover. Make about 10% more than your panel’s end size and you should be fine. This image shows a piece of stock laying flat — the strips are cut off the edge on its radial orientation — with the pile of perfectly equal and parallel veneer strips ready for sawing into simple parquetry.
Next, a review of the hand tool inventory you need for the project.


Join the Conversation!