Workbench Wednesday – Romastonian Low Bench 5
One of the intriguing features of the low benches out and about in the woodworking blogosphere and LAP books is a notch cut into the side edge of the bench to allow workpieces to be wedged into it for cutting on the ends. I decided to give this concept a try on my bench, if it was not to my liking I would just fill the notch back in and move on to other ideas.
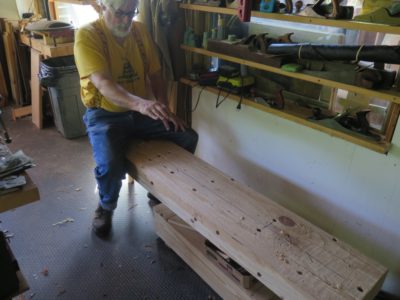
The first step was to figure out where to cut the notch, which depended on my own body and working habits. So, I sat down and held out my hands to mimic a long sawing posture, then located the notch a little closer to me than that.
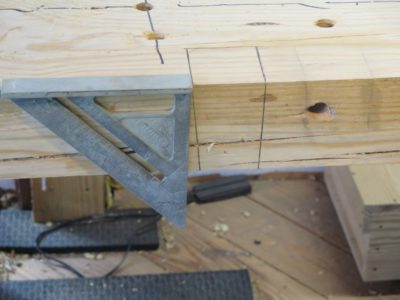
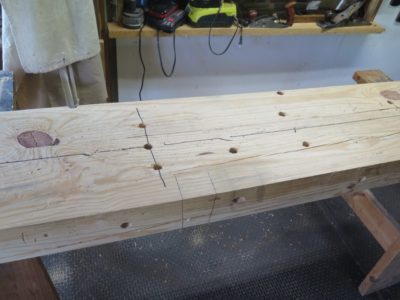
I then laid out the notch to have a square rear shoulder and a tapered front shoulder into which would fit a wedge of that bevel. The exact measurement of the taper is unimportant, it just needs to be slight. I did not even measure mine, I just struck it where it seemed right to my eye.
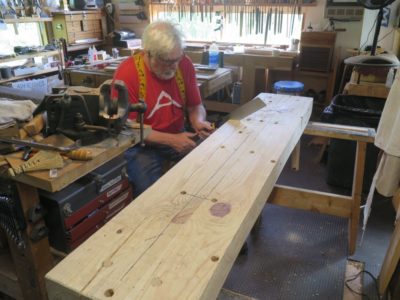
As is my preference for a lot of large-ish joinery sawing I grabbed a trusty Japanese saw and set to work.

My typical procedure is to cut the shoulders of the joint first, then make several cuts in the waste to aid removal.
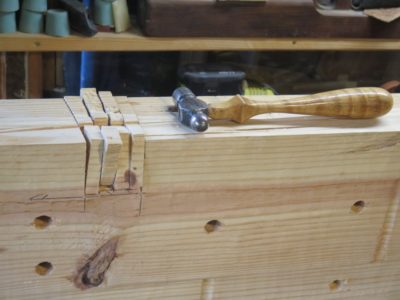


Then I whack the waste with a hammer to remove as much as I can, leaving the remainder for the hammer and chisel, followed by a rasp.

With the notch cut I fashioned a wedge to fit the taper and gave it a test drive. I will no doubt make a number of similar wedges of differing thickness (or perhaps a series of spacing shims) to accommodate a great variety of workpiece thicknesses.

I worked it a few minutes and liked the concept very much.

Join the Conversation!