Writing Desk — Shelf
The final few steps of the construction phase of the desk project were to make and fit the mid-level shelf, make install the single and double beading moldings on the box, turn and install the spindles that suspended the shelf from the underside of the writing box, and turn the roundels that adorned the “ears” of the legs. Each of these operations will be dealt with separately beginning with the shelf (I’m not sure I’m getting the blogging order correct, but you’ll get the whole picture by the time I finish).
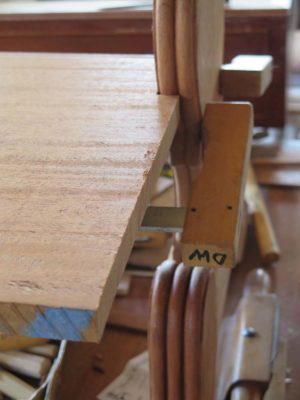

The mid-level solid slab shelf was partly cantilevered off the “leg” units, fitted into notches on the double bead moldings on the edge of the leg and sitting on simple glue-block brackets on the insides of the legs. Placing and affixing the shelf was pretty fussy work, nothing especially complex but the key was working slowly and carefully. I started by tacking a scrap into the location of the support blocks on the legs and rested the shelf slab on them to get the notching on the moldings correct, easily. (The actual finished mahogany support blocks will be visible in the offering about the spindles upcoming)
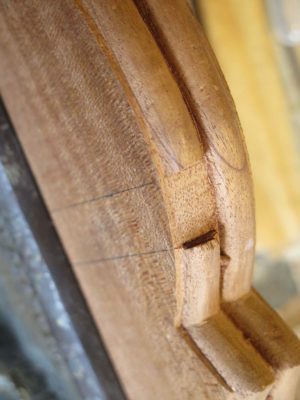
With the shelf slab sitting on the temporary supports I marked the locations of the notches on the moldings with a fine saw, then excavated with the saw and chisels.
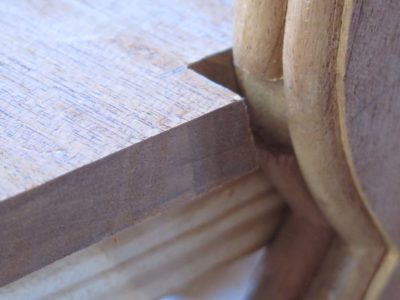
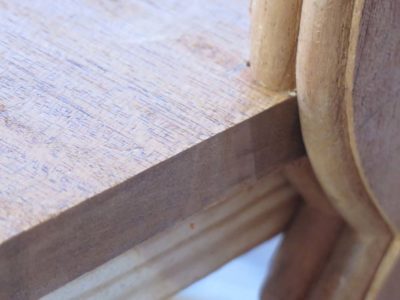
The fit was darned near perfect, especially once I beveled the contact edge on the shelf where it connected with the notch.
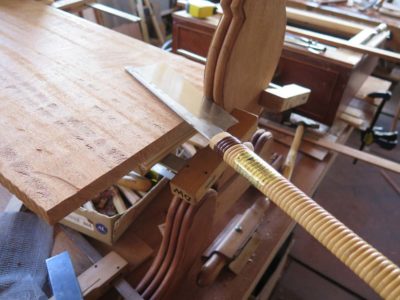
At this point the only further work on the shelf per se was to add double beading on the edges, using a bronze scratch stock tool from LNT, followed by my home made scratch stock to removed the shoulders of the profile.

Love the details of this desk as well as the elements you used (the 40-year-old box is the best). I haven’t seen that many builds with veneers utilized, so thanks for that. Nice work!