Desk Veneering – Writing Box
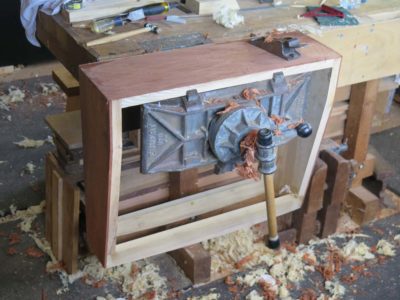

Veneering three sides of the writing box was so straightforward it almost does not deserve its own blog, except for that fourth side, the one with the drawer front. On the two sides and back it was simply a matter of cutting the veneer and gluing them down. I used cauls and clamps because the veneer was so thick I simply was not confident of my skills in hammering veneer of this thickness.
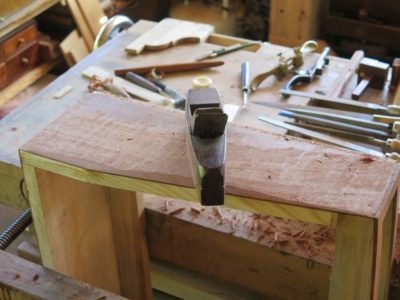
Once again the beauty of sawn veneer revealed itself as the thickness allowed for the surfaces to be planed once the application was complete.
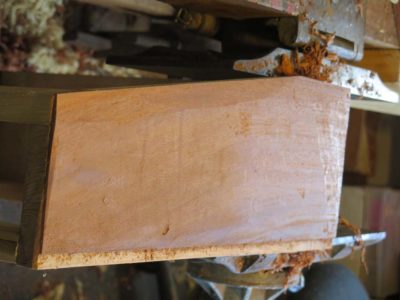
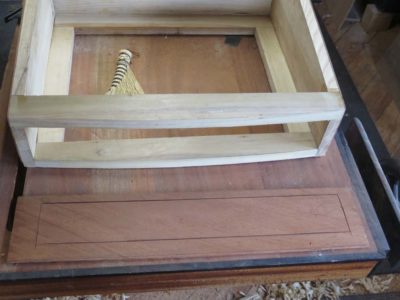
The drawer front was actually a challenge and a lot of fun, as I wanted the veneer to present an uninterrupted grain pattern. That meant I had to cut out the field of the drawer front from the border on the writing box itself.
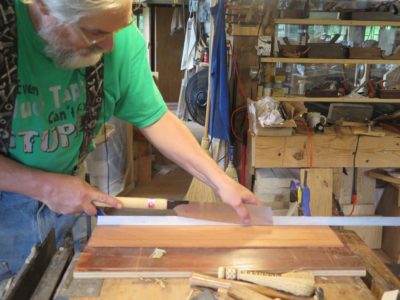
Using a straightedge and one of my Japanese saws with curved teeth I carefully layed out the cuts and started making them.

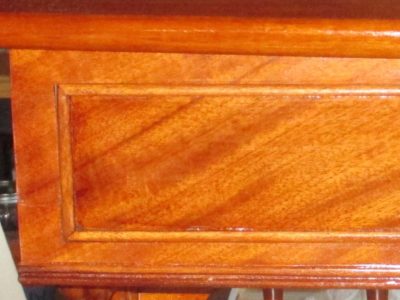
Once that was done the veneer was glued to the drawer front and the surround, mirroring precisely the veneer from the opposite side. The result was not unpleasing.
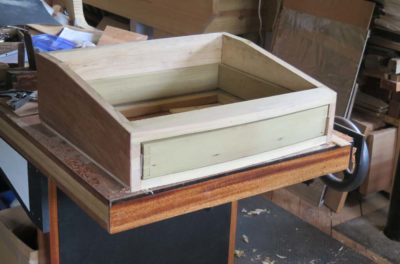
I added the beadwork drawer trim and set the writing desk aside while I went to work on the veneer “fancy work” on the legs. That took several weeks and by the time I returned to the writing box and drawer to begin the finishing, catastrophe struck.
Stay tuned for that tale of woe.

Wow, another cliffhanger. Is Boris Badenov lurking somewhere around the corner?