Parts

Building up my inventory of Gragg chair parts.
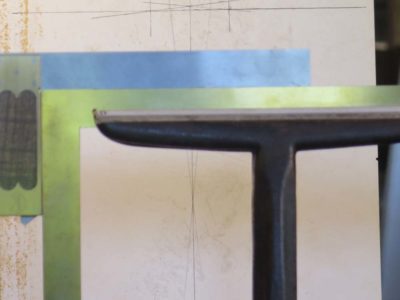
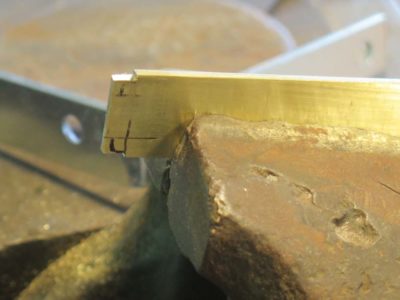
After the blade-and-beam are prepped and trued with the reference square from Chris Vesper I cut and shaped the shoe being soldered to the outer edge of the beam.

Then I prepped the surfaces themselves by cleaning them with 400 grit abrasive paper, and placed them together with flux in the contact of the joint. The square was held in place simply by placing it between two fire bricks.
A propane torch and some wire solder finished the task.
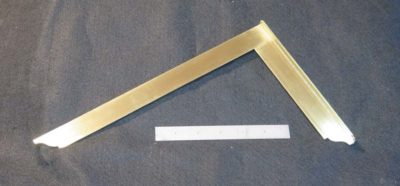
A little clean-up and the square was ready to get to work. Now do that several more times and you have a nested set.
This workshop will be June 20-22, 2019
===================================
Other workshops at the Barn this summer are:
Here is a quick review of our route over most of the past year.
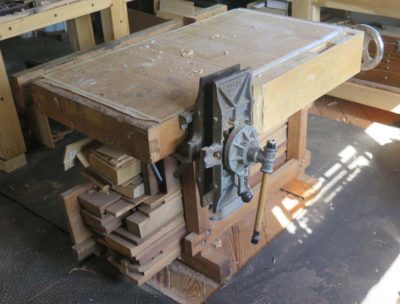
Opus #1 (1986/7)

Opus #2 (1990)

Opus #3 (2005)

Opus #4 (2008)

Opus #5 (2011)
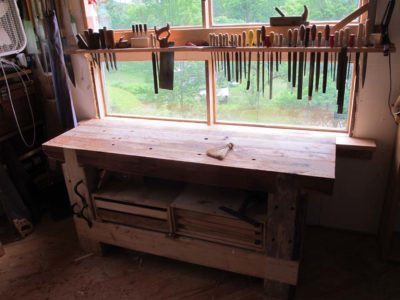
Opus #6 (2011)
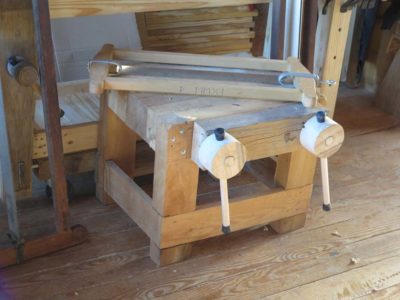
Opus #7 (2011)

Opus #8 (2012)

Opus #9 (2013)

Opus #10 (2013)

Opus #11 (2014)

Opus #12 (2015)

Opus #13 (2015)

Opus #14 (2016)

Opus #15 (2017)

Opus #16 (2017)

Opus #17 (2018)
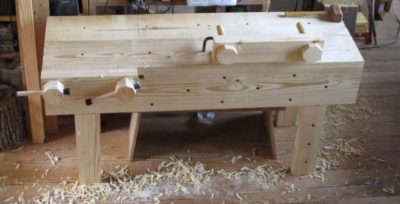
Opus #18 (2018)
This concludes my backward look at the workbenches in my life. I do have another half-dozen in the works, or on the drawing board. As they proceed their development and construction will be documented on Workbench Wednesdays, otherwise the feature will be on hiatus.
Stay tuned.
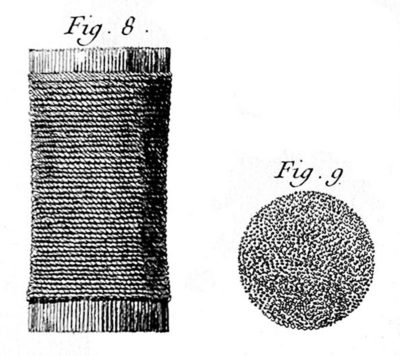
A couple weeks ago as we were driving up the road to the cabin, (our road cuts through a few pastures along its way, so there are literally times we have to wait for the cattle to move aside) Mrs. Barn remarked that there were clumps of Juncus effusus grass popping up in the fields. I asked around, and it turns out that it is considered a noxious invasive in these parts, spreading in many pastures but inedible by the cattle, or at least not preferred. So I am delighted that there will be dozens of Juncus bundles of new polissoir stock in a couple months, and our local cattleman will be pleased to have me cut it down.
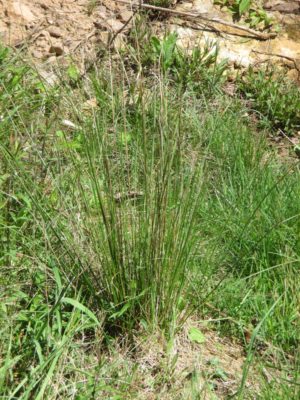
For those who like me have been bitten by the polissoirs bug I will be harvesting then hand-making polissoirs for sale come this fall. They will be identically configured to the Model 296. My broom-maker is not set up to make these, he is set up only for working with the sorghum straw. Juncus is simply too different from sorghum, most especially in that sorghum compresses comparatively little when bound whereas Juncus compresses about 60-70% during the binding.
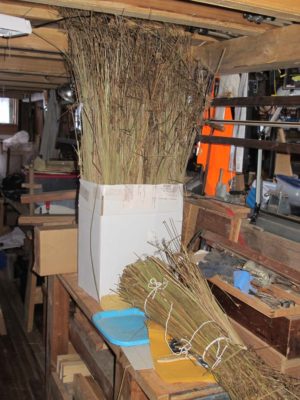
Some Juncus left over from my last harvest. I will use this to improve my manufacturing technique.
They will be labor intensive and thus pricey, but if you gotta have one, I’m your guy. They will be, quite literally, as close to what Roubo described as I can get without a Time Machine. These are not better nor worse than my other polissoirs, they are just different.
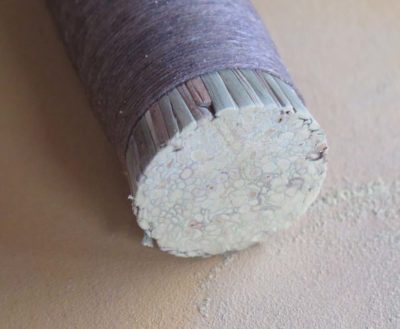
A Juncus polissoir.
Not too long ago I discovered something that perhaps many of you knew already (and if so, why didn’t you tell me?), and my response to the problem and solution imparted great satisfaction.

Being both a metalworker and a tightwad I am pretty fussy about my files, and in fact have a substantial number of them. One I could never talk myself into getting was a die-maker’s mill file with one shoulder devoid of cutting function. All the ones I had seen while shopping were simply more money than I wanted to spend. Since this is a utility I need on a fairly frequent basis I generally just put a strip of tape along one edge of the file so I could work into one side of an inside corner without boogering up the adjacent shoulder. Perhaps I had some bad tape but recently I was continually frustrated as it peeled off while I was working the inside corners of the Roubo squares.
I decided to deal with the problem once and for all.
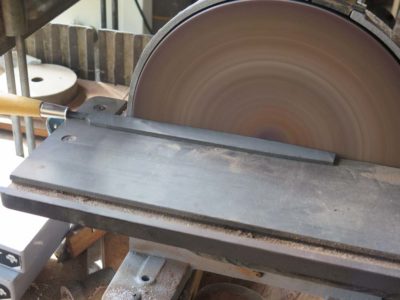
I took my new-ish mill file to the disc grinder and very gently just ground away the teeth/grooves on one edge. I say “gently” on purpose because I did not want to heat up the tool and have it lose its temper. So gently it was.

After that I took it to the vise and dressed the sanded edge to a fairly nice polish (1200 grit diamond stone). In almost no time (less than ten minutes) and for no money(!) I had a die-maker’s mill file that allowed me to work both more aggressively and more precisely on inside corners. And if I need to do any edge filing, I simply rotate the file 180 degrees and use the opposite edge.
I hope I don’t hurt my shoulder patting myself on the back…

The upper piece is straight off the table saw, and the lower piece has been prepped with a file and abrasive paper.
Once the main body of the square is cut out and the ends shaped it is time to “true” the outside edges. There will be several opportunities to fine tune the squareness as we go along, but the first thing is to get those outer edges true. This provides a couple of functions. First it establishes the square-ness of the tool overall, and prepares the edge for the soldering of the shoe.
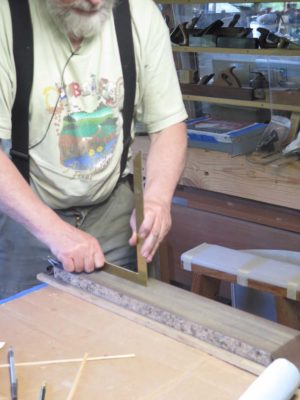
The main tools for this process are a clean, new-ish mill file and a granite block festooned with an abrasive belt. The objective is to both stablish one surface (the beam) amenable to soldering and one (the bade) that is perfectly square to the first one. Truing the inside edges comes later.

For this task my reference is one of Chris Vesper’s incomparable squares. I had let him know what I was needing and he prepared one for me with a run-out of only 0.0002″ over the length of the blade. If you need something more square than that, you are not a woodworker. You are a jet engine mechanic.
A couple weeks ago we had two excellent days of videoing for my Make A Gragg Chair video. As my pal MikeM observed, doing video slows everything down by at least three-fold.
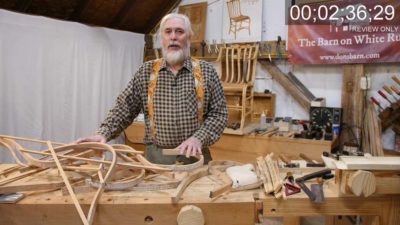
We are now to the point of actually assembling the pile of bentwood pieces into a chair, beginning with the sides of the chair in an assembly jig (after attaching the side rungs via mortising them into the legs) and then starting to fit the cross elements.
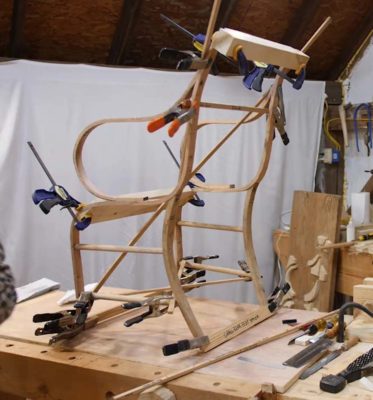
One thing is for sure, it’s pretty important to have a large number of simple spring clamps and temporary bracing to keep everything together.
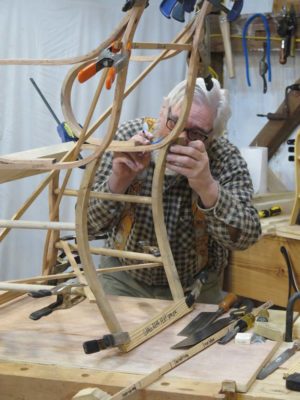
This is a really exciting project for me, and my earlier projections are falling by the wayside regarding the length and detail of the final product. I’m sorta guessing this might be in the 10-12 hour range once we get all finished.

I am also getting a better sense of how to create a six-day workshop for making Gragg chairs. I just might be able to pull it off. When the video is finished I’m going to embark on a focused exercise to see if it is truly possible.
Stay tuned.
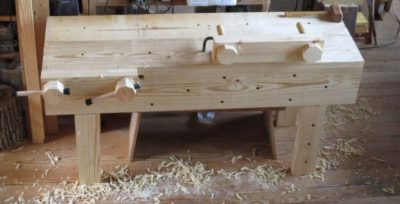
With the basic bench being fabricated it was time to work on the “add-ons” for Bob’s Nicholson gunsmithing bench. In truth this was a thinly disguised exercise in preparing for an upcoming workshop I was teaching in Arkansas. In short, it was all about threading and fabricating wood screw based vises, including a mobile Moxon vise and a twin-screw face vise for the bench.
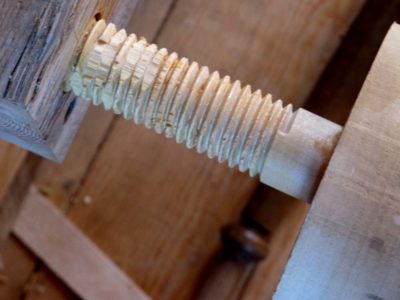

My starting point was 1) buying a 1-1/2″ Beale wood threading kit, and 2) a case of 1-1/2″ store-bought dowel stock from a home center. My initial effort with the threader revealed that the off-the-shelf dowel stock was inadequate for the task and I impregnated the screw stock with diluted epoxy to give a cleaner finished surface after the threads were cut.


After threading the dowels I made a bunch of handles from scrap SYP construction lumber. All tolled for Bob’s workbench and the workshop workbenches I made over 50 vise screws.
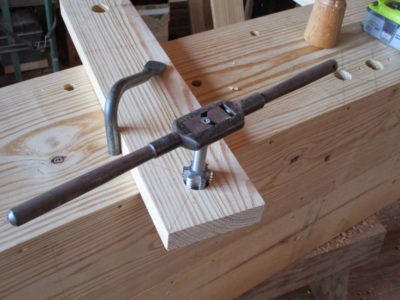
Then I threaded a bunch of the female fittings using the tap provided with the Beale kit.
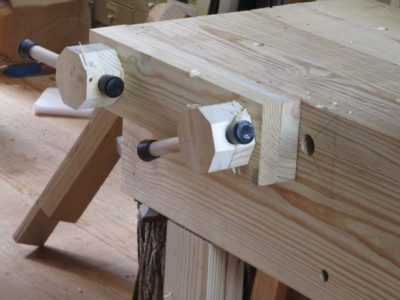
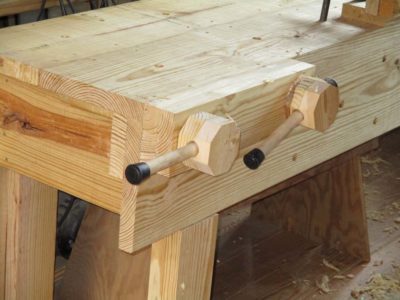
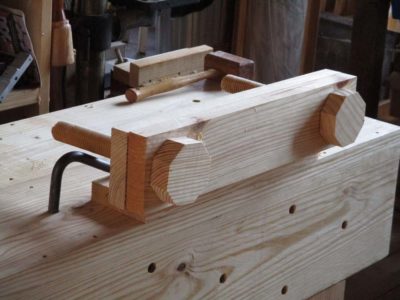
In the end I had a bench with lots of clamping/work stations. This has served as my model for Nicholson benches ever since.

A couple months ago I had a “crisis”(?) with the power system for the barn. I made it through most of the winter just fine, invariably shutting down the system on my way down for supper and turning it back on in the morning to save the power that would have kept the system up overnight. Suddenly the power accrual fell off the cliff and I really got concerned. A day that should have been inputting 300-400 watts into the system was instead producing 70, or 50, or even 20. Since I had a generator wired into the system last year I was not at risk of being without power while working but the dysfunction was not insignificant despite the fact that I seemingly had enough power to work in the shop all day.

I trouble shot every aspect of the system I knew, even getting so desperate as to READ THE INSTRUCTION MANUAL (even my pal BillR who is an EE and MS Robotics guy says the system product information is almost impenetrable). In desperation I corresponded with Rich, the EE who sold me the system, and BillR, who installed the solar components. They too were scratching their heads about the situation.
Then at about the same time they both had a suggestion: make sure the Dump Load switch is turned on. The Dump Load is a resistance coil to “dump” any excess electrons once the batteries were charged to full capacity to prevent them from being damaged by over-charging.
Yup, that was the ticket. Apparently during one of the evening shut-downs I absent-mindedly (or at least inadvertently) threw the Dump Load switch to “off” and left it there. The Dump Load switch is right next to the switches for the inverters. With the Dump Load off the system would literally only accept the trickle necessary to keep the batteries topped off. So, when I saw the system first thing in the morning and last thing in the evening, where no meaningful consumption was ongoing, the system had told itself to choke off any wattage input from the solar panels to protect the batteries. During the day when I was using electricity the system would have shown an input equal to my usage but I would not have seen that.
In the moments following my turning the Dump Load back on I literally let out a whoop as the input went from 20 watts to almost a kilowatt because throwing that switch told the system to go full bore.
So I didn’t really have any kind of crisis, other than the one in my own mind due to the fact that I did not understand fully the intricacies of the power system, even after all these years.
Good thing ignorance is curable.
Last month I had the delightful experience of attending a superb Blue Ridge Chapter meeting for the Society of American Period Furniture Makers held in Fredericksburg, Virginia, organized by my friend Steve Dietrich and his wife Barb (if you are not yet a member of SAPFM, why not?).
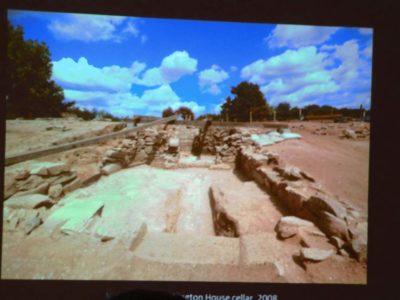

The topic was the newly reconstructed childhood home of GeoWashington, Ferry Farm, just outside of Fredericksburg, under the auspices of The George Washington Foundation. Or, to put it more precisely, the topic was and the presentations were about the inspired program of replicating the furniture for the house. Since the written inventories were all that documented the house furnishings the Foundation commissioned dozens of pieces “of a type” that would have been probable to the household, pieces from Williamsburg, Fredericksburg, Richmond, etc. Several of the woodworkers who created the replicas were on-hand to describe and demonstrate their processes of making, then were later in attendance as we toured the home. Literally every piece of furniture in the house was made in the style and manner of what would have been found there in 1750. I will post about the house and furnishes themselves soon.
I apologize for the pictures, I was just taking them from my seat in the hall.
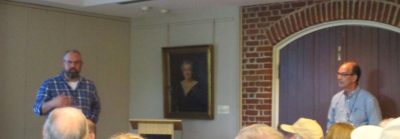
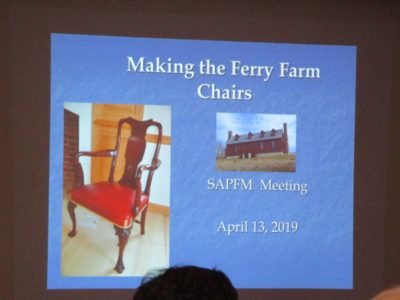
Among the presenters and presentations were Calvin and Ben Hobbs discussing the dozen dining chairs they made, a project with the logistical complications of being fabricated in North Carolina but carved in Kansas.


Kaare Loftheim presented on behalf of Brian Weldy about the diminutive tea table made at the Williamsburg Anthony Hay cabinet shop.
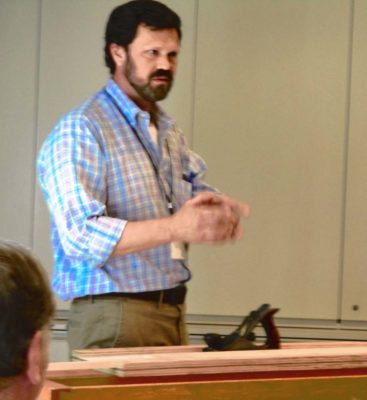
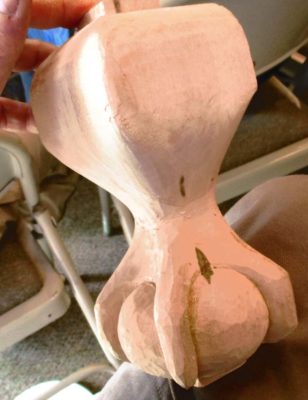
Richmond furniture maker Reid Beverly discussed the trials of fabricating a complex upright secretaire with boodles of compartments made from ultra thin SYP stock, and the frustrations of carving southern yellow pine. He passed around a model in tulip poplar of the feet that were carved for the cabinet.
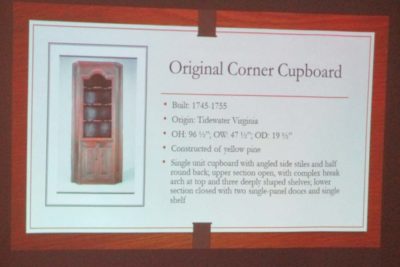
Another Williamsburg piece was this built-in corner cabinet from the joiner’s shop.
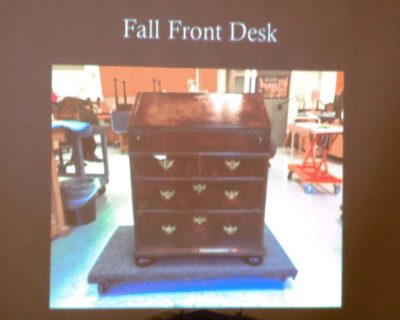
It was great to see some younger makers there as well. One of them made this desk,


and another this drop leaf table. Their work was superb.
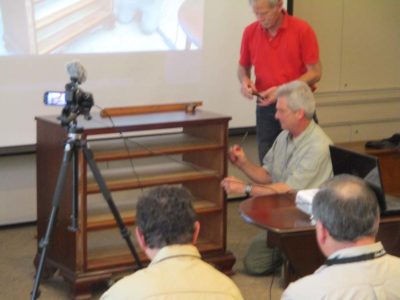
Jeff Hedley and Steve Hamilton assembled their chest of drawers right in front of our eyes.

Wrapping up the morning(!) session Steve Dietrich covered the seven pieces he built, including several rope beds brightly painted.
Congratulations to The George Washington Foundation for such an inspired strategy (and the resources to pull it off), to the makers of the faithful representations of furniture making in the era, and Steve and Barb for a terrific weekend.
Recent Comments