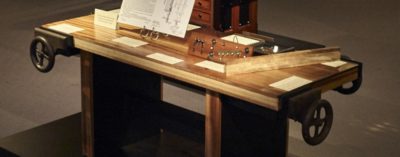
I first met Webmeister Tim during my research for the H.O. Studley tool cabinet book, probably around 2012 or 2013. I got an email from a fellow who said, “Hey, I think I’ve got a vise like the ones you are talking about.” I arranged to meet him in person at a diner in southern Maine and sure enough, he had a vise much like the ones about which I had been waxing ecstatic. Tim was a wood turner but not yet a full-spectrum woodworker, so he allowed me to borrow his vise to study, and eventually, to display in the 2015 exhibit that coincided with Handworks 2015. Of all the piano-lakers’ vises I’ve seen his is the closest to Studley’s.
Our agreement was that he would come and get it, “Whenever.”
Well, after more than a decade of long-distance friendship, including dozens of phone calls relating to the business of the donsbarn.com website, which he now steers, “Whenever” finally occurred last month. Finally aligning the stars of our respective lives, he was able to come to Shangri-la and spend a week with us in the Virginia hinterlands. It was truly a great time of fellowship and productive work together.
Our focus for the week was to build him a heritage workbench that would last the rest of his life and probably any eventual grandchildren and great-grandchildren as well. The raw material for the bench was my slabbed black walnut, the style of the bench a split-top Roubo.
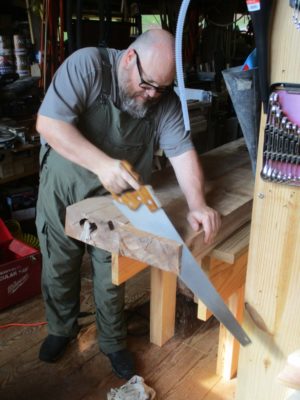
I worked him really hard during the week, beginning with hand sawing the almost 5″ thick slabs to length.
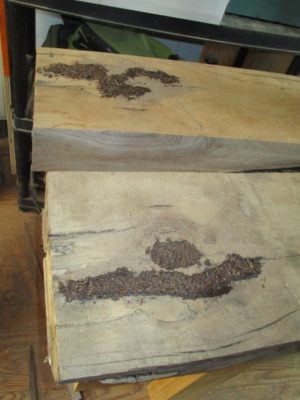
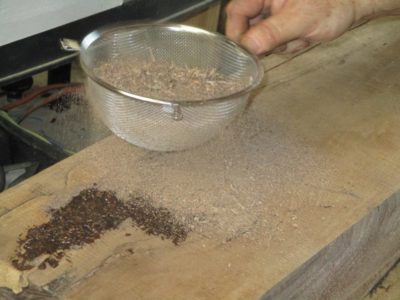
There were a couple of regions of the slabs needing attention, so we saturated them with diluted West System epoxy and walnut sawdust, followed by a top sprinkling of sawdust on top to provide a good surface for final finishing when it got to that point.
I did not have slab stock for the legs and stretchers, so we had to laminate them from black walnut cut from the same tree and some vintage stock I had in my lumber barn. For the newer stock we ran them through my little Ryobi 10″ planer that has been serving me well for about 35 years.

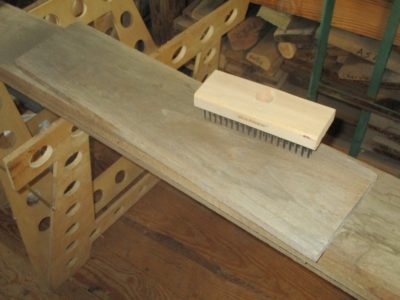
For the vintage stock from my barn, they had been planed eons ago so all they needed was a quick scrubbing with a wire brush to remove any debris and freshen up the surfaces for gluing.
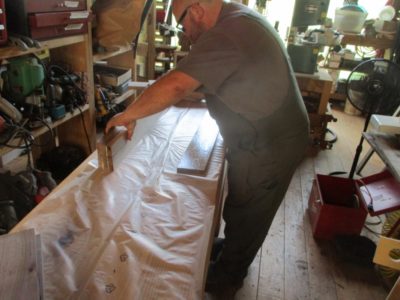
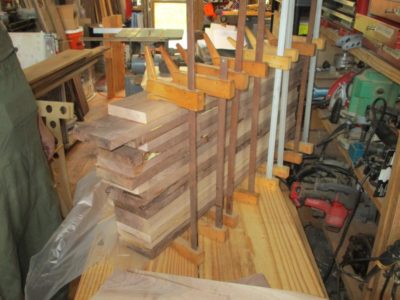
Then glued-up they were with T3 to accommodate any situation the bench might find itself in the future.
Thus endeth Day One of the Great Webmeister Tim Bench Build.
One of the aspects of having a humungous Fortress of Solitude like the barn, four stories of 40′ x 36′ space, is that there are a multitude of nooks and crannies into which things can be tucked, stuffed, crammed, lost, and re-discovered. I call these instances my own “Clean Up Christmases,” when I come across treasures I had forgotten, or at least misremembered.
Such has been the case recently when prepping the classroom for this coming weekend workshop Historical Wood Finishing. As the first class there in over two years, the space had, shall we say, devolved. That pesky Second Law of Thermodynamics; they tried repealing it but it just didn’t take. It has taken me over two weeks to get it ready for the group on Saturday. The level of “rearrangeritis” (full credit to James “Stumpy Nubs” Hamilton for coining the phrase to describe an all-day travail when moving one thing in his crowded shop) has been monumental, and monumentally rewarding on several fronts. It has also given me time for contemplation about future projects, a topic I will address in numerous upcoming posts.

At the moment I am mostly reveling the rediscovery of two caches that were set aside for some future completion. The first is the two sets of brass Roubo-esque squares fabricated before and during that workshop more than two years ago; all it will take is a day or two with some files and Chris Vesper’s sublime reference square to get them up and running.
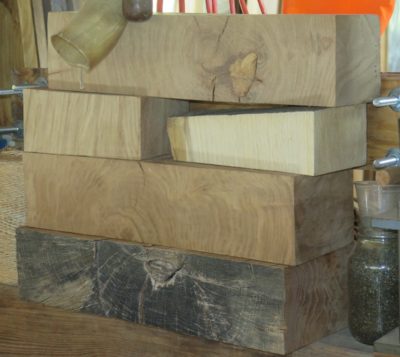
A second trove is the pile of French oak scraps from the multiple iterations of the FORP gatherings in southern Georgia. I brought them home in order to turn them into veneers, probably oyster shell style, to use on some as-yet-unknown project. That “unknown” identifier is becoming more “known” as the days go by. Then, much like my shop being the only one in the county with two c. 1680 parquetry flooring panels from the Palais Royale in Paris, my tool cabinet will be the only one with veneers from some c.1775 oak trees from the forests surrounding Versailles.
Who knows what other “Christmas” presents I might find during the never ending effort to impose order on my space? Stay tuned.
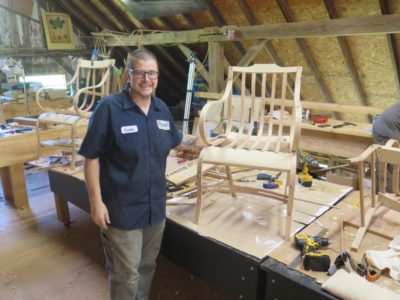
Our final day of the workshop opened with our recognition that no one would be 100% completed with the chair construction, but everyone was close with the demonstrations of the last tasks to be completed.
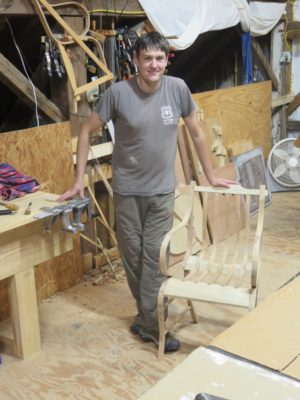
This list included adding the front stretcher and rear rungs along with all the intermediate seat slats, insertion of four triangular glue blocks associated with the arms, followed by all the sculpting required after all the construction is finished and glued up.
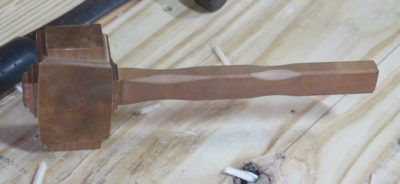
I forgot to mention earlier that one of the fellows brought a nicely finished Studelyesque mallet, based on the castings by Bill Martley that I blogged about earlier. The mallet came in handy a great many times.
It was a great week of fellowship, comradery and loads of creative work. Throughout the six days we jointly noted a number of places in the syllabus where en toto a few hours could probably be shaved off the schedule. So if there is interest I would be glad to offer the workshop again, but even better.
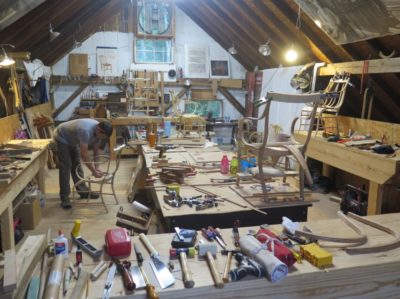
With the incorporation of the continuous seat/back slats the artifacts began to adopt the true character of a Gragg chair.
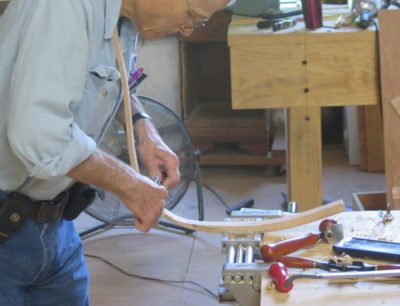
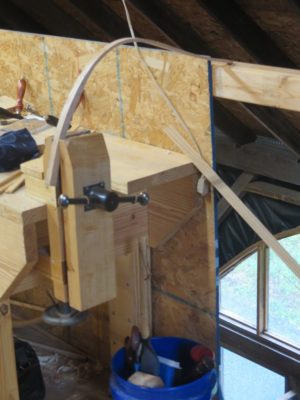
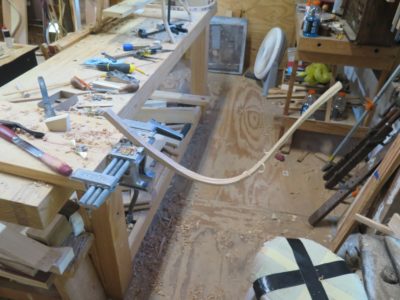
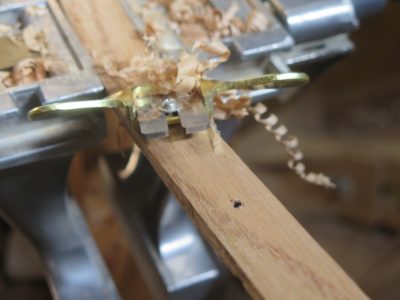
There’s not really a lot to say about the process; you thin the vertical sections to impart the requisite springiness (this is where clamping/vise weirdness is a feature, not a bug), mark, cut and excavate the dado troughs in the rear seat rail, and lay out the half-blind dovetails on the front set rail and the mortises in the crest rail. It sounds so mundane to describe many hours of intense work thusly.
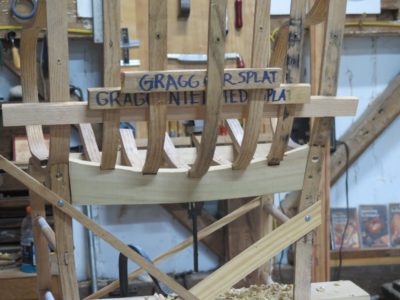
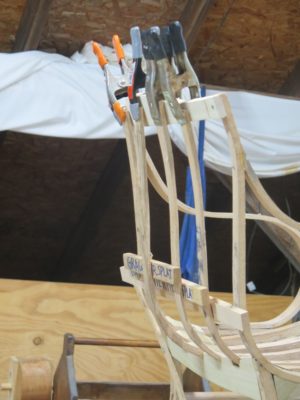
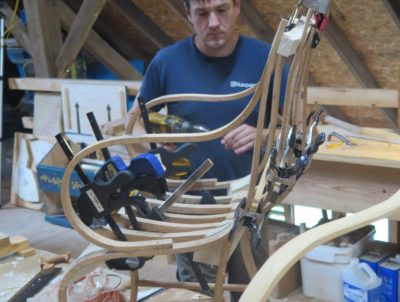
One “complication” is that the slats must be off-set front-to-back so that they are staggered in order to impart the “elastic” leaf spring function to the chair as a whole. The is accomplished by using spacers between the slats just above the rear seat rail. Only after this configuration is achieved can the half-blind dovetails in the front seat rail be layed out and cut.
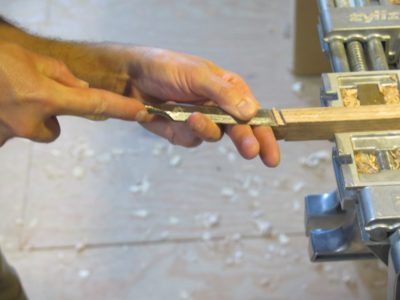

The dovetails themselves are a piece of cake, literally a minute or two per joint. The pocket mortises chopped into the rear edge of the front seat rail are a bit more involved but still not hysterically complex.

Once this is done the tops of the slats can be marked and the tenons cut.
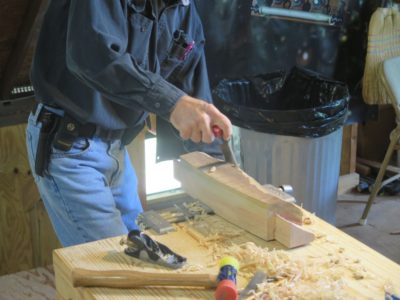
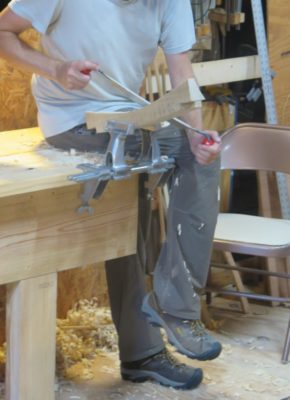
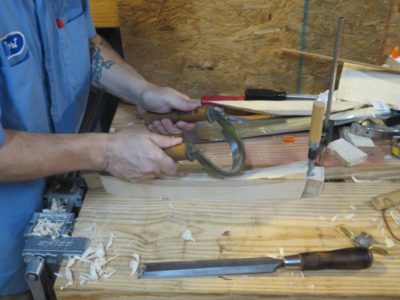
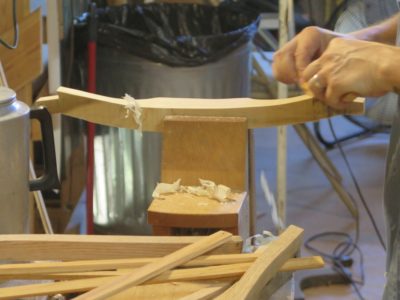
Fitting and shaping the cross-chair elements is at the heart of turning this pile of parts into a structural construct capable of supporting a sitting body. This takes a lot of time.
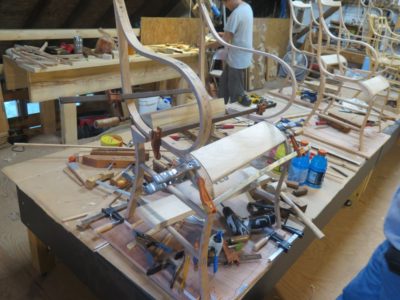
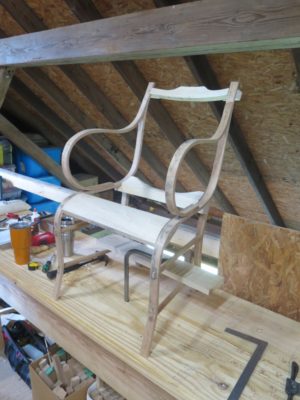
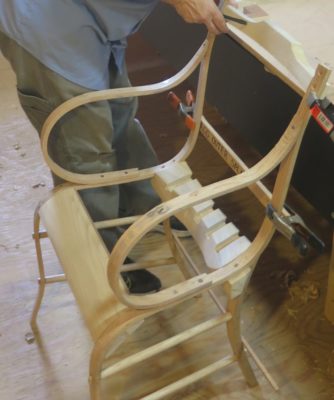
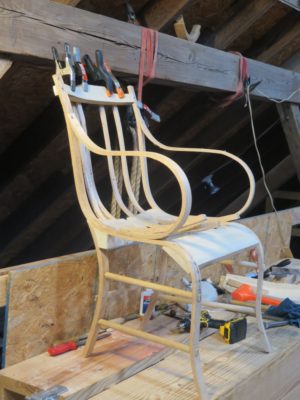
As the cross-chair structural elements were added and shaped it was time to move on to the work of shaping and thinning the continuous seat/back slats. My experience has been that these must be bent full thickness over the whole length, then the section beginning with and above the rear seat rail must be thinned by hand, usually with spokeshaves or drawknives to the point where they are appropriately springy. Concurrent with this step is cutting the dado troughs for the slats in the rear seat rail and there is a fair bit of back and forth getting them to fit properly and be properly springy so that it can all go together in the end.
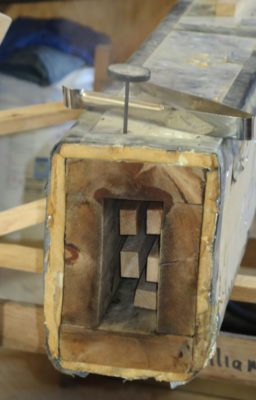

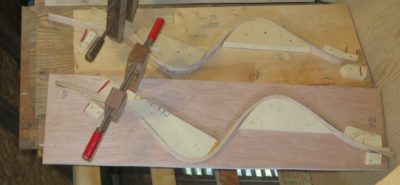
Since one of the students had very limited experience with steam bending I loaded up the steam box with chair parts and went through the entire process with him so that he could get the “feel” of how each of the parts was cooked and formed.
By Day 3 we were deep into the woods of Fussyville as curved and tapered parts had to be individually fitted to each other. There was no straightforward way to do this, you just gotta nibble away and sneak up on it.
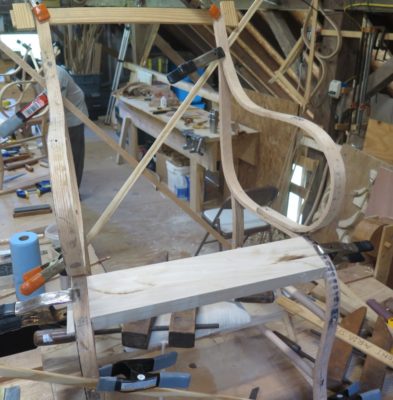
With the front seat rail being the easiest cross chair element to fabricate and fit, it was time to move on to the rear seat ail and the crest rail. One of these is simple, straightforward and only takes a short time to get roughed and begin the shaping. The other is a complete pain in the kiester. These can be addressed in whatever order you choose, and in fact the students chose different orders.
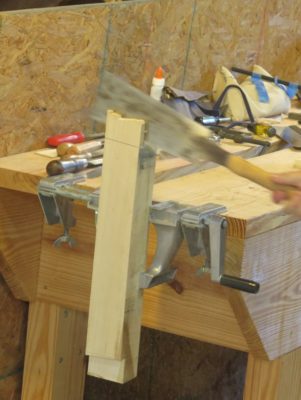
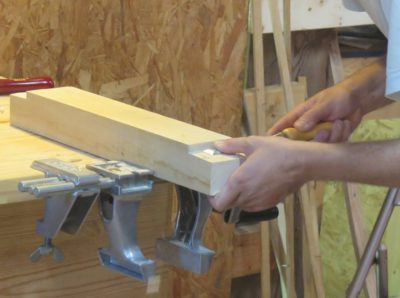

The easier one is the crest rail, which like the front seat rail is a glorified rabbet/lap joint for an element that is afterwards cut on the curve and the profile.
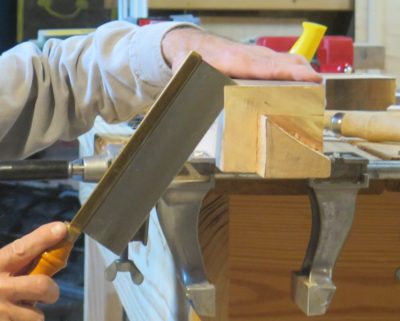
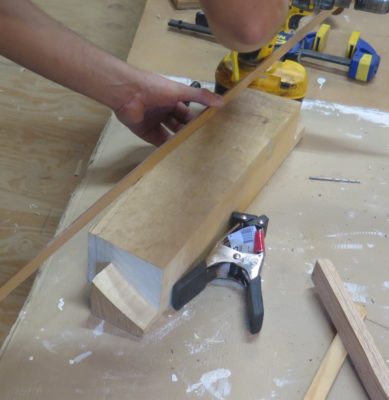
The royal pain is encountered when cutting and fitting the rear seat rail, an exercise that can take the better part of a day. I am convinced Gragg found a simple way to do this, perhaps even an easy way, but I have not yet re-engineered it so thus far. I’ve built eight chairs and every one is a struggle at this point.
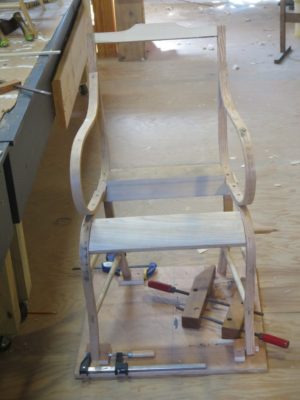
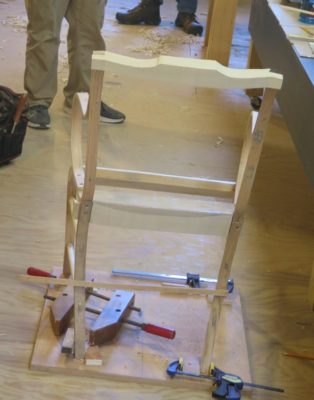
Finally the pieces get screwed together temporarily in order to move on to the next steps. Though it might feel like you are on the home stretch now, unfortunately you have just barely arrived at the halfway point in the construction process.
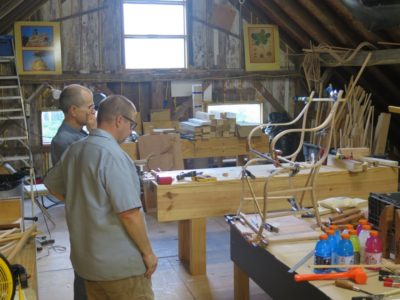
Early on Day 2 everyone had their side units assembled and thus began one of the more frustrating parts — getting the baby up on its feet. As I often say about Gragg chairs, you are not so much constructing a chair as you are assembling curvilinear sculpture in three-dimensional space.
To assist in the process I had constructed for each student an assembly jig including four stirrups indicating the location of the four feet. Combined with a few diagonal struts held in place by spring clamps, the correct posture was assured with the use of a bevel gauge to make sure each side was canting in the proper direction at the correct inclination. Now it was time to start fabricating and fitting the cross-chair elements, the front seat rail, the rear seat rail, and the crest rail. It sounds so simple but when you start fitting structural elements to curved and tapered components it suddenly is much less simple.
I learned two important items today to add to the “To Do” list in case I ever host this workshop again: 1) make a story stick for each student so they do not have to spend so much time measuring and remeasuring, and 2) have a fully dis-assemble-able chair so that it is quicker for me to explain how the parts fit together. I am working on that project right now. Perhaps a third thing is the hindrance of always working alone, repeatedly I would find myself forgetting to say out loud parts of the conversations going on inside my had, conversations that actually yield useful information about the “whys” and “hows ” of doing things.
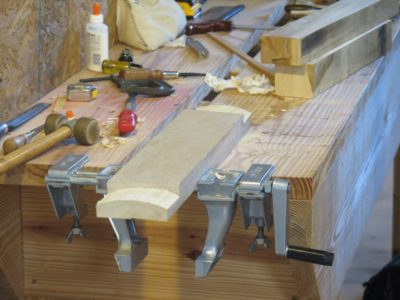
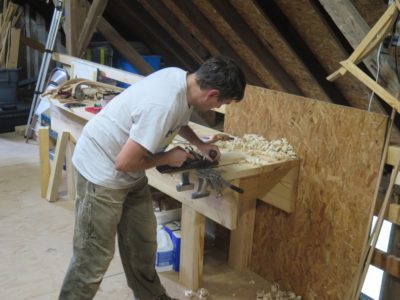
The easiest of the cross-chair structural elements is the front seat rail, so that is where I had the students begin. I had found that using a Zyliss vise is most beneficial to the Gragg chair building process so I made sure each workbench was outfitted with one. By the end of the class each student was a big fan of the tool.
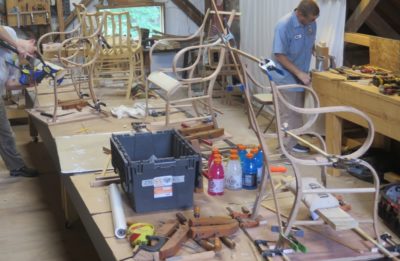
Near the end of the day it was a thrill to see the inventory of chair forms emerging on the assembly table.
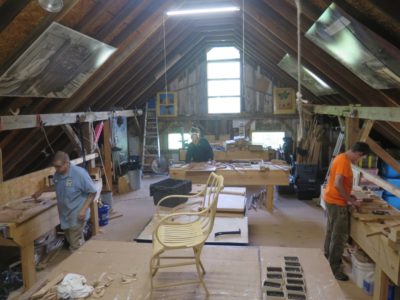
Bright-eyed and bushy tailed everyone hit the ground running Monday morning, assembling the two side units that are the starting point for the chairs. I made an assembly jig for each person to use as I do not know how to actually build a functioning and symmetrical chair any other way. Although our records of Gragg’s working methods are scarce, I would pretty much bet the house that he built his chars in a similar manner.
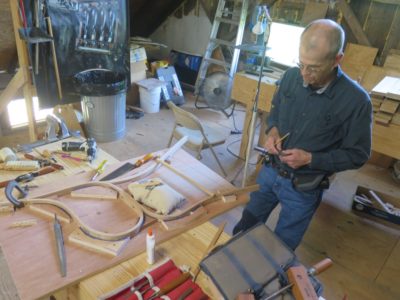
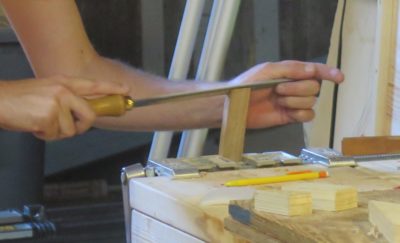
The first steps in assembling the chair out of its multitude of parts were fitting the serpentine, curved arm, and rear leg together, requiring only some trimming with a saw and a rasp, and screwing the parts together.
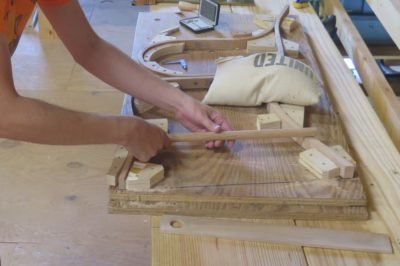
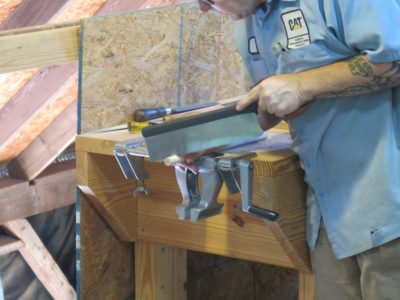
After that comes the first of many fussy stages, although not to the points of exasperation that were awaiting everyone in the days to come. This one involved laying out and cutting the stiletto tenons and their companion mortises for the side rungs. It was one of my improvements over Gragg’s original techniques as this was a much stronger and more robust joint than his full-sized drilled hole through the legs, many/most of which have fractured over the centuries.

Just to make sure it remains that way the joint is glued and pinned with a small brad, a construct I have found to perform superbly.
One final but not insignificant issue for the day and week was the heat. When I first contemplated this event eighteen months ago I thought the final full week of August would be a nice fit. Normally here in the mountains the last week of August is more likely to be the first week of autumn with chilly nights and mild days rather than the last week of summer. This was a central consideration given that the only place big enough for the workshop was the fourth floor, immediately underneath the asphalt-paneled roof. We’ve even had frost this week in years past, but not this time. It was the hottest full week I’ve seen here in twenty years. I kept as much air moving through the space as I could but it was just barely tolerable at times. Two participants preferred warm/hot weather, but for us Minnesota boys it was on the edge.
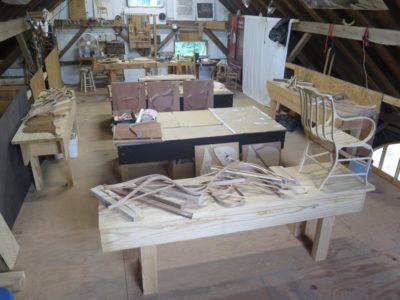
With the three students in-house by Sunday evening of last week, we began with a quick tour of the attic space we would be using for the chair building; it was the only space large enough for the four of us to be building four chairs simultaneously. We were delighting in the acquaintance-making yet tempered with the knowledge that the fourth student, one of my earliest and most ardent Gragg enthusiasts, had died suddenly and unexpectedly last month while I was preparing for the workshop. His memory was never far from my mind through the week.
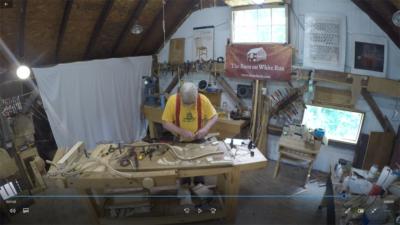
We then descended to my second floor studio where I treated them to the uninterrupted (except for my commentary) hour-long time lapse video of my “40-hour Challenge,” allowing them to see the entire process from beginning to end. With that, we were ready to hit the ground running Monday morning.

I’ve got one opening for a student in the six-day “Make A Gragg Chair” workshop, the last week of August, and two openings for “Historic Woodfinishing” over Columbus Day weekend. If you are interested drop me a line at the “Contact” page.


Recent Comments