Since the “business” side of the trip through The Heartland was finishing based with my presentation to the Groopshop 2015, I failed to bring even a small woodworking tool kit with me. That oversight will not happen again. From this point on, whenever I am traveling to an unknown location, by that I mean a place where I have not stashed tools or do not know of the inventory of tools, I will carry a bucket o’ tools.
Once on the ground and our daughter’s house I realized that several days of necessary woodworking would commence. After conducting an inventory of tools available from my truck tool kit, my daughter’s car tool kit, and my pocket multi-tool etc., an additional small inventory of tools would be necessary.

I visited the closest ACE Hardware, which at one time was the largest ACE Hardware in the country before being surpassed by some larger ones elsewhere. It was the size of a Wal-mart, and became a daily visit for me. Since I would be fitting a lot of trim, the first two tools we bought were an Irwin brand ryobi saw and a Fat Max set of chisels, along with a plastic triangular speed square and a nail set.

The saw was a perfect fit for my tasks and the “shop” outfitting, and I have been exceedingly impressed with Fat Max chisels to the point that I own two full sets and some additional chisels too. I first bought a set when I was doing some rough carpentry, thinking they would be disposable tools I wouldn’t worry about too much if I hit a nail. Much to my surprise they have turned out to be superb tools, flat and well prepared when they leave the factory. But, they do need to be sharpened and the hardware store was ill-stocked with sharpening stones I would have bought. More about that tomorrow.
We next made a stop at a thrift store, where I bought a back saw ($2) and a block of fake marble back splat (0.50) to use as a sharpening surface. I’ll blog about the saw tomorrow, ditto the block plane we picked up at a yard sale for $2 along with a nice little brace for $3. One final stop at another antique barn yielded a nice pair of very large wood screws for $5 a piece, along with a large box of washed and folded linen feed sacks for 75 cents apiece (darned near perfect finishing rags!) and a sweet Stanley #7C for $15. These last two items were unrelated to the commencement of work at the rental house.
Recently we spent a week helping our daughter get settled into her new home in The Heartland. Originally we were to spend only a couple of days with her, meeting the moving truck and helping to get things arranged in her “turn-key ready” rental house. Well, the first thing was that Mayflower was five days late in getting her stuff there, and 2) that was probably a good thing as the house required a week’s worth of home-improvements to get it ready to live in.
Since I had not brought my remodeler’s tool kit with me, some improvisation was required. Even though there was no real “workshop” in the house there was something akin to a workbench-y thing in the basement, and with a few strategic purchases at the hardware store and some local thrift stores/flea markets, a full range of woodworking undertakings was possible.
While I was not making “fine furniture” I did end up doing a lot of trim work, including patching holes in the hardwood floor, replacing missing moldings, working on window locks, and actually grafting in some new material into the jamb for making the mortise for the back door deadbolt lock.
Along the way I learned, or more truthfully reminded myself, that a fully-equipped workshop with an exquisite workbench with the finest tool set was not required to do a lot of good work.
Next time: the hardware store essentials (new tools).
On my recent jaunt through The Heartland I stopped to visit my old friend RickP in northwest Arkansas, and got to see in person the amazing table Rick researched over a two decade stretch and constructed from around 2010-2013.
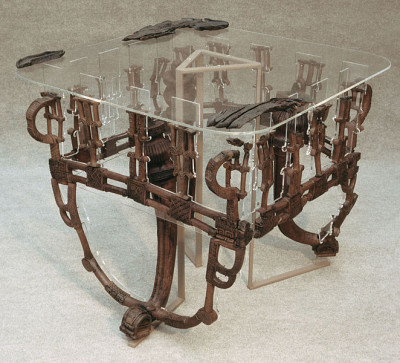
The original table, shown above, was excavated from the c. 800 B.C. archaeological site of Gordion, Turkey.
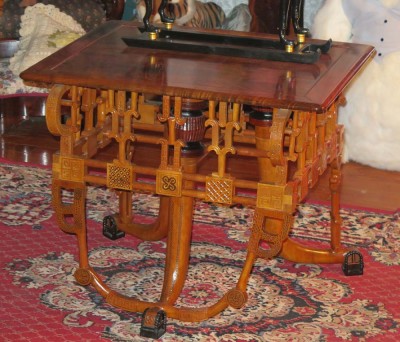
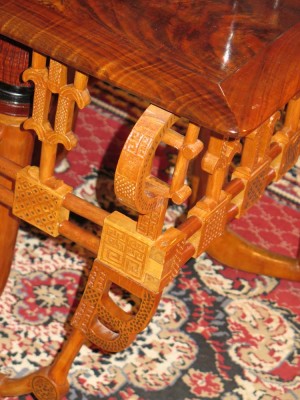
The table is a tour de force of design and fabrication, and one of the most astounding examples of contemporary woodworking I have encountered. While the design might be almost three thousand years old, the fabrication is obviously contemporary, as Rick is gladly still with us and approximately my vintage. The detailing on this table is simply eye-popping.
To me the most compelling overall design feature is the means by which the original builder three millenia ago figured out how to make a four legged table compatible with what was probably an uneven, perhaps even dirt, floor. What they did, both the original maker and Rick, I mean, was to combine two of the legs into one foot, in essence turning the four legged table, which would always be a problem on an uneven floor, into a three legged table, which would never be unsteady.
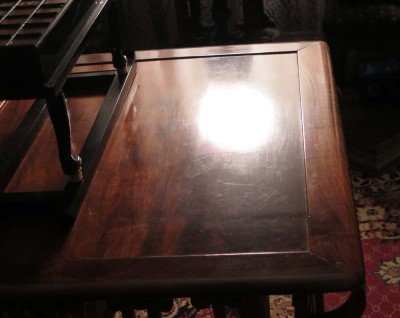
The original table was constructed of boxwood, if I recall correctly, while Rick used ancient kauri wood for the base and walnut for the top. In keeping with the flavor of the wood, Rick used kauri copal resin as the finish, employing a varnish component far more ancient than even the original table.
Rick just sent me a copy of the paper he presented at the American Institute for Conservation Annual Meeting two years ago, where I was part of a presentation at another session of that meeting even though our paths did not cross there. Rick’s paper will be available at some point at the archive for the papers from the Wooden Artifact Group of the AIC, and I hope in the meantime that Rick can someday get it into the more popular woodworking literary world.
I mean, who wouldn’t be fascinated by the prospect of replicating King Midas’ table? I know there are features of the table informing my future furniture-making designs.
Several months ago a thread discussion on Groopmail revolved around the question, “What can be used as a substitute for gold leaf?” My answer was short. “Nothing.”
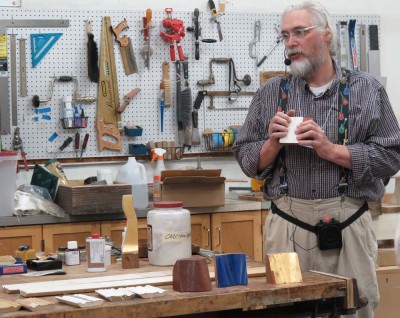
In response to much of the discussion I presented a brief demo about gold leaf at this year’s Groopshop, showing real gold leaf, which was the first time many of the attendees had ever seen it in the flesh; my preparations for the ground beneath the gold leaf, and finally the manipulation of the leaf and its laying onto the substrate. It was, in short, a more brief version of my talk at Woodworking in America last year.
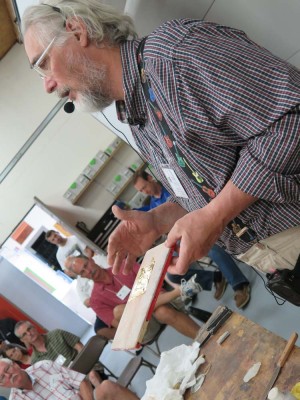
The actual demo was less successful than I would have liked, mostly due to the atmosphere in the room, but it did give a good idea about the process.
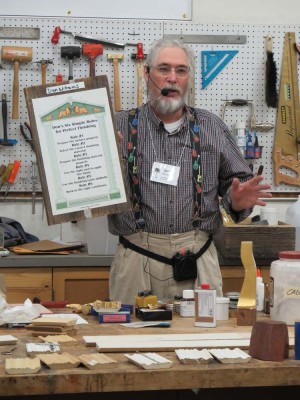
Gold leafing brings into focus the importance of the first of the Six Rules for Perfect Finishing — if the substrate is not well prepared, nothing else is going to work out well.
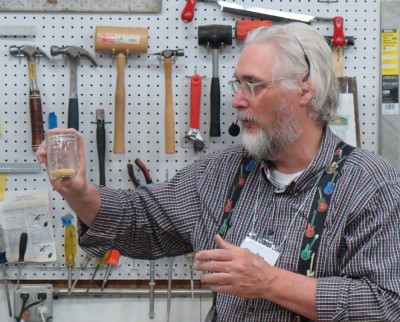
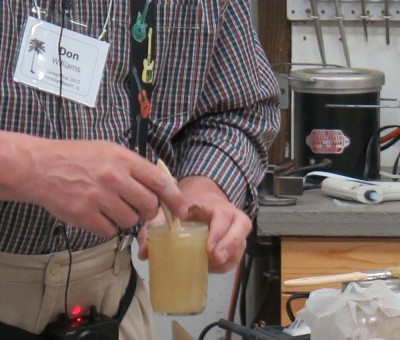
I moved through the preparation of the glue base for traditional gesso using a dilute solution of hide glue (I started out with a 10% solution of 444 gws glue granules in distilled water)
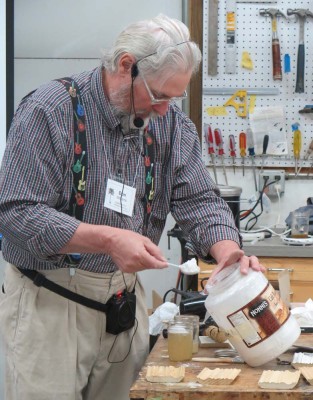
then the mixing and application of gesso itself,
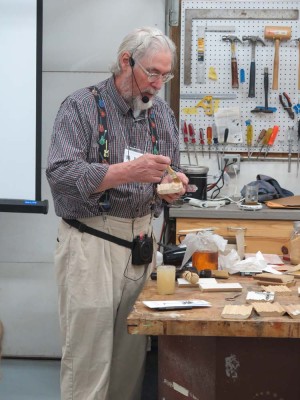
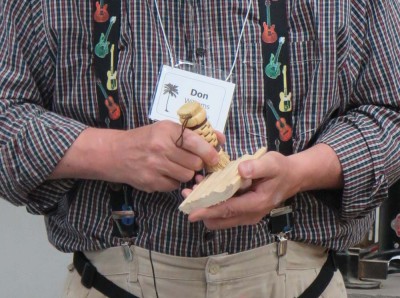
smoothing the gesso and applying the bole. I’ve found that a polissoir does a terrific job a working the surface after I use abrasives of scrapers to get it ready for the next step.
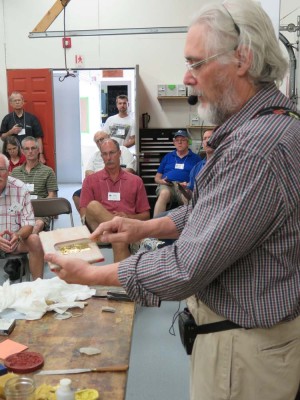
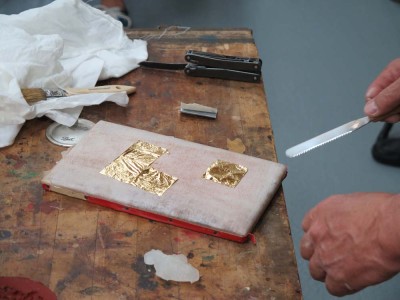
Then I moved on to the handling of the leaf itself on the gilder’s pad, readying it for the application over oil size or by water gilding. Like I said, the room was a bit iffy for the process, but at least they got the idea of how it is done.
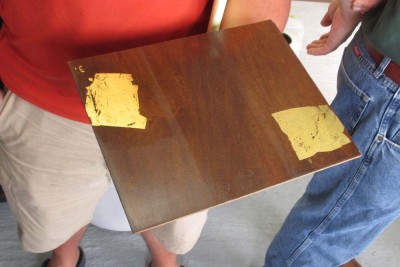
One of the things I did ex poste that was a lot of fun was to apply a layer of Finish Up to a panel and lay gold leaf into it immediately. Definitely something worth exploring further.
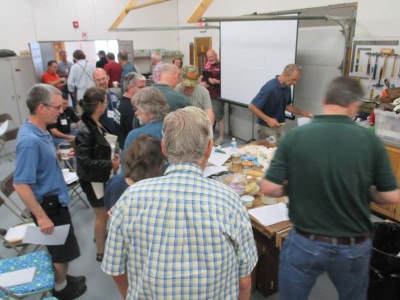
For almost a decade and a half I have been an active participant in the on-line discussion, The Professional Refinisher’s Group. What began as a custom crafted email list with mostly strip-and-dip shop proprietors in attendance it has over the years evolved into a sophisticated lightly-moderated forum for conversations surrounding the practices of finishing and furniture restoration. Soon after I joined, the idea percolated for Groop, as we affectionately call this entity, to grow into something greater than, and more personal than, a daily exchange of email threads. In response to this impulse we have gathered periodically in the flesh to have times of fellowship and learning.
Recently I attended, learned, and presented at Groopshop 2015 in Pontoon Bach, Illinois, hosted magnificently in the spacious and tidy shop of John Hurn and John’s associate Michelle Veit, (with a ginormous shout-out to Mrs. Hurn and their daughter). Both John and Michele are graduates of the famed (and now demised) Woodfinishing Program of the Dakota County Technical College in Rosemount, Minnesota, just south of St. Paul. My beloved friend Mitch Kohanek was their instructor and mentor at DCTC, as he was for many of the artisans in attendance.
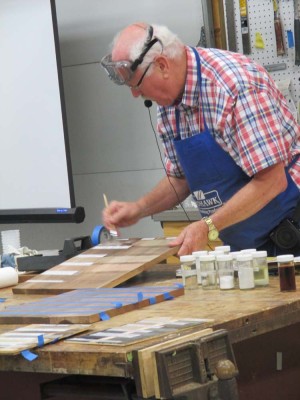
I learned immensely from the other presentations, ranging for retired Mohawk technical services guru Greg Williams’ demonstrating wood bleaching and the use of “Finish Up,” an ultra high performance waterborne urethane that blew me away.
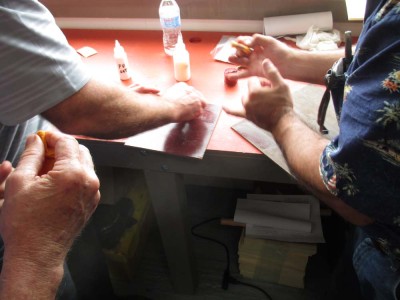
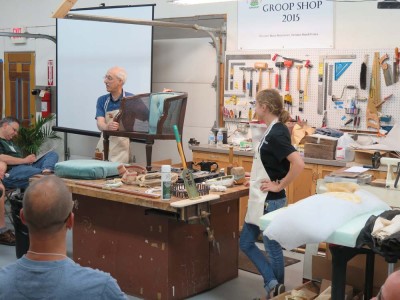
Other sessions included Mike Mascelli’s demos (with Michelle Veit) on upholstering techniques and materials.
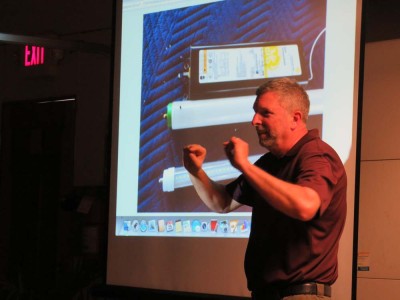
Fred McLean gave us some great insights gleaned from his recent explorations of lighting options for the shop, resulting in better illumination and dramatically lowered costs.
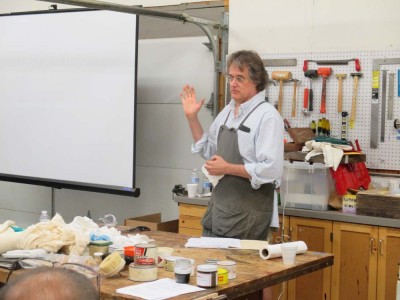
Martin O’brien shared his passions about paste waxes
I was actually so busy paying attention that I didn’t take as many pictures as I should have. Missing from the pictures are Ben Myre’s discussion of shop marketing, Mark Faulkner’s presentations on shop business strategies and accounting, Freddy Roman’s demonstrations of veneering and banding, Randy Bohn reminiscing about a thirty year career in the antiquities restoration world, Dave MacFee talking about upscaling mundane projects into revenue enhancers, and Karl Kennedy leading our wrap-up discussion.

I presented a session on gold leafing, and a practice run of the HO Studley talk I will be giving at the upcoming Woodworking in America. I’ll post about that next time.
If you are hankering for an excellent forum for discussions on all things finishing and furniture restoration, give “Groop” a try. You won’t be sorry you did.
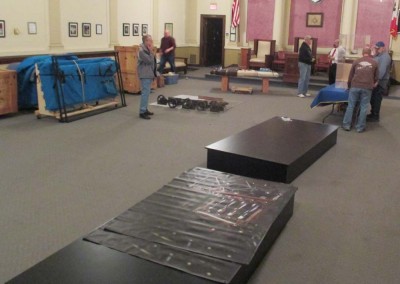
When closing down the HO Studley exhibit, one of the things I had to do was remove all of the exhibit paraphernalia from the exhibit hall, including the exhibit case for the tool cabinet, but also the platforms for the workbenches. This required me to rent a large cargo van to fit it all in for the drive back home.
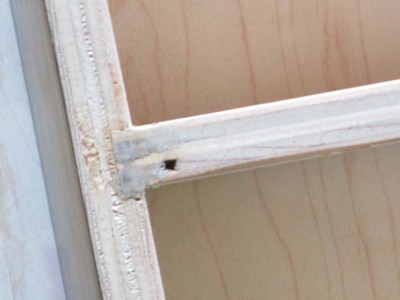
I haven’t figured out what to do with the exhibit case, but the platforms are already recycled into terrific assembly tables. Inasmuch as they were exceedingly stout well-buily 4×8′ platforms with 12″ skirts, all from cabinet-grade tulip poplar faced 3/4″ plywood, they were easily transformed into these new accouterments in the barn.

For each platform-now-table I took a single 8-foot 4×4 and cut in into four identical sections to serve as the legs. At each corner I screwed a leg into the two converging aprons, then affixed big casters to the bottom of each leg, flipped it over, and viola, a new and lovely work table!
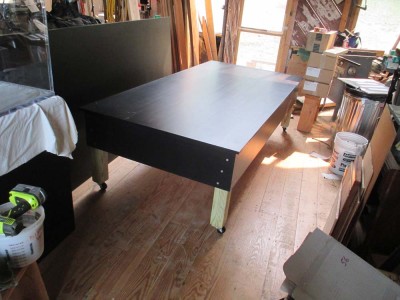
I moved one into my main workshop to serve as a workstation for either conservation or assembly projects, and the other is currently against the wall in the classroom. But since they are both on wheels, it is 100% likely that they will simply be moved from place to place depending on the needs of the moment.
It sure made me glad I am no longer bound by the 220 s.f. footprint of my former shop in the basement of the Maryland house.
It has been said that in characterizing the participants for a ham-and-eggs breakfast, the chicken is a contributor, but the pig is committed. While it is not a perfect analogy, I am mindful of the commitment of the many hundreds of folks who took time and trouble to come and see the Studley exhibit. I have a special warm place in my heart for the several dozen attendees who met me with greetings from foreign places around the globe: Finland, England, Germany, Italy, Austria, Mexico, Massachusetts, Canada, New Zealand, and Australia, which sent a substantial contingent.
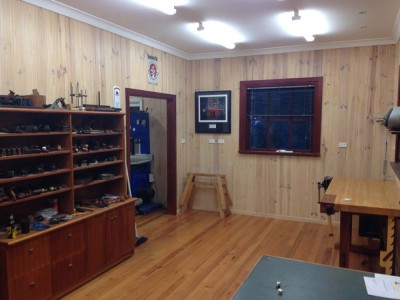
The poster child for this might very well be MattR from Melbourne, who reveled in the exhibit with a gregarious intensity that was infectious. When I announced during his original time period of 11AM-noon on Sunday that given the sparse attendance expected for the final stretch I was going to extend visitor privileges on that final afternoon, he immediately bought another ticket for 3PM and stayed with us until the bitter end.

Recently he sent a note of thanks and congratulations, and included pictures of his copy of Narayan’s poster and his exhibit admission ticket, matted and framed together, displayed prominently in his very cool shop.
Yeah, passionate aficionados like MattR from Melbourne made it all worthwhile for me, so thanks MattR!
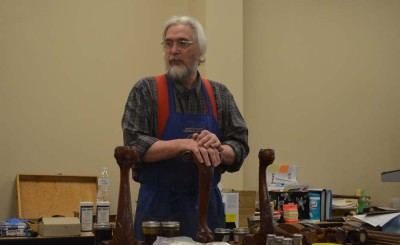
This year I was invited to be a presenter at the SAPFM Mid-Year Meeting in Knoxville. My topic was “Making New Finishes ‘Look Old’,” a theme that built on my presentation of four years ago, “Traditional Finishes.”
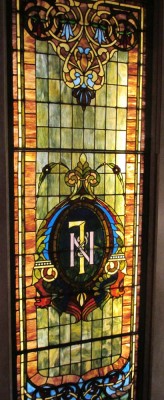
The host of the East Tennessee Historical Center was a wonderful choice, not the least of the reasons being some magnificent stained glass, for which I am a total sucker.
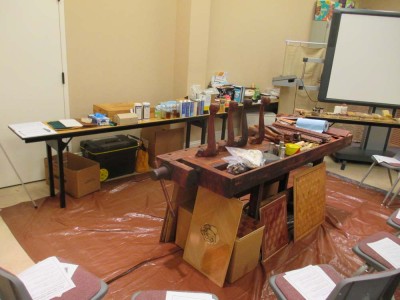
They also provided a near-perfect setting for theater-in-the-round demonstrating that I like so much.
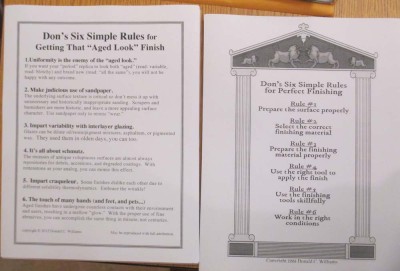
Just like my Simple Rules For Perfect Finishing, I created a set of Simple Rules for Getting That “Aged Look” Finish. There was great demand for the information, and I will no doubt include it in the upcoming Historic Finishers Handbook, the manuscript for which I will begin as soon as I get done with R2.
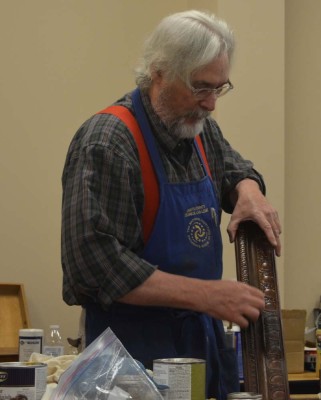
I touched on and presented the techniques for doing just that, including various approaches to hand rubbed finishes, shading and highlighting the varying surfaces that would be the result of generations of use and environment, adding the requisite schmutz that builds up in the crevices of furniture over the decades, and finally working out on the ledge of “controlled craqueleur” that understandably inspired fear and shaking heads throughout the room.
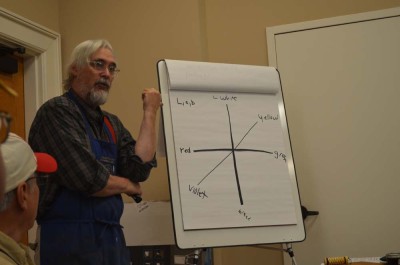
Our sessions went far afield at times — at SAPFM Mid-year the speakers give the same two-hour demonstrations three times in a row on the same day — including forays into color theory, gloss and transparency, refractive indices, and of course a cursory review of traditional finishing materials and methods.
It seemed as though a good time was had by all, at least there were no career-ending injuries. But at the end of the day, I was ready for bed.


Recent Comments