
When restoring a plane iron my starting point is always flattening the back, a frequently arduous task as a surprisingly few irons have undergone such a corrective action. As a result, the time and energy for this step is an outsized proposition. Even with coarse stones, diamond plates, or abrasive paper, flattening the back of a derelict iron can be a real workout. Generally, I’ve found that it is practically impossible to work the iron too hard on the abrasive, whatever it is. And, although I have pretty big, strong hands, it can be wearying session. To make it less of a nuisance I need a force multiplier.

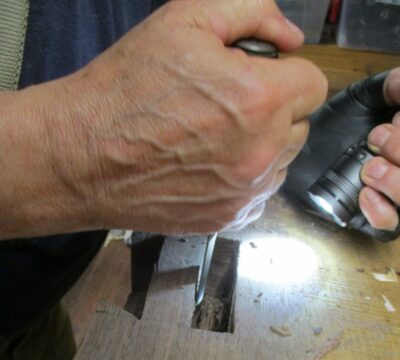
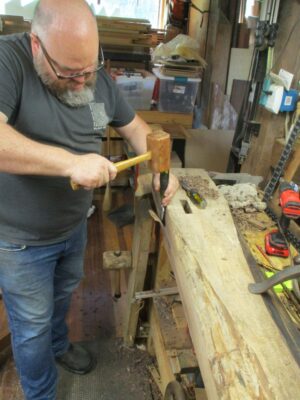
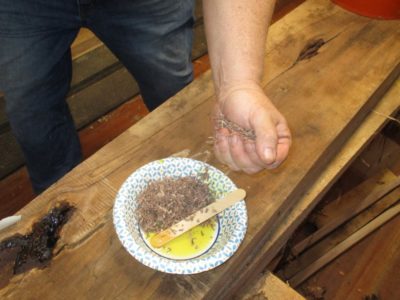
This is where The Magic Stick comes in handy. This fundamental tool was introduced to me by my late, lamented and much-missed work pal Mel Wachowiak (his obituary is still tacked up in my shop), who in turn learned it from somebody working on a Japanese plane iron. The tool is beyond basic but required for a new Japanese blade as the “grabbable” real estate for handling the blade is roughly half that of a Western blade.

With the Magic stick you can really, really bear down on the blade when working it on the stone or sandpaper or diamond or whatever.
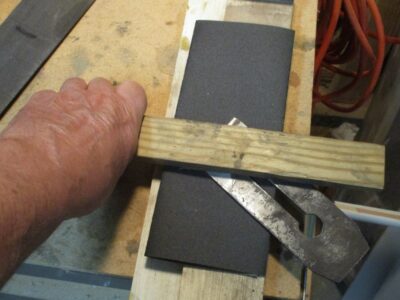

By gluing a piece of very coarse sandpaper on the bottom of the stick with epoxy, and pressing that coarse surface against the upper side of the iron, you are no longer limited by hand strength and endurance for flattening the back. You can basically impose the downward force of your entire upper body on the workpieces with surprisingly little effort. This approach cuts my work time for the initial set-up of the back by at least 75% and at times 90%.
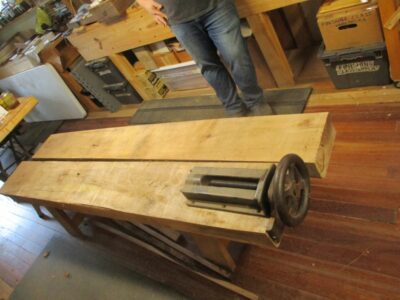
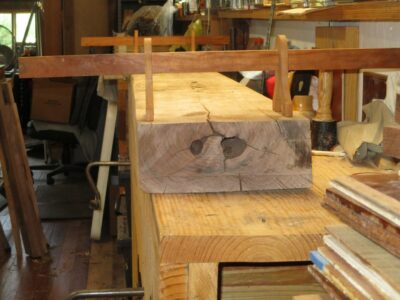
Recently I brought up to snuff a narrow coffin plane that had been originally used as a semi-scrub plane, and it had been worked mighty hard if the mushrooming of the iron heel was any indication.
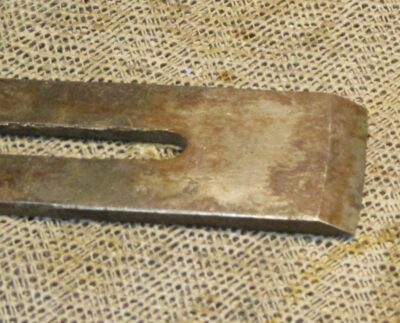
Looking closely at the iron I saw that the bevel had been established on a bench grinding wheel or something similar. But the edge had never been honed and the back never flattened. The iron was essentially straight-from-the-factory forge. I knew this because the fire scale had never even been touched! (I’m still kicking myself for not getting better pictures of this.)
Fire scale is the deposit that forms on the surface of metals when they are worked at high temperatures, it is the stuff that sloughs off when a blacksmith is working a piece of wrought iron or steel. Not being a metallurgist I am not 100% clear on the composition of ferrous fire scale. All I can tell you that it behaves carbide-ish, hard and tough. Very hard. Very tough.
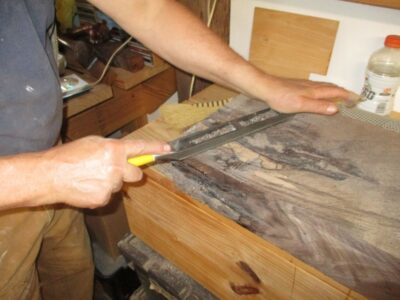
So, on this blade I had a lot of fire scale that needed to be ground off to accomplish the preparation of the vintage iron blade. Just abrading it on a diamond stone was brutal work by hand, but with the Magic Stick it was doable in about 10 minutes. BTW, the carbide-ish ferrous fire scale was so tough that it trashed my 120 grit diamond stone. Absolutely trashed it. I wound up doing most of the work on a piece of folded silicone carbide paper.

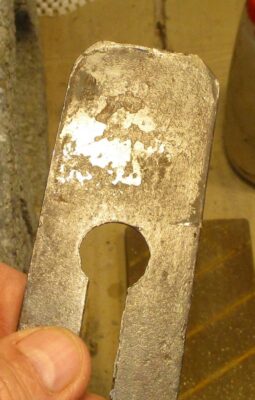
Working my way up through the grits on diamond and water stones, a dozen seconds at a time, was a piece of cake thanks to the Magic Stick. This blade is not the previous one with extreme camber, but an example of a blade back that was prepped in just a few minutes.
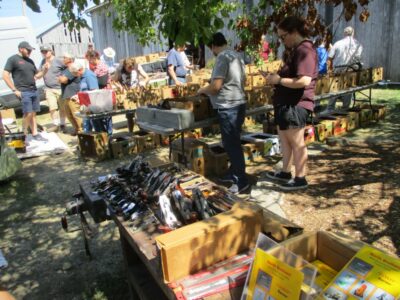
I am not a tool collector per se. I am a tool acquisitor, but that is a whole different mindset. I own fewer than a dozen collectible tools – my Robert Towell and Raney Nelson planes, a Chris Laarmans finger plane, a Laarmans router plane, a set of Otner-Botner luthier’s planes, perhaps a couple others — but my inventory of acquired tools is always in flux. I am always on the lookout at flea markets and tailgating events to find tools that I can rehabilitate and find them a new home to someone who needs one of them. Sometimes the refurbished tools go to family, some go into the wooden box marked “tools for Lil’T”, and some go to friends or even friends I’ve never met. Such was the case a couple years ago when I was able to send several boxes of tools to Rob Hanson in the aftermath of his shop and all its contents turning to ashes in the Paradise Fire in California. I counted it as joy to send them even though we had never met, because it was the right thing to do.
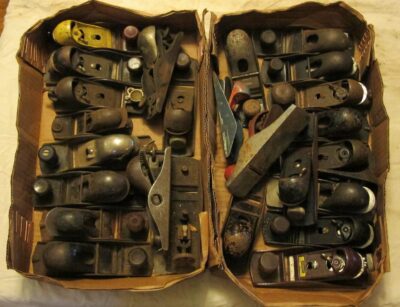
One of my very favorite things is to buy boxes of old block planes to tune up and give away to new woodworkers. One sharp tool can make a difference in charting someone’s passion for woodworking.
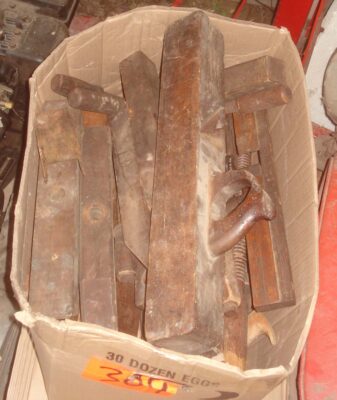
I often purchase wooden body planes even if they have no iron, and often purchase irons even if they have no plane. As long as they are basically in good shape I can eventually make something of them, combining an iron from my drawer full of irons with a body who needs one. Then I can find some body who needs the finished tool.
NB — for guidance on restoring all manner of iron planes and other woodworking tools, Ralph Baumenot’s Accidental Woodworker is the reference, a must read for me on a near daily basis.
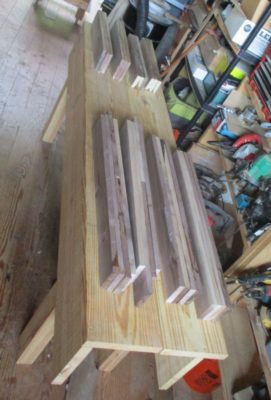
I am currently rehabbing a series of wooden body plane irons, good projects in that they can be worked on a few minutes here, a few minutes there.
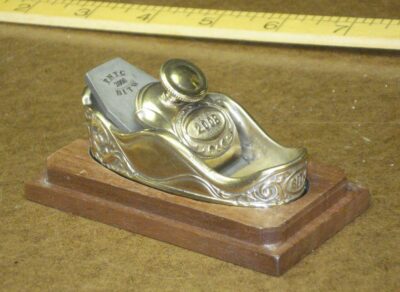
When working on an iron that is in really rough shape, or even sometimes brand new, I find my most valuable tool to be “The Magic Stick,” two versions of which are illustrated above.
You’ll find out the Why and How next time, along with a cut list.

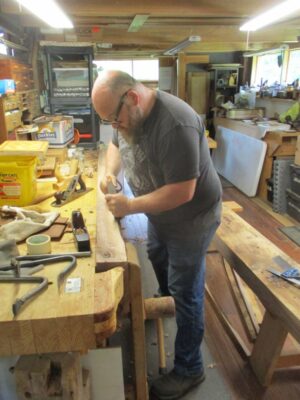
Chopping mortises and fitting tenons.

I am fairly confident that had Roubo’s contemporaries owned Shinto rasps, they would’ve used them That’s my story and I am sticking to it.
That is all we did, all day. That, and listen to music.

Then, with the gentlest taps possible we put the pieces together for the rear half.


Since the whole thing had to be disassembled for the trip home we made little effort to get it, well, all together. We did just enough to know that it could go together once it got there.
Saturday foot traffic to the booth was less than Friday’s, although the demo and product interest remained the same. Since John and I had zero time to wander the town on Friday we each took an hour in the early afternoon to do just that. There were scads of toolmakers I had never seen, although to be honest I was unable to browse HW2015 (Studley tool cabinet exhibit) or HW 2017 (working the booth all alone).
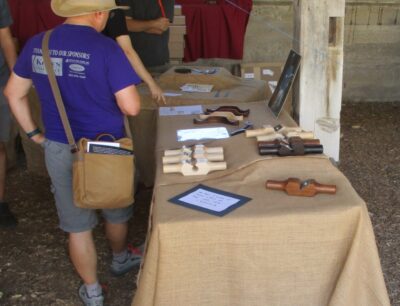
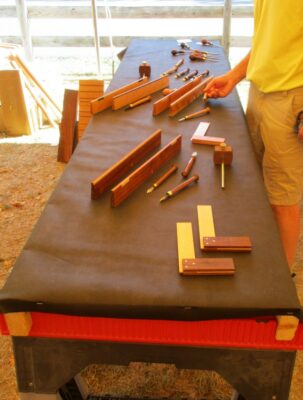
Here’s the pictorial travelogue with minimal commentary. NB – My effort of traveling photojournalism was greatly hindered by the crowds, which were much more than in the Festhalle. Still, I hope you get a taste of the many flavors present.
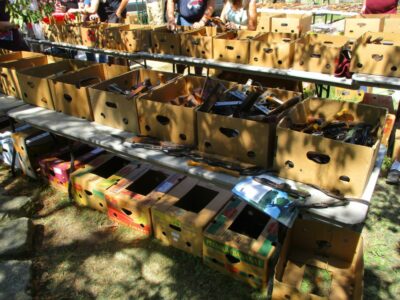
Just outside the Festhalle was this most impressive inventory of vintage tools.
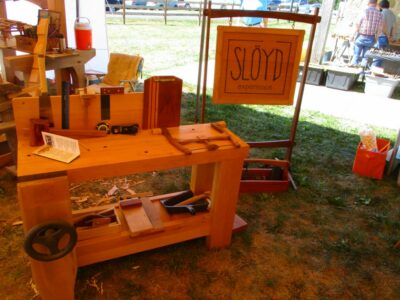
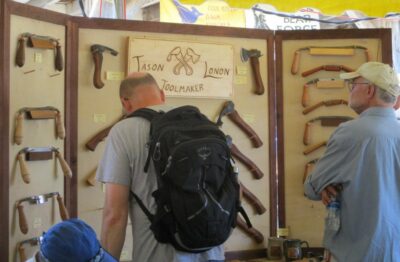
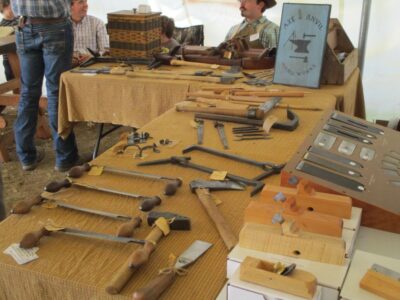
Wandering over to the stable area with its big circus tents, the feast continued.
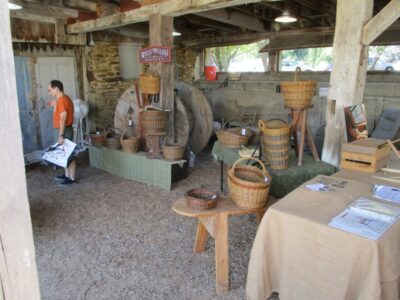
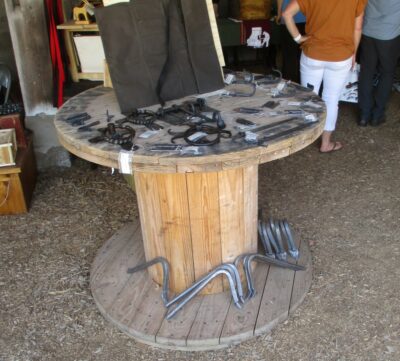


Immediately adjacent to the stables were a pair of circus tents, chock full of baubles but mostly packed with people (hence the paucity of images).

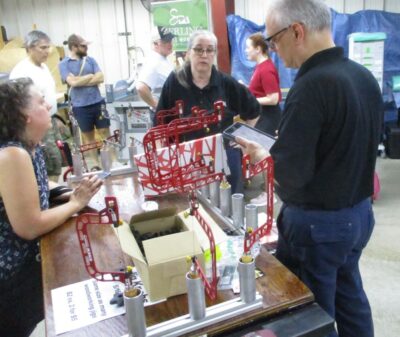
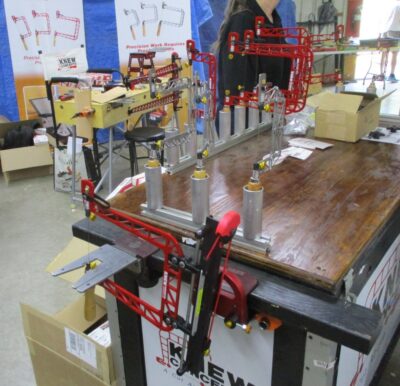
Wrapping up the walking tour at the Amana Furniture warehouse room, I was especially impressed with the Knew Concepts display, including the large vertical chevalet, for which I was an enthusiastic collaborator an own Serial #1, and its new little brother.

The crowds in the stable, tents, and warehouse were such that I was only able to photograph about one third of the offerings there.
Then it was time to get back to the Festhalle and finish up the day, pack up, and head for home first thing the next morning.
Beginning even before “Starting Time” we were inundated with a constant stream of visitors and the Donsbarn.com booth (the cracks in the barn door opening was soon breached by boomer sooners, who were eventually told to get out until 10 AM). I was working one aisle, John the other, and engagement was spirited.


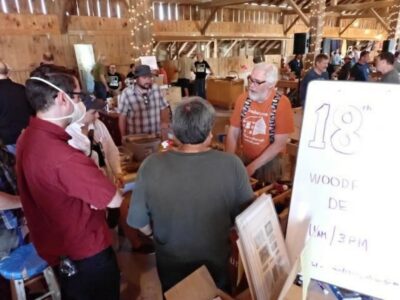
As I alluded in previous posts I had decided to give two 45-60-minute demonstrations of taking a parquetry panel from the rough to glossy, including the preparation and use of the polissoir. Each of the four demos was well attended — 15-20, which was all about the capacity of my 10′ x 10′ booth — with the observers arriving early and staying until the end. The 11AM demos were focused on cold beeswax finishing with true French polishing (wax and water), while the 3PM demos were all about molten beeswax followed by spirit varnish pad polishing.
Not much more to say or show visually, we were engaged with the flowing audience non-stop through the day, and we did not catch our breath and sit on out stools until 4.50, ten minutes before closing.

Awaiting show time Saturday morning.

Our booth was a perfect location for the Roy Show, but he stood exactly behind the post in the center of the frame.
The only difference in Day 2 was the huge crowd at the beginning of the day as the doors were opened at 9.30 in advance of the presentation by Roy Underhill. The rest of the day Saturday was much like Friday, with the only difference being that each of us were able to do an hour long walkabout to visit all the other venues and toolmakers. I’ll show some pics from my walkabout next time.
There’s actually a bit of overflow from Day 1 but this is mostly about Day 2 activities.
The regions of epoxy/sawdust fills had hardened, and then flattened with a variety of tools like Surform, Auriou, and Vixen files and rasps.
We started off by spacing the legs on the top. This was easy enough as Tim was going to use his sublime Studleyesque piano-maker’s vise as the tail vise for the bench (of all the piano makers’ vises I’ve seen it is the closest one to Studley’s). We set that in place and laid out the leg joints accordingly to be symmetrical.

Tim was so taken with this German horned toothing plane I made sure to send it home with him. I liked it a lot too, but I have another dozen toothing planes. Still, if I find another one like that one…
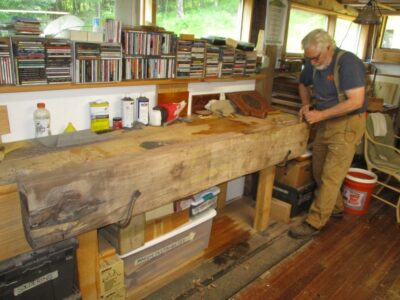
Since I do not possess the industrial scale machines to flatten and square the slabs we had to do all that by hand. Our goal was not to accomplish pristine smooth slabs but rather get them square, flat and true, at least in the regions of the joinery. For the most part this was done with scrub and toothing planes, the final surfacing will be done by Tim next spring after the bench has been up on its feet through the winter.
Once again, with timbers this massive the Roubo winding sticks were worth their weight in gold. This started out with a wind of ~1/8″ and is now just a whisper from finished.


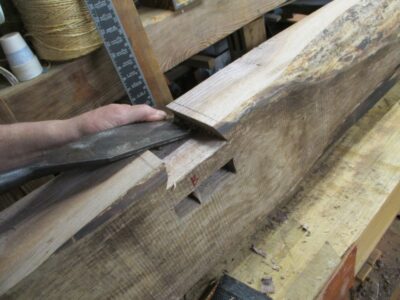
Once the first slab was trued we really got to work. I did the layout for the joints and cut the dovetail shoulders, demonstrated the first mortise and dovetail and Tim got to work on them while I worked on the other slab.
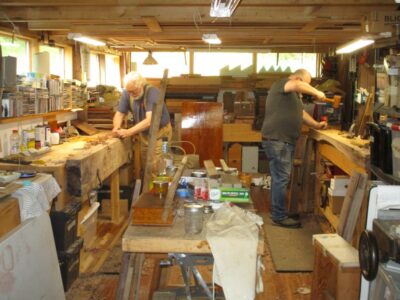
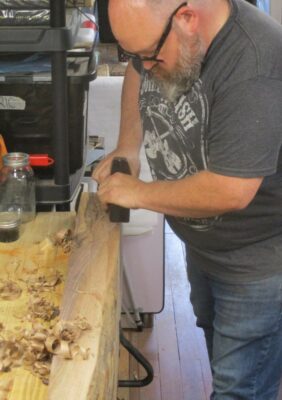
This is a favorite picture of two stout fellows hard at work during the hottest week of the decade, music blaring throughout the atmosphere.
Up next: fitting joints.

Early on I had decided to incorporate demonstrations to the program at Handworks, and in order to have something on which to demonstrate I made a set of parquetry panels.


I’d begun these some weeks before, you can follow their development in my earlier post about Bandsaw Parquetry. One of the points I was trying to get across was the importance of surface preparation so I was going to start with some surfaces that REALLY needed preparations.
Finally, after two weeks of assembling stuff to go, two days of playing TETRAS loading, unloading, and reloading the truck full to the brim, off we were. After two long days of driving, we got to Cedar Rapids for a good night’s sleep before heading down to Amana for the Handworks set-up. I wish I could’ve said confidently that I prepped thoroughly and tied up all the loose ends but the odds were near 100% that several hours into the set-up or Handworks itself I would remember something I left behind.
John and I showed up bright and early for setting up, the building opened at 9AM and we were there around 9.15. I think we were the first booth to be completely set up
Here is a walk around the Festhalle during the set up time. Upcoming posts will document other spaces and activities for Handworks.


I was in my usual spot, on the center row near the Lie-Nielson booth up on the stage, and between Jeff Hamilton in front and Gary Blum to my rear, with Matt Bickford across the aisle on one side and Patrick Leach on the other. I took the picture of the main space from the stage, where L-N set up very late in the day. While they were working on their display Tom Lie-Nielson stopped by and we had a nice long chat.

My setup took only a couple hours, leaving lots of time to visit with friends from years past. I especially cherished the time with the Bickfords, folks who are definitely on my wavelength.

Across on aisle were Matt Bickford and a chairmaker I did not know (there were actually a lot of exhibitors and tool makers I did not know),

and across the other aisle was Patrick Leach’s seductive vintage tool emporium. Amazingly enough, I escaped the weekend without buying a single tool.

Immediately behind/adjacent to me was Gary Blum with his innovative workbenches and accessories, and hand planes.

Konrad Sauer was just down the way with his spectacularly high-performance planes,

then Lost Art Press. I think Gramercy Tools was between them but had not set up when I was walking about.

Benchcrafted was the booth greeting the visitors immediately on entry. It makes sense, they’re the ones who pulled the whole event together.

Back in the corner was innovative genius Jeff Miller who was showing off this device that hollowed out bowls. It was the coolest thing I saw at the event. Over his shoulders you can see the Lee Valley booth, but they had not begun setting up yet.

Rounding out the Festhalle setups from that time was Ron Brese, closest to Benchworks at the other end of the center row.
With the rest of the day free we had a chance to go visit all the other booths in the three other venues, although some of the booths were not ready until late in the day or even the next morning.
We were girding our loins for a wild couple of days starting at 10AM the next morning.
[Sorry, I forgot to post this yesterday — DCW]
With the overnight gluing of the leg and stretcher elements successful, we undertook their preparation for the joint cutting to come.

My little 4″ Makita jointer/planer combination was a priceless jewel in the process, squaring and flattening the edges.
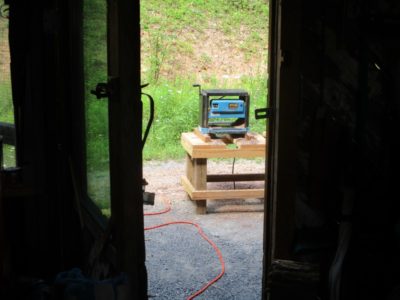
We dragged my beloved Ryobi lunchbox planer out into the driveway to true all four edges, saving the planer shavings for use later in the day.
Tim set to work cutting all the elements to approximate length, cleaning up the ends so we could start cutting the double-tenon ends.

With one end established I laid out the three sections of the top joints, two tenons and one central open mortise.
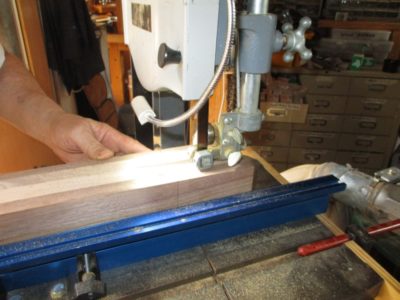
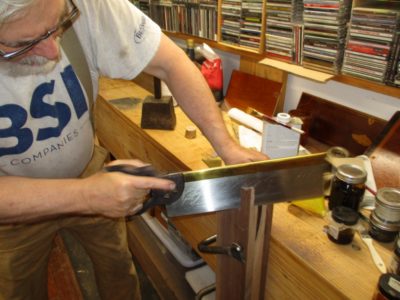
The lines of the mortises were cut on the bandsaw.
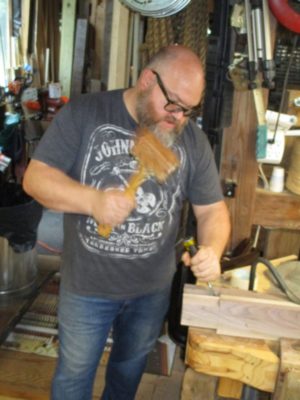
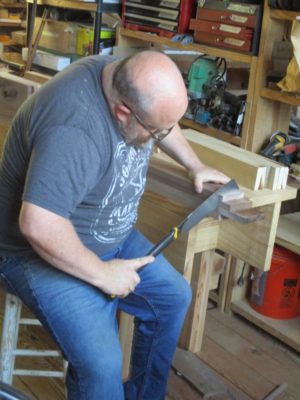
The waste material was removed with mallet, chisel, and brute force. My technique is to drive down along the base of the joint, then split out a half inch of waste at a time from the end grain.
While Tim was working on the open mortises I cut the dovetails on the outer corners.

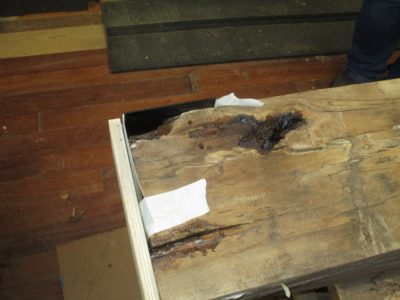
It was then time to turn our attentions to the one corner of the slabs that needed to be built up due to the wain edge of the slab.

I sized the area with a diluted solution of West System epoxy thinned with alcohol for greater penetration.
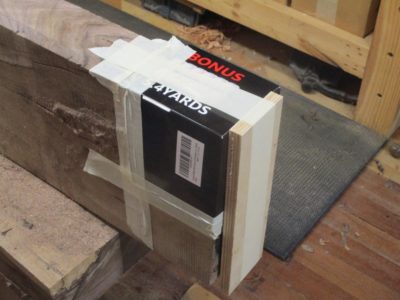
I made a coffer out of a box and taped it in place.
With that corner “face up” we had a perfect form to fill the void.

I mixed some West System epoxy and thinned it with alcohol, then saturated a pile of planer shavings to make a fill material which was stuffed into the void.

One final drizzling of the thinned epoxy and a last sprinkle of shavings completed that task and it was left to harden overnight.
Thus endeth Day 2.

Recent Comments