Workbench Wednesday – Tim’s Walnut Bench Day 2
[Sorry, I forgot to post this yesterday — DCW]
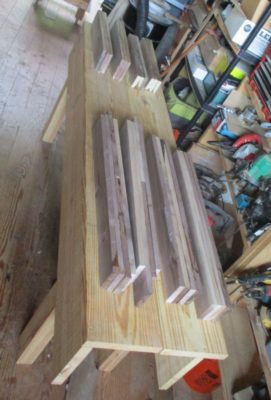
With the overnight gluing of the leg and stretcher elements successful, we undertook their preparation for the joint cutting to come.

My little 4″ Makita jointer/planer combination was a priceless jewel in the process, squaring and flattening the edges.
We dragged my beloved Ryobi lunchbox planer out into the driveway to true all four edges, saving the planer shavings for use later in the day.
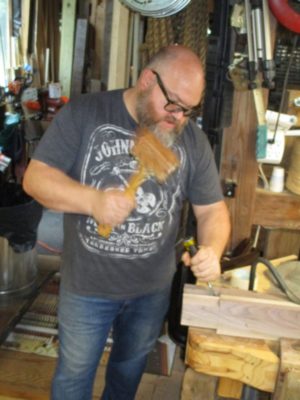
Tim set to work cutting all the elements to approximate length, cleaning up the ends so we could start cutting the double-tenon ends.

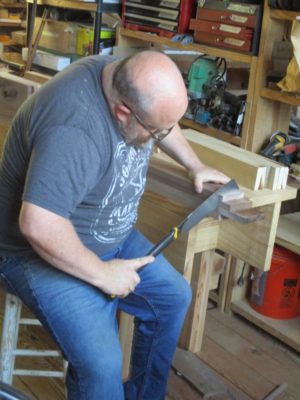
With one end established I laid out the three sections of the top joints, two tenons and one central open mortise.
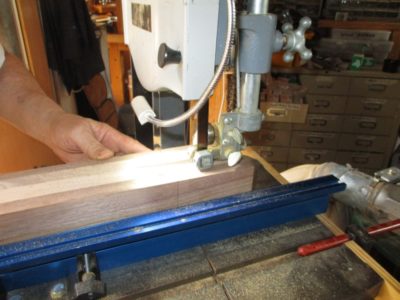
The lines of the mortises were cut on the bandsaw.
The waste material was removed with mallet, chisel, and brute force. My technique is to drive down along the base of the joint, then split out a half inch of waste at a time from the end grain.
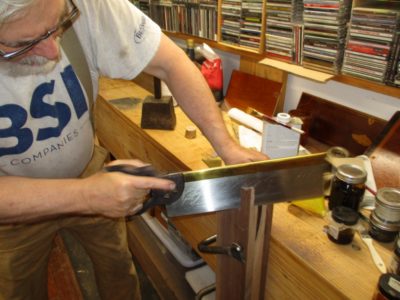
While Tim was working on the open mortises I cut the dovetails on the outer corners.

It was then time to turn our attentions to the one corner of the slabs that needed to be built up due to the wain edge of the slab.

I sized the area with a diluted solution of West System epoxy thinned with alcohol for greater penetration.
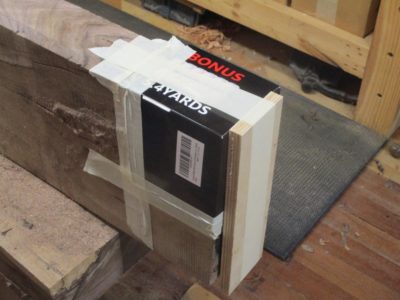
I made a coffer out of a box and taped it in place.
With that corner “face up” we had a perfect form to fill the void.
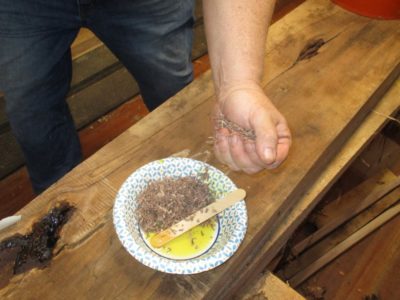

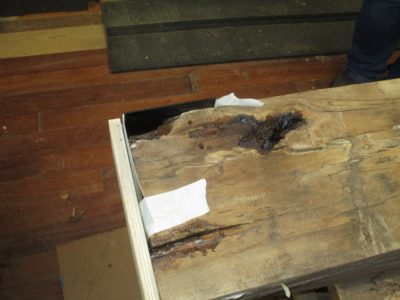
I mixed some West System epoxy and thinned it with alcohol, then saturated a pile of planer shavings to make a fill material which was stuffed into the void.

One final drizzling of the thinned epoxy and a last sprinkle of shavings completed that task and it was left to harden overnight.
Thus endeth Day 2.

Join the Conversation!