Gragg Chair Workshop 3
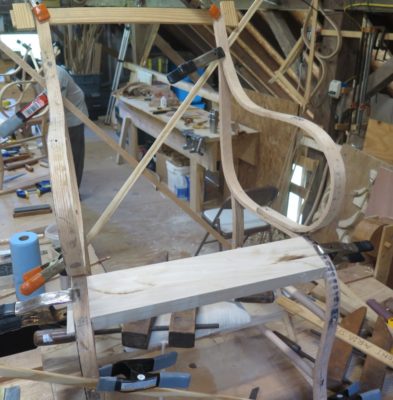
By Day 3 we were deep into the woods of Fussyville as curved and tapered parts had to be individually fitted to each other. There was no straightforward way to do this, you just gotta nibble away and sneak up on it.
With the front seat rail being the easiest cross chair element to fabricate and fit, it was time to move on to the rear seat ail and the crest rail. One of these is simple, straightforward and only takes a short time to get roughed and begin the shaping. The other is a complete pain in the kiester. These can be addressed in whatever order you choose, and in fact the students chose different orders.
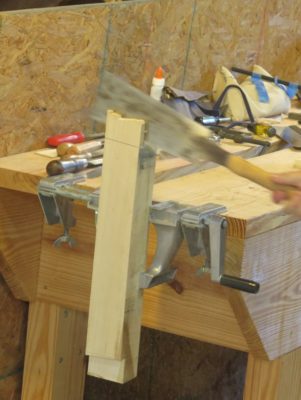
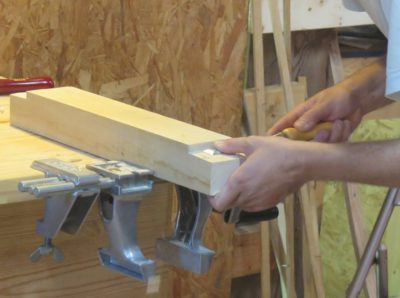

The easier one is the crest rail, which like the front seat rail is a glorified rabbet/lap joint for an element that is afterwards cut on the curve and the profile.
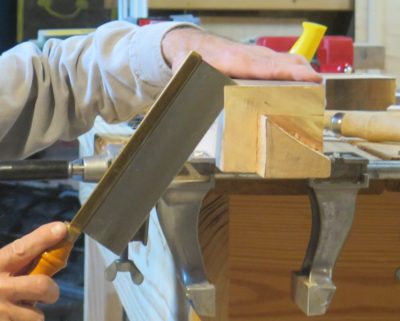
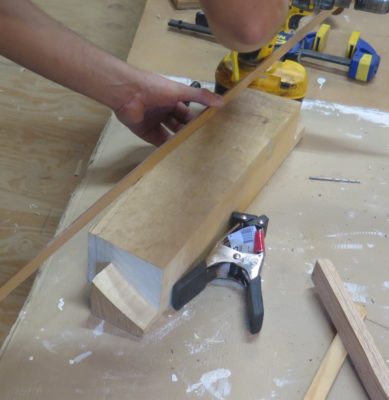
The royal pain is encountered when cutting and fitting the rear seat rail, an exercise that can take the better part of a day. I am convinced Gragg found a simple way to do this, perhaps even an easy way, but I have not yet re-engineered it so thus far. I’ve built eight chairs and every one is a struggle at this point.
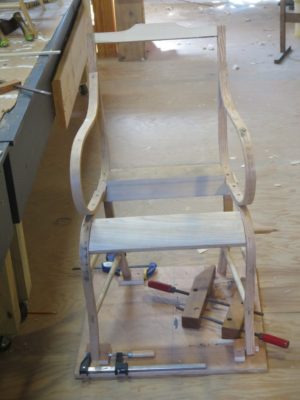
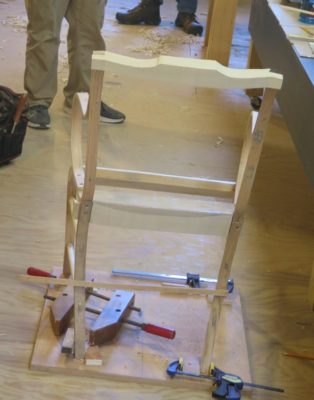
Finally the pieces get screwed together temporarily in order to move on to the next steps. Though it might feel like you are on the home stretch now, unfortunately you have just barely arrived at the halfway point in the construction process.

Join the Conversation!