Ripple Finale
Our last two days of Ripplemania 1 were spent in trying to fine tune the older machine into a real working tool, and tinkering with the design for the new one into a working device.
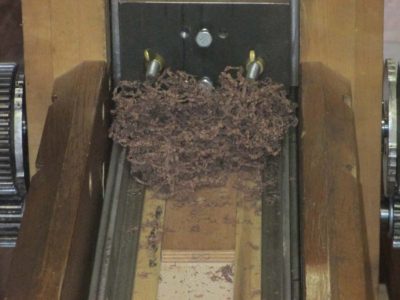
While John and Travis and I were fiddling with the new machine, Sharon was trying out the new cutter on the old machine. She was able to raise a huge pile of shavings, but the wear between the pattern rail and the follower bar (the rod protruding from the cutter head in order to allow the latter to rise up and down, cutting the ripple pattern in the work piece) was getting too bad to bring about a satisfactory result.
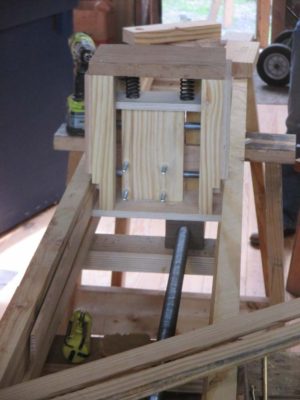
Meanwhile we were trying to perfect the carriage and cutter head for the new machine. In the end we got to within an eyelash of getting a ripple molding to completion, but we definitely had “proof of concept.”
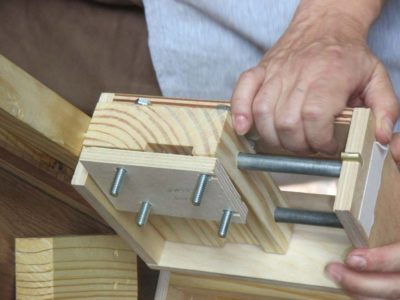
John and Travis fabricated a carriage that was compatible with ripple patterns (up and down), wave patterns (sideways motion), and even a simultaneous ripple/wave action.

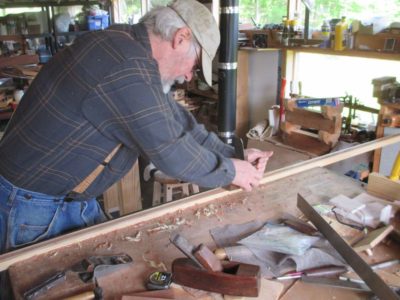
In order to test the carriage and cutterhead, we had to have a pattern to work with, so I dove into that undertaking. I was rethinking the need for a metal pattern rail in favor of a wooden one, so I began by assembling a long rail sandwich consisting of southern yellow pine on its length as the outer laminae to serve as the backing for the pattern and bearing surface, with end grain black cherry as the contact surface.
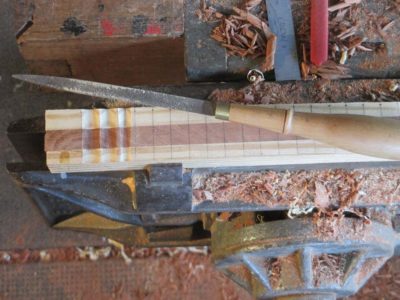
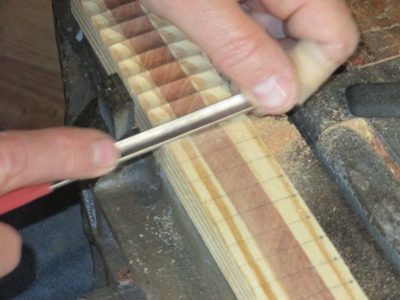
With the pattern rail sandwich assembled it was time to cut the ripple chatter pattern into the rail. Using half round rasps, floats, and carving gouges we were able to create several feet of pattern on the blank sandwich.

I ripped the sandwich on the table saw, resulting in a matched pair to install on either side of the box to induce the pattern on the workpiece via the undulating cutter head. (I will certainly give it a try to have a CNC machine create any new pattern rails).

With the pattern installed, we gave it a try. It sure looked like it was working, but still we had some hurdles to jump in order to make it a reliable high-function machine. Cranking it by hand was interminably slow even though the movement at the point of cutting was fine. We decided to motorize the device to take it to the next level so we attached a motor to a stool and hung a belt around the motor shaft and the pulley we made for the drive screw on the machine. The motion was certainly accelerated without any obvious loss of performance, although there was the issue of an unprotected motor and belt drive.
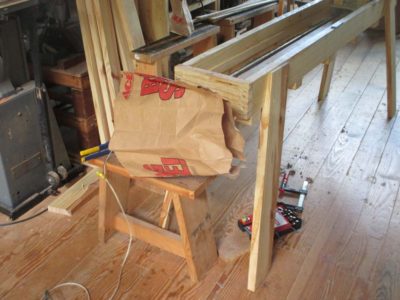
Travis demanded a protective cowl for the drive unit, so he installed one. We found this to be much safer.
Like I said earlier, in the end we came within an eyelash (or a half day) of getting the new machine to operate with efficacy. Given my continued and growing interest in the capacity to produce ripple moldings for clients I will certainly expend more energy to make it happen.

Join the Conversation!