When I first learned about Tom Fidgen’s kerfing plane I stored it away in the memory bank, realizing immediately that it was just the tool to make resawing an easier undertaking.

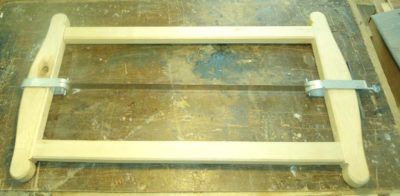
Since I do a fair bit of hand-resawing with my vintage carpenter’s saws and my pair of c.1800 4-foot frame saws and their little brother I made a few years ago it was a natural fit for my work bench activities.
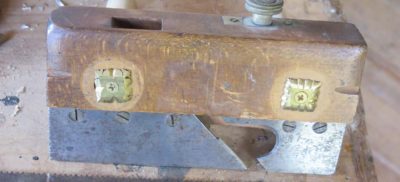
It took me a couple years to actually get down to making some kerfing planes for myself. My starting point was this derelict partial plow plane that was probably in a box of tools I picked up somewhere along the line. I had added some new arms for the fence as I thought about making the plow plane usable, but since I didn’t really need another plow plane I eventually just let the carcass languish in my spare tool bin.
When looking at Tom’s kerfing plane I thought this plow plane body just might be the starting material for a try at cobbling one together myself, just to see if it really was a useful as Tom said it was and I hoped it might be. If so, I would concentrate on making some good ones to integrate into my work in The Barn.
Stay tuned as I take you down the path of creating a new, useful addition to my tool set from something probably destined for the wood stove. And, where I went from there. Thanks to Tom’s insights, creativity, and evangelistic fervor he has transformed part of my work.
Here is the full slate of activities.
May 23-27 Making a Ripple Molding Cutter – this is less of a workshop than a week long gathering of fellow galoots trying to design and build a machine to allow us to recreate ripple and wave moldings. Material and supplies costs divvied up, no tuition.
June 16-18 Make a Nested Set of Brass Roubo Squares – This is a weekend of metal working, as we fabricate a full set of nested brass squares with ogee tips, as illustrated in Plate 308 of l’art du Menuisier. The emphasis will be entirely on metal fabrication and finishing, including silver soldering with jeweler Lydia Fast, and creating a soldering station for the workbench. Tuition $375, materials cost $50.
July 24-28 Minimalist Woodworking with Vic Tesolin – This week long session with author and woodworking minimalist Vic Tesolin will begin with the fabrication, entirely by hand, of a Japanese tool box. Who knows where we will end up? I am looking forward to having my own work transformed. Tuition $625, materials cost $50.
August 11-13 Historic Finishing – My own long-time favorite, we will spend three days reflecting on, and enacting, my “Six Rules For Perfect Finishing” in the historic tradition of spirit and wax coatings. Each participant should bring a small finishing project with them, and will accompany that project with creating numerous sample boards to keep in your personal collections. Tuition $375.
September 4-8 Build An Heirloom Workbench – I’m repeating the popular and successful week-long event from last year, wherein the participants will fashion a Roubo-style workbench from laminated southern yellow pine. Every participant will leave at the end with a completed bench, ready to be put to work as soon as you get home and find three friends to help you move it into the shop. Tuition and Materials $825 total.
Since some recent research revealed the attention span of Americans to be eight seconds, I’ll re-run this periodically.
If any of these interest you drop me a line here.
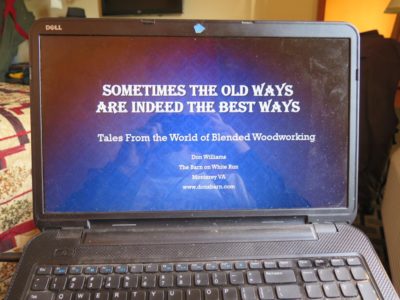
For me the great honor at Working Wood in the 18th Century was being asked to serve as the after dinner speaker. Kaare had asked me to work with the topic “sometimes the old ways are the best ways” to which I gladly complied. Of course I provided my own peculiar spin on the topic, but everyone seemed to laugh in all the right places so I guess it went well.
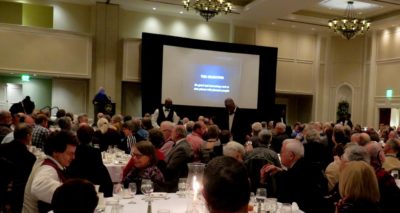
Of course the highlight of the evening was the scrumptious chocolate cheesecake awaiting me at my place on completion of the chat.
I got a lot of very positive feedback on the talk, and was even asked to summarize part of it as an article in next year’s American Period Furniture. That section of greatest interest was a list of ten “assignments” I gave to the audience to stretch their handworking boundaries. For some in the audience, perhaps even most, this was simple encouragement and validation, for others it was a legitimate challenge.
I will blog about each of those assignments individually over the next fortnight or so, but here is the list:
- Restore an old tool to wondrous functionality
- Make a new tool and incorporate it into your bench work
- Learn to sharpen. Really. Everything
- Incorporate one (then all) of these traditional tools into your work — spokeshave, drawknife, scratch stock, toothing plane, froe
- Saw and prepare veneers by hand
- Learn to prepare, modify, and manipulate and use hot hide glue. Then use it.
- Execute a decorative painted surface
- Make from scratch, from stock you prepare yourself, one of the following — parquetry, floral marquetry, Boulle-work, a Federal paterae
- Prepare a surface without the benefit of sandpaper, then apply a finish not using a spray gun, polyurinate, or cellulose nitrate
- Make a piece of furniture entirely without power tools, beginning with a piece of firewood or similar
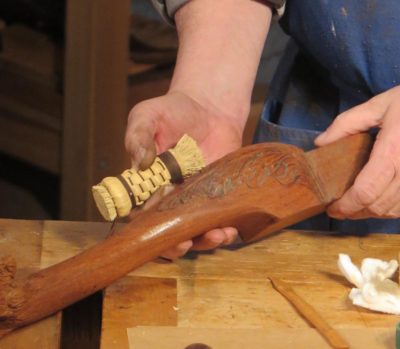
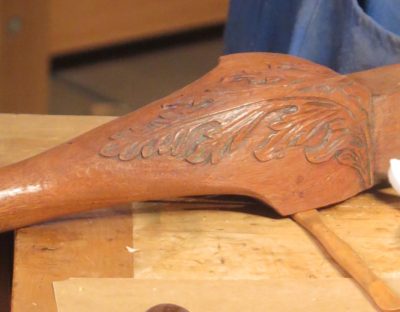
In my hands this morning…
I am not displeased.


Although I have attended the Colonial Williamsburg Working Wood in the 18th Century conference many times, this year was my first as a speaker. I was asked to present the topic “Wax Finishes” which I did. Alas, my time slot was only 45 minutes, which in retrospect pretty much everyone agreed was too short by some logarithmic value. Still I did my best to rip through the basics at breakneck speed.

As with virtually every finishing talk I give I began by covering my “Six Rules for Perfect Finishing.”
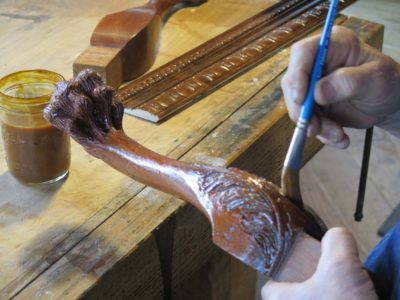
I then blew through the topics of surface prep with a scraper and then a polissoir. Truly this step has revolutionized my understanding and practice for finishing.
Then came the application of block beeswax as a grain filler and final finish, worked into the surface via vigorous rubbing with the polissoir, followed by scraping to remove any excess, and finally by buffing with a flannel.


I showed, all too quickly, the incorporation of both resin flour and powdered colorants to the beeswax grain fillers to impart either hardness or coloration.
Finally I approached the problem of voluptuous and carved surfaces, employing the boxwood burnishing stick and the polissoir, with impressive results given the few seconds I had in hand.
I got excellent and encouraging feedback, and the CW folks must have liked what they saw because I have been invited to return in the fall for three days of in-house hands-on training for the cabinetmakers, gunsmiths, and housewrights on the topic of historic finishing.
I have long argued that we are living in two simultaneous Golden Ages, that of furniture making and that of tool making. Never before in human history has a culture produced more superb furniture than we are right now, it’s just that most of the furniture is being made avocationally rather than vocationally, which is not to disregard the exquisite furniture being made by people who do it for a living. It’s just that there are so many more “makers driven by passion” than those driven by income, a ratio I would conclude is far north of 100:1.
The Golden Age of Tool Making is a bit different in that the purveyors for those particular narcotics in the marketplace are simultaneously driven by both passion and income. Consider the upcoming Handworks event, where scores of professional woodworking tool makers will interact with thousands of woodworkers and tool aficionados, deep in the heart of the Iowa cornfields. I am honored to count many of these toolmakers among my friends and acquaintances.
I am sure there are cranky toolmakers working under the nostrum of secrecy, but thus far I have yet to run into any of them. My experience is that they are delighted that you are interested, and inevitably they will fill you with more information than you can digest at any one time. They must understand this, as most of them have web pages that are archives of definitive and dispositive documents telling you almost everything you ever wanted to know about whatever it is that they make or do. I keep several dozen of their sites bookmarked and visit them as often as I allow myself, knowing full well that the first click can result in an entire evening lost in pursuit of knowing more.
Occasionally one strikes my fancy or is so perfectly timed to a particular need that I find myself talking to myself in celebration. Recently I have been doing some things with saws, some of which may eventually leak out into this blog, but most of which has to do with tuning up the saws that I already have. With that in mind I was delighted to see a new (to me at least) offering over at Bad Axe on the care and feeding of vintage back saws. I am currently awaiting the fullness of time to get to a couple (four? five?) of them hanging on my wall, and this page will no doubt serve as a valued resource once I get to that point.
In the service of full disclosure I should say that I have two Bad Axe back saws that I purchased from them, and have communicated with Mark Harrell fairly extensively on my two 4-foot late-18th Century frame saws, tools I use surprisingly often. Someday I might show up on Mark’s doorstep with them in hand, and ask for a sharpening refresher tutorial.
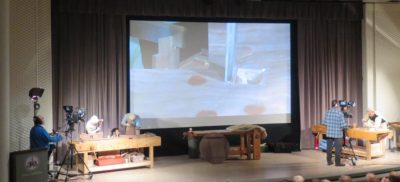
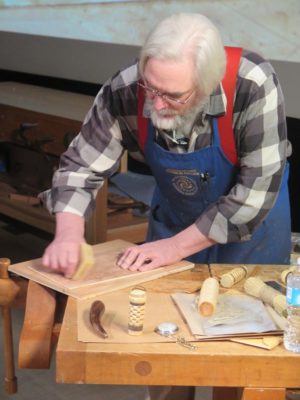
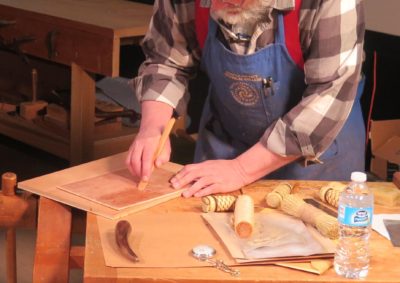
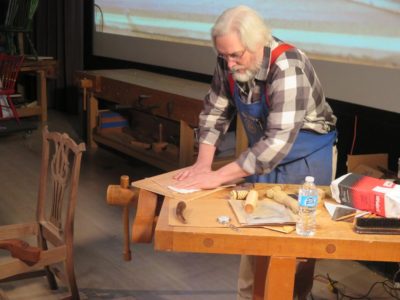
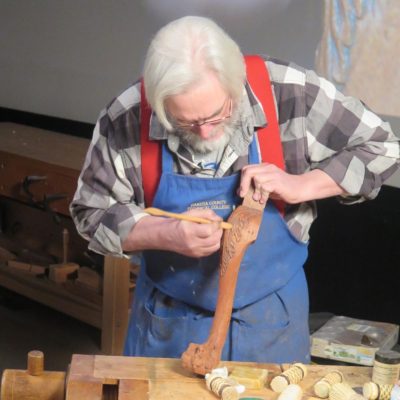
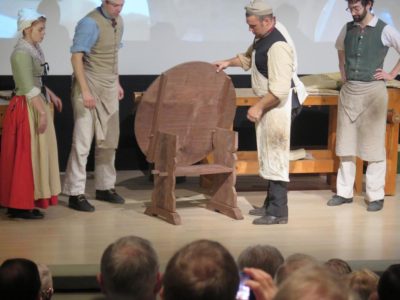
Ted Boscani’s crew from the CW Joiner’s Shop (I think at one time they were known as the housewrights) were the final in-house presenters as they had a Four Ring Circus in operation making a “table chair.” I think in some circles this piece is known as “a monk’s chair.”
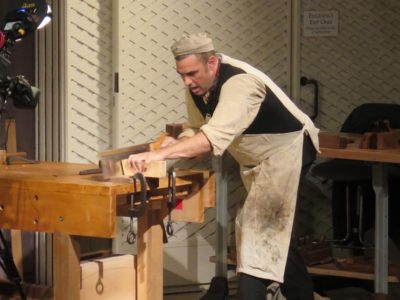
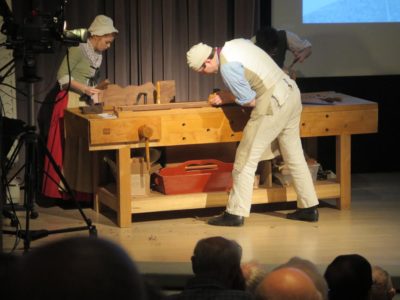
While Ted was demonstrating some of the joinery from the underside of the flip-top, most particularly the cutting of the sliding dovetail into which the hinging braces would be inserted, the apprentices were all working on the same bench on the opposite side of the stage fabricating the elements that were assembled into the chair’s base. Their congenial sharing of a bench tweaked my self-indulgence of working on, in a typical day, anywhere from 6-8 different work benches in my own space. I admit, I suffer under an embarrassment of riches.
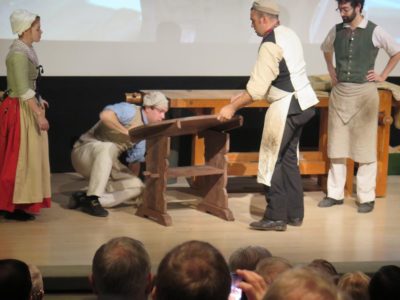
Finally, after 90 very engaging and entertaining minutes, the table was assembled. While I have my doubts about the interests and abilities of most of those in attendance to fabricate any of the chairs from earlier demonstrations, I can definitely see this fitting into the ken of just about everyone there.

Recent Comments