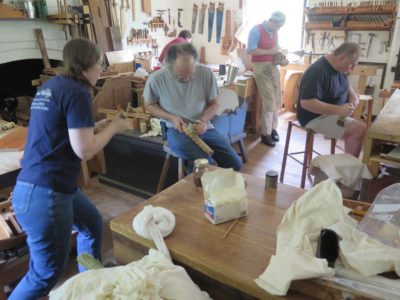
The conclusion of the finishing workshop at the Anthony Hay Shop of Colonial Williamsburg was rubbing out the finishes we had already completed.
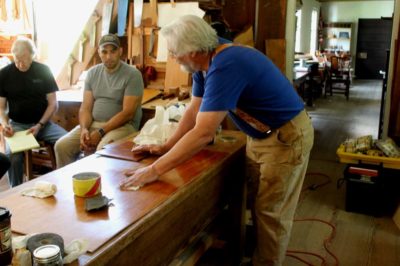
Given that my normal routine of using Liberon 4/0 steel wool and paste wax was not an option as steel wool was not part of CW’s vocabulary, we instead concentrated on those things which were typical for that era; pumice powder, tripoli powder (rottenstone), and pulverized chalk (whiting), delivered in slurries of mineral oil, naphtha, and diluted paste wax. The latter would probably have been some formulation of beeswax, turpentine, and tallow.

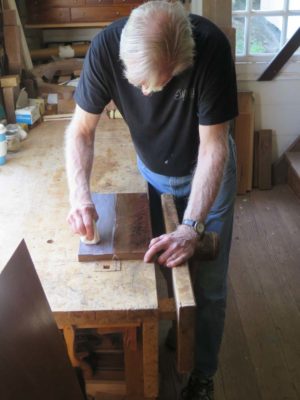
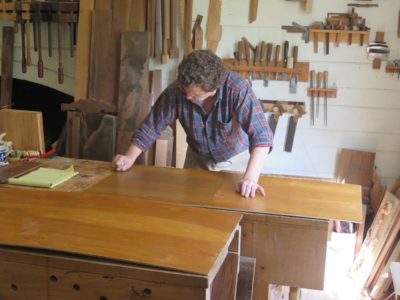
The first step was to make new polishing pads analogous to the spirit varnishing pads, with the difference that the stuffing was comparatively unimportant.

Then the work began with pumice, followed by tripoli.


The results were splendid.
We are not the first woodworkers who ever wanted to tweak the coloration of our pieces; the ancients routinely augmented their work with the addition of colorants to both unify overall tonality and accentuate details. Among the most common colorants of the past were asphalt, that useless contaminate that percolated up from the ground, and pitch, which is the residue from the fractional distillation of pine sap into turpentine solvent and colophony resin.
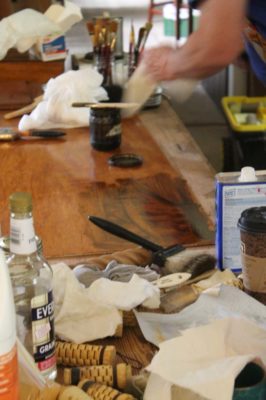
For this workshop I showed and the CW crew used asphalt as a toning glaze. My source for this was some non-fibered parging tar left over from the barn basement construction. The three gallons I have left are all I and a thousand friends need for decades. I thin the asphalt with mineral spirits, and occasionally add a bit of boiled linseed oil.

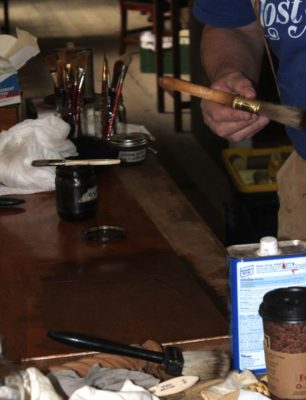
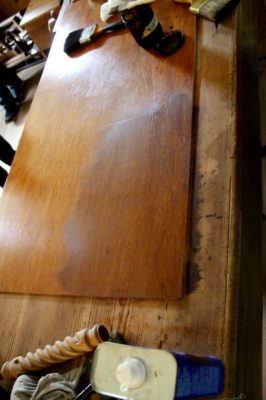
The asphalt glaze can be applied to the surface and manipulated with bristle brushes to achieve an overall uniform appearance. For carved surfaces it could be applied the same way with the highest points rubbed with rags to remove the colorant and emphasize the three-dimensionality of the surface.

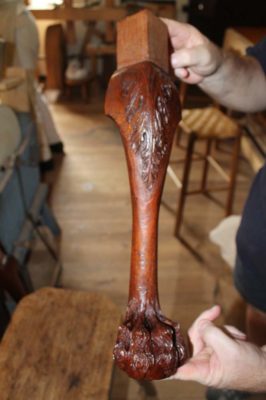
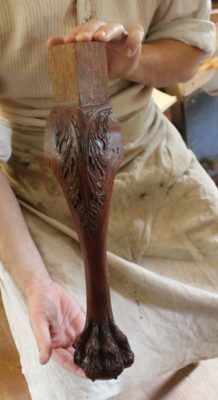
Asphalt can be overcoated with shellac as soon as it is dry to the touch.
One of the frequent challenges for finishers is the undulating surfaced — carvings, moldings, and similar. In reviewing the historic methods for the CW crew I emphasized the problems of square-tipped brushes for this process, as the corner tips of the brushes often squeegee on the raised surfaces being varnished, resulting in excess varnish and runs dripping down the surface. This result often causes hair pulling and pungent language.
In the past the ancients often used oval or even round brushes similar to sash brushes, and thus reduced the problem. In our time, we not only have these brushes to rely on but also a form used by water colorists, the Filbert Mop. The tapers oval tip of a Filbert makes varnishing a vibrant undulating surface a piece of cake. Not only are there no brush corners to deposit excess varnish where you do not want it, but the tapered oval tip drapes the surface excellently.
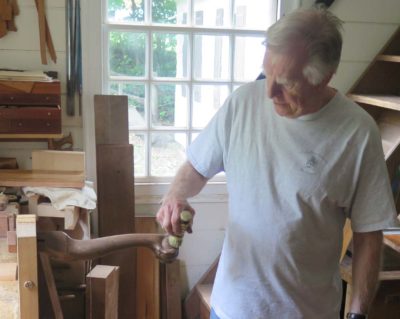
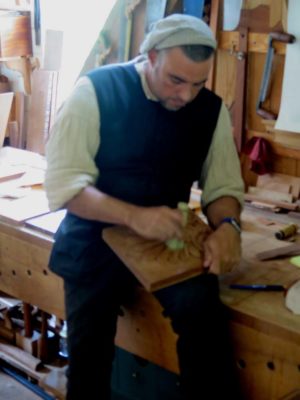
The preparation for carved surfaces is essentially the same as flat surfaces; good tool work followed by scraping as necessary, and finally burnished with a bundle of fibers.
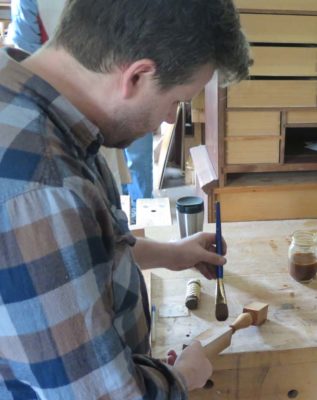
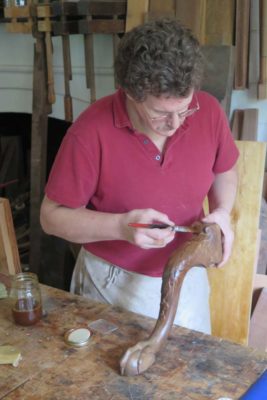
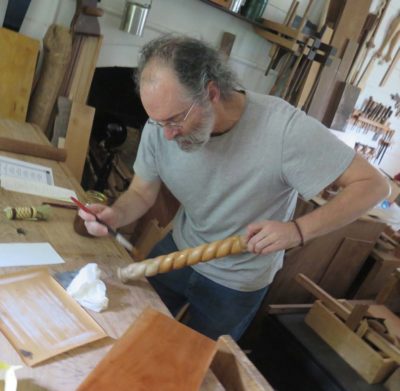
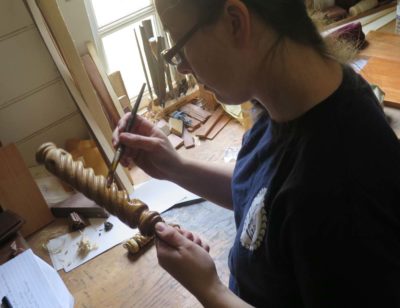
After that it’s simply a matter of applying the varnish by brush, and not too surprisingly this crew tool to this like a fish to water.
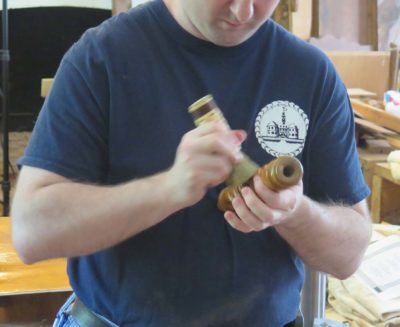

After the initial application dries, the surface can once again be burnished with the carver’s polissoir, a tool I designed for my broom-maker to fabricate along with all the other polissoirs he makes for me. This was followed by second round of varnishing, and the pieces were ready to be rubbed out with beeswax and rottenstone (grey Tripoli).


Recent Comments