Addressing the Lacunae – Japanese Marking Gauge
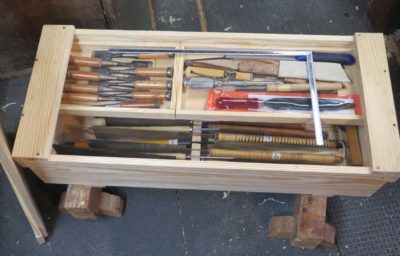
Among the tools I did not have in my set of Japanese woodworking tools were any marking gauges. Within the form are many different variations so ‘I was faced first with deciding what kind of marking gauges I wanted to make and keep in the tool box? In the set of hand tools in the shop I have several marking gauges ready to be put to work, but the Japanese tool box was already close to capacity so I needed to be very circumspect in the decision for this function.

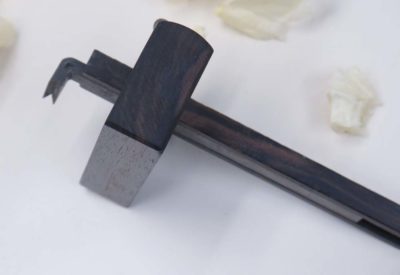
Fortunately at the recent Wilbur Pan Japanese tool demonstration, between Wilbur’s tools and the inventory brought by JayC to display and use by the woodworkers in attendance, there were several to view, handle, and use.
In the end I came up with my own version of the two-bladed gauge, with some slight modifications so that it could function well as a single blade or a double blade tool.
My starting point was a pair of mild steel bars, each 1/8″ x 1/2″ in cross section. Mild steel rather than tool steel because the mild steel would bend easily and the sharpened cutting edge would be marking wood, so the mild steel was plenty robust enough for that. I got the steel bars down from my overhead inventory; I probably bought it at the hardware store at some point in the past when I was just stocking up on raw tool-making materials.
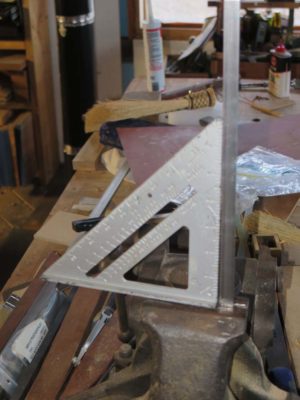
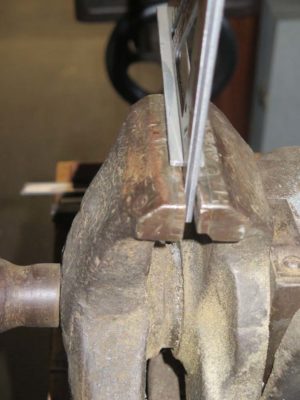
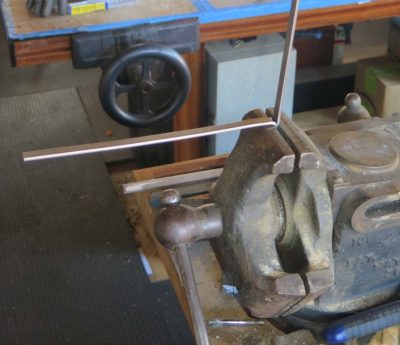
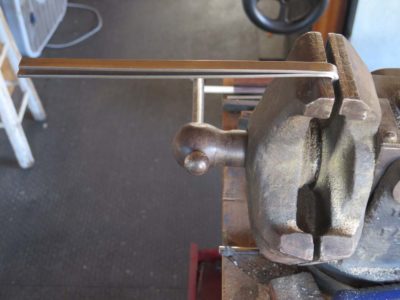
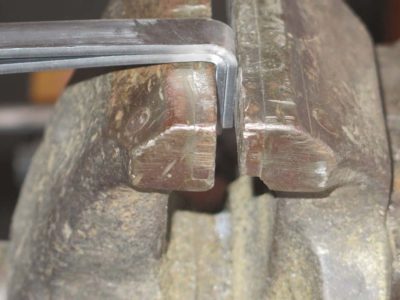
Placing the bars vertically in the Emmert tool-makers vice, making sure to square them to the jaws, I simply bent one and then the other of the bars so that they nestled against each other nicely. The hammer work was minimal to persuade them to conform.
Now, on to the block.


Hello Don,
In Jack Andrews’ book ‘The New Edge of the Anvil’ he has a SuperQuench formula for mild steel which would be good for a wood marking gauge .If that what you’ve got.
I hope you’ll keep describing the build of this gauge. Looks like something I’ll need to add to my to-do list.
Indeed, I will have two or three more detailed reports on making this tool.