Adventures in Brush Making
Let me state for the record that I DO NOT have a “brush fetish” or even a “brush problem.” I DO HAVE a strongly developed “brush interest.” Just because I have at least a half dozen drawers filled with hundreds brushes of almost every size, type, and vintage you can imagine is no reason to jump to conclusions. I must admit that on the aftermath of my becoming metabolically challenged my survivors will probably hold one of the oddest yard sales ever known to man.
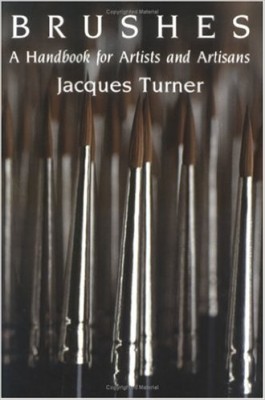
One of my favorite little books is a slim volume on the craft of making your own brushes. Though I am by no means an art brush-making craftsman, the topic does fascinate me. During my recent forays into conserving some tortoiseshell boxes I found myself increasingly frustrate by the glue brushes I had at my fingertips, especially the disposable acid brushes. So, I made my own.
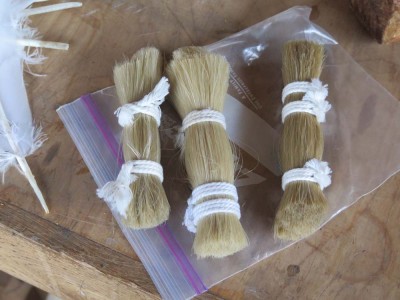
Thanks to the generosity of my friend WilliamD from New Jersey I had some one-inch hanks of beautiful bristle that he was throwing out in the aftermath of some project or another a couple of years ago. These were remnants from Chinese horse tail hair that a friend of his used for making and restoring violin bows.
The glue brushes I had been using were either inexpensive nylon bristle brushes or disposable bristle brushes, and neither was really performing as I wished. What I wanted was a pair of round brushes, one about 1/4″ diameter and the other 1/8″ diameter, with bristle lengths of a couple inches so that they could hold plenty of glue for me to apply in tight spaces.
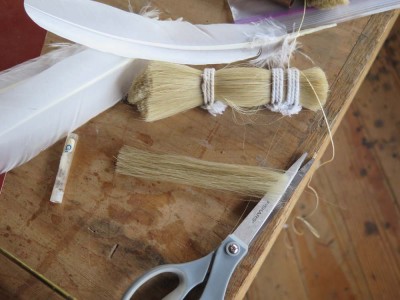
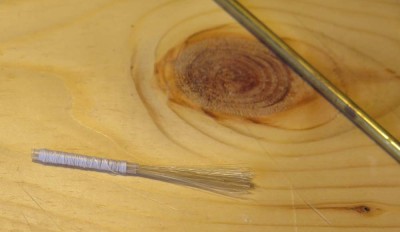
I first pulled out a small group of bristles that were enough to build the 1/4″ brush, and trimmed and aligned them.
Since I do not have a well equipped brushmaking kit (yet) I proceeded with the simplest technology I had in-hand, namely wrapping the bundle much like I made the polissoir prototypes and the Model 296 polissoir is still made. I even used the same binding material, waxed lined thread.
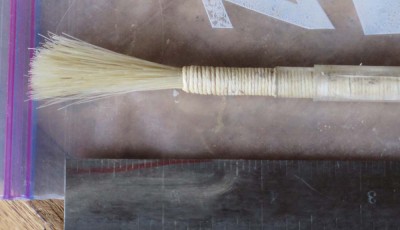
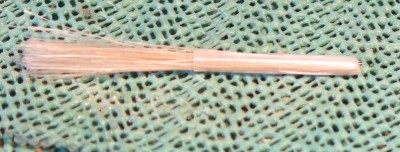
I wrapped about four inches of the bristle bundle into a shaft, then tied it off. I had already determined the perfect size for the brush based on a plastic sleek I had from a gross of tiny jewelers’ blades I use in cutting marquetry. Since it seems like I almost never throw anything away I had several of these plastic sleeves in the drawer, and fitted the bound bundle to the one I wanted.
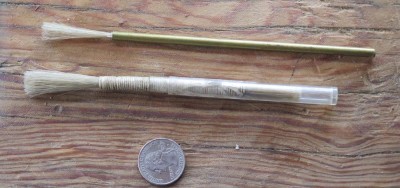
With gentle force I simply pressed the two elements — the bound bristles and the plastic sleeve handle — together until they were firmly joined with a solid pressure fit. The pieces for the new brush were together but it was not yet finished.
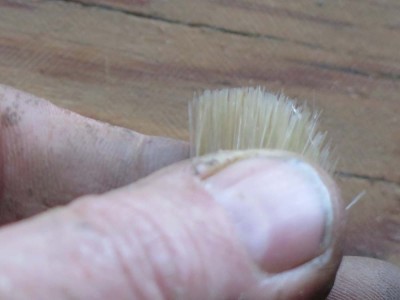
Pinching the end of the bristle together between my fingers I splayed the bristles to see if any were the wrong length. Some were, and I trimmed them with scissors. I then rolled the brush a bit and repeated the splaying and trimming, then repeated… Once I was happy with the shape of the tip, the brush was done.
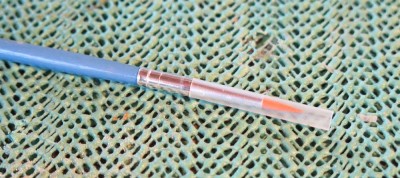
For the smaller brush I used a similar approach, substituting upholstery thread for the linen binding. For a brush this size I could not wrap it “in the open” and needed to find a suitable sleeve. One was no farther than the brush drawer, as the plastic sleeves used to protect newly manufactured artists’ brushes fit the bill perfectly.
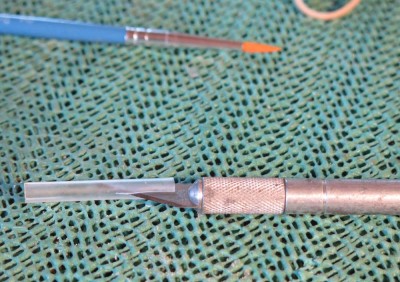
I simply slit one with a razor knife and inserted the bristle bundle into it, then wrapped the whole thing with upholstery thread.
At first I though about inserting the finished brush tip into a quill, but none of my quills were a perfect fit. However, a piece of brass tubing from the scrap drawer was. Again I gently forced the bound brush tip up into the hollow of the tube, but unlike the larger brush once the smaller brush was assembled I drizzled a little PVA adhesive into the tube to glue the butt end of the bristle bundle in place.
The result of my little brush exercise is most gratifying, and will certainly lead to more adventures. I know that when I build some more Gragg chairs over the winter I could use some new striping brushes. The ones I have now just aren’t right.



Recent Comments