Gotta Have Sole (Brass Sole, That Is)
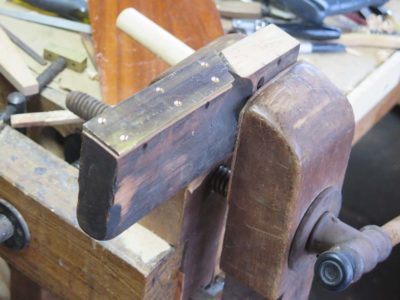
With the dovetail plane configured the way I wanted it was time to add the brass plate to the newly beveled sole. I grabbed a piece of brass from the scrap drawer and sawed it roughly to fit then drilled and countersunk screw holes for attaching it to the plane body. When I placed the screws the wooden body was too brittle (several cracks) for me to have confidence in that being the only method of affixing the plate.
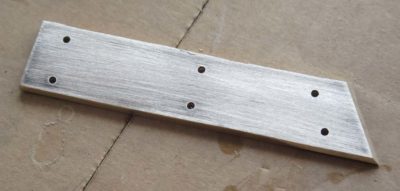
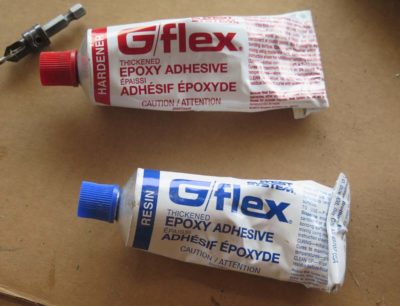
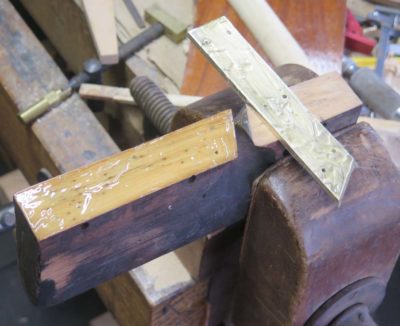
Instead I cleaned the contact surface of the brass plate with 60 grit sandpaper and slathered it and the wood contact surface with G-flex epoxy to bring it all together.
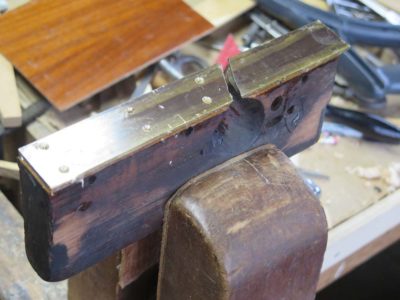
Since the gluing surface was beveled enough vis-a-vie the plane body that clamping was problematic I simply got the pieces in place and executed and old fashioned “rub joint,” making sure there was intimate contact and at least a partial vacuum between the adherends and the adhesive and then just let it sit to harden. I’ll know tomorrow if that worked out well.
Next Day
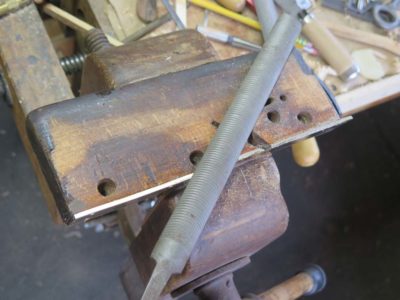
The “rub joint” with epoxy worked perfectly! I was able to trim and clean the new sole relative to the wooden body so that they configured nicely, first with a Vixen file followed by sanding.
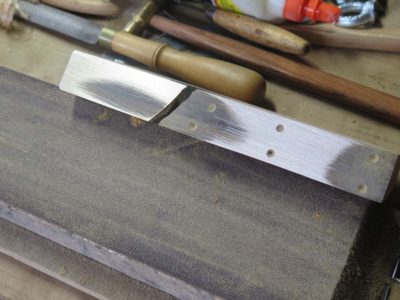
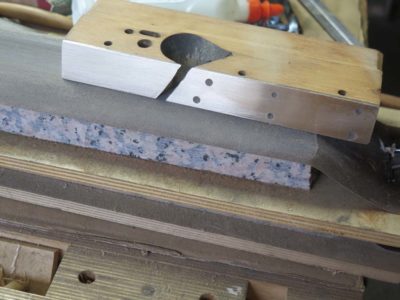
Using my granite block and sandpaper I got the sole pieces flat and coincidentally planar.
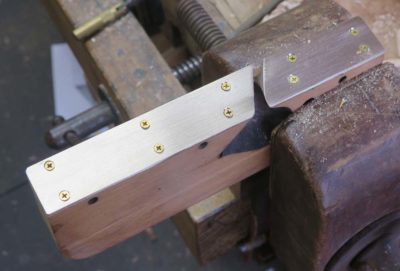
Re-drilling the previous screw holes, now filled with epoxy, and drilling new holes on the front half of the sole I got everything copacetic. I left the screw heads slightly proud and abraded them off smooth.
Now the tool is ready to assemble completely and give it a test drive.
Stay tuned.


Join the Conversation!