Handle Cheeks for my Re-Purposed Mortise Chisels
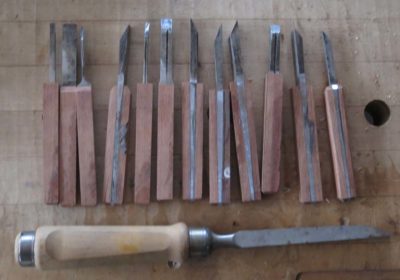
After they were sitting around the shop too long I recently returned to my project of re-purposing derelict plow plane irons into a set of mortise chisels more in keeping with my scale of work.
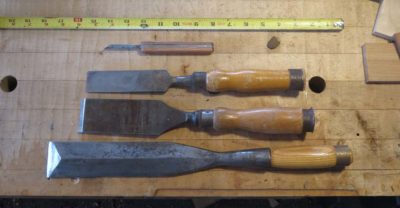
As I mentioned before I came to dislike my pigsticker mortise chisels so much I simply gave the complete vintage set away. At this point the only large mortising I do is at the timber-frame scale and I kept the set of chisels I use for that. Those chisels I love.
I did keep a couple of the larger furniture-making mortise chisels primarily because they were an important gift from the beginning of my museum career and have a strong sentimental pull on me.
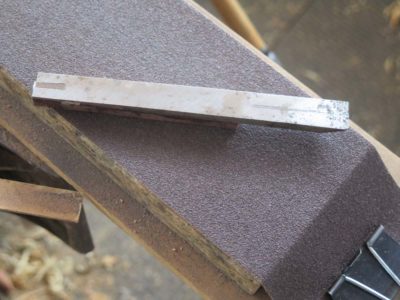
After trimming them all to similar lengths I both flattened and smoothed the flat surfaces of the irons in order to affix the wood cheek handles. Virtually all of the irons were sprung a little, whether from use or manufacture I do not know, but they require a few whacks of a hammer on the anvil to get them flat enough to work on the lapping plate with 60 grit sandpaper and provide good purchase for adhering with epoxy.
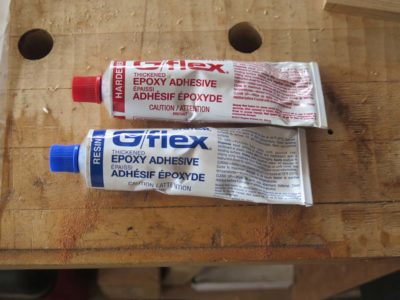
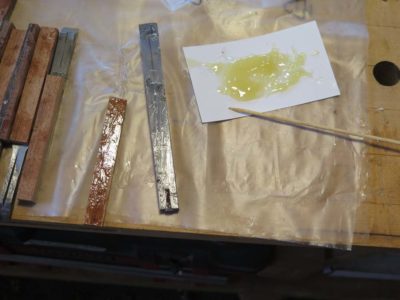

Speaking of which my pal MikeM gave me a kit of Gel-Flex epoxy for Christmas and it seemed an excellent option here. I applied a piece of swietenia to each side of the shaft and let them sit overnight before working them smooth on the disc sander.
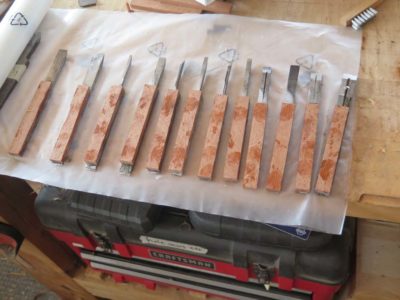
Next will be riveting the cheeks to the shafts and tuning the cutting edges and they will be ready to go.
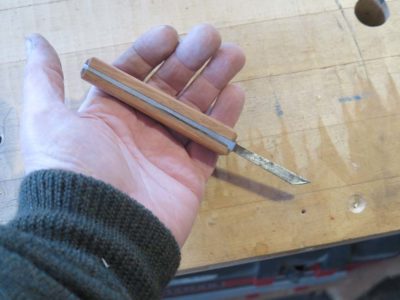
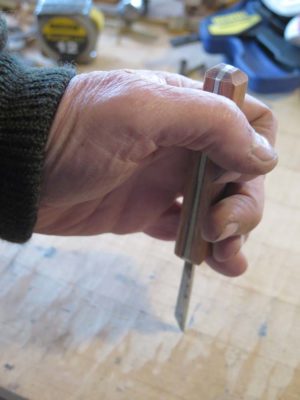
But at this point I have held them in my hands and love the fit, these are precisely what I feel the most comfortable with.

Join the Conversation!