HO Studley Exhibit Set-Up (many pictures)
Last Thursday was spent setting up the show, or in the lexicon of museology, “installing the exhibit.” Several of the volunteer team for the exhibit had arrived the previous day and helped to unload both the dedicated fine arts transport truck and the cargo van I drove from The Barn. The remaining volunteers arrived through the morning and pitched in seamlessly. I will blog about these heroic volunteers next week.
The raucous good nature of the day was genuinely infectious and invigorating. There I was, watching the different continents of my life collide: friends from the museum world, an on-line restorer’s forum I have been with for many, many years, and the newer World of Schwarz. Not to fear, rather than volcanic activity as the tectonic plates collided, jocularity ensued. In a lot of respects it was just like our sessions in Studleyville where despite the grueling work there, Chris and Narayan and I spent just as much time laughing intensely, with sometimes ribald humor.
So while we started out that day with all the pieces of the puzzle I brought with me, the composition of the picture goes back a few days. The week prior I had spent several days in Cedar Rapids making sure everything was on track for the installation. Dedicated transport arrangements? Check. Host site? Check. Graphics? Check. Cabinetry? Check. Vitrine? Check. Lighting? Oh oh.
The lighting company was the last stop before departing for Studleyville, and it was clear immediately that there was trouble. Despite months of correspondence, in-person discussions, and repeated promises that, “Yes, 1) we know what you want and 2) we have what you need,” it was abundantly clear that 1) no they didn’t, and 2) no they didn’t. So I fired them and welked out the door with no lighting arrangements in hand. Frantically I called Jameel, who in short order found exactly the vendor for me. So, with less than a week before the exhibit opens — in other words, about two years behind schedule — the entire lighting scheme needed to be redesigned from a blank piece of paper. I did not sleep much that night, but by noon of the following day we had all the details worked out. I hit the road for Studleyville with a great sense of relief.
Six days later I returned with the exhibit in a box.

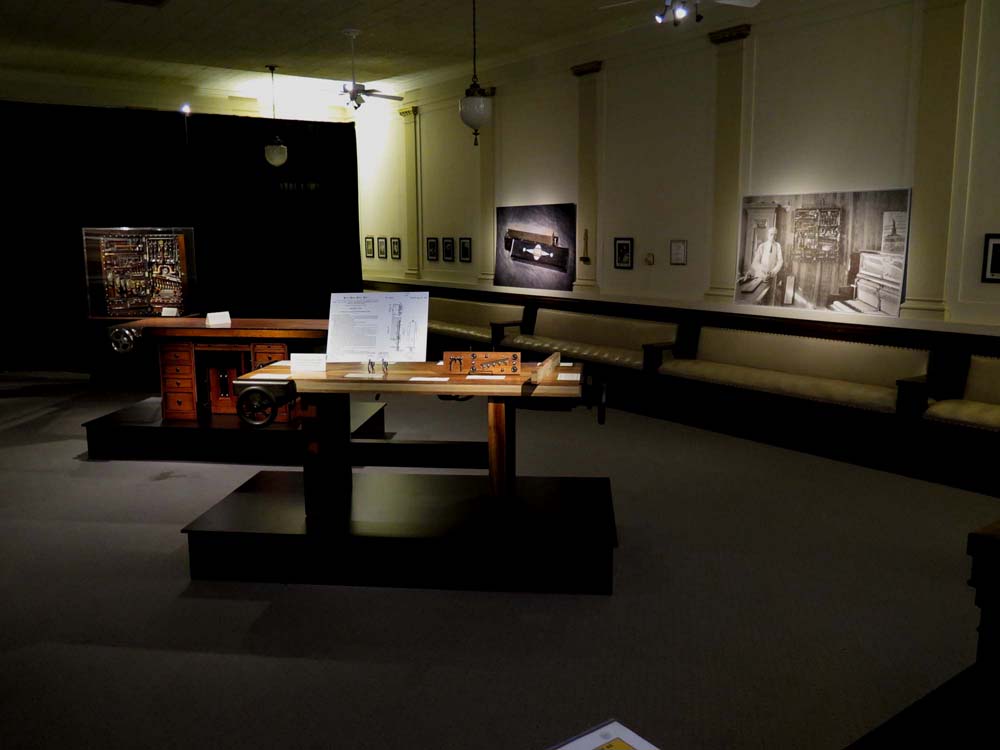
The first step in the installation was the receipt of the platforms and vitrine case. They were waiting for us when we arrived at the Scottish Rite Temple before 9AM. Those got hustled inside in short order. While a team of folks measured and laid out the room, the remaining volunteers carefully placed the exhibit furniture where I asked them. The layout resonated visually exactly as I had hoped.
At the same time the fellows from the graphics company arrived with the panels and banners for the exhibit.
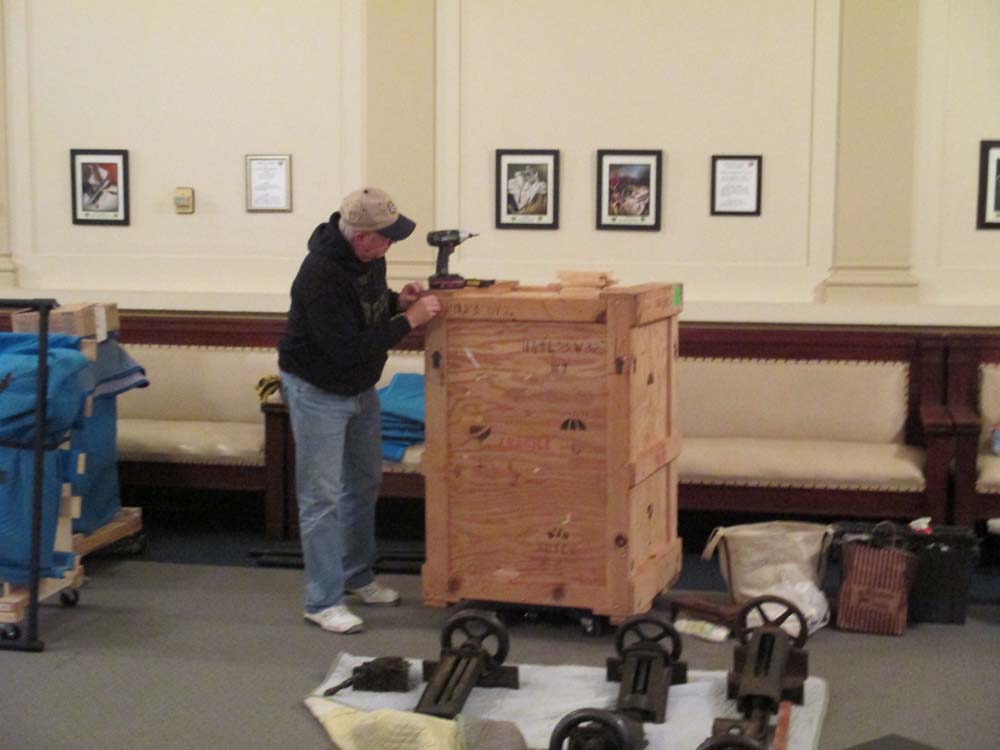
Next came the unpacking of the Studley Collection. The packed tools were set on a work table for me to fill the tool cabinet later in the day. Each crate was re-closed exactly as they came apart. Losing pieces of the customized packing is not beneficial.

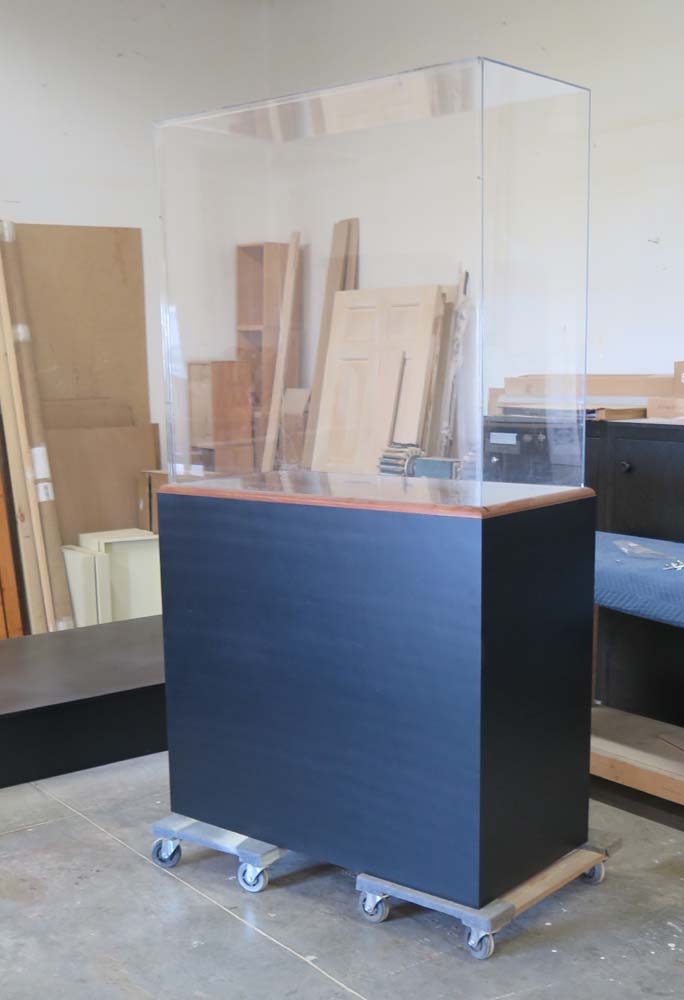
At the same time was the assembly of the base for the replica workbench top. Simultaneous with that was the placing and assembly of the vitrine case for the tool cabinet (see below).

The really heavy work came next, as around 500 pounds of cast iron was affixed to the approx. 250 pound replica top.

The photo of moving, flipping, and placing the elements of this ensemble was not taken as almost everyone in the room was doing lifting, flipping, moving, and exact placing of the multiple pieces.
First big piece down, two to go.

Next came placing the replica bench base for the original Studley bench top. This was not easy as the base was very heavy and the handholds few, but with care and muscle we got it done.

Yup, things were shaping up spatial composition-wise.

Up went Studley’s original bench top, on top of the replica base. O-o-o-oh yeah. We took a minute to stand back and admire our work.
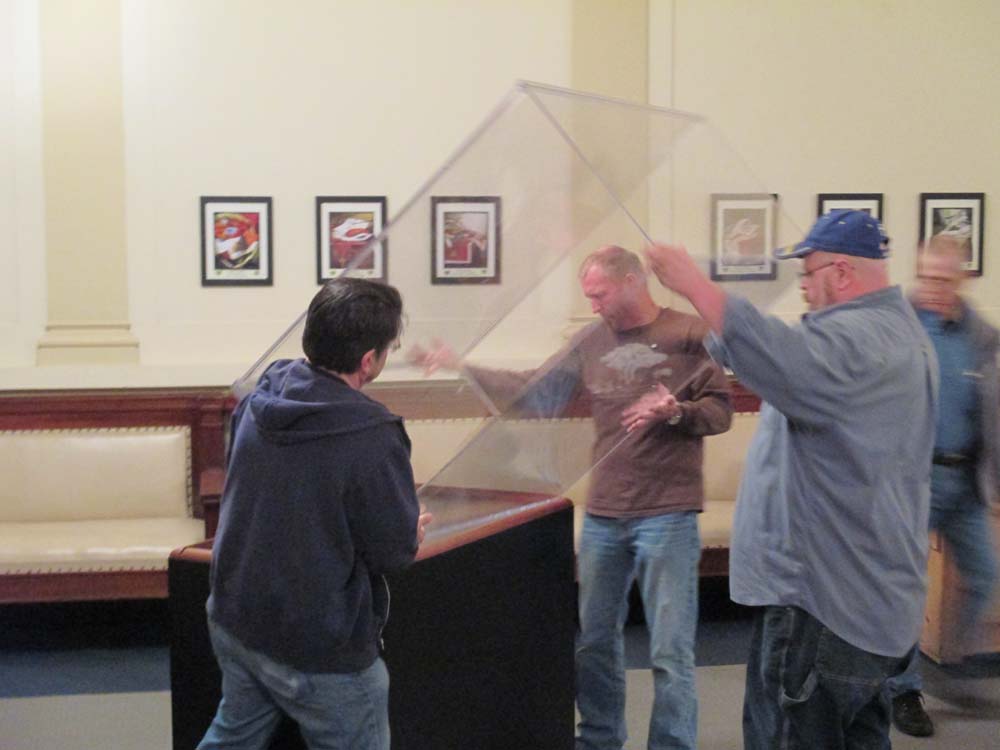
At the other end of the room was the team joining the case and the vitrine. I had asked for a very snug fit, and boy did we get one.

It took almost everyone on the vitrine team to hang on to the top and press it down into the rabet of the base.
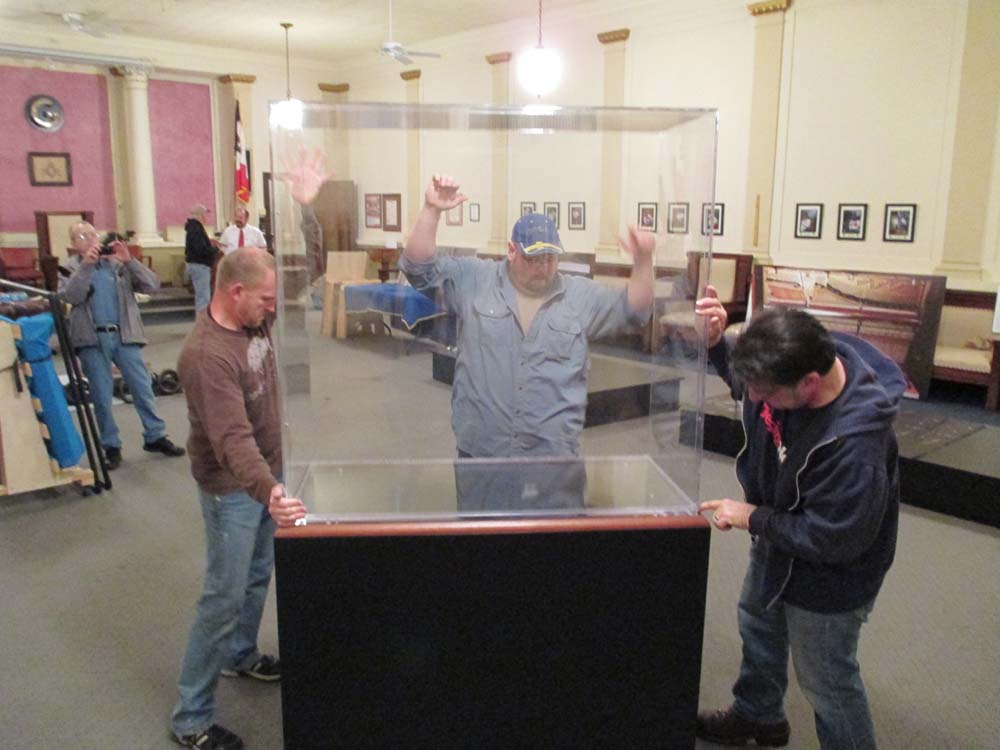
With a notable “thunk” it popped into place. Beeeyoooteeeful.
We were under some time pressure as we had to get the major elements of the exhibit in place before the lighting guys arrived, because they had to know where to point the lights. Makes sense, huh?

The bottom panel for the vitrine was cut, then lined with black felt for the plane underneath the tool cabinet. The fit had to be exact, and presented in such a way as to become completely unnoticeable once the exhibit was being viewed.
The lighting guys showed up exactly when they promised, with all the exact equipment they needed. What’s up with that? Just kidding. They were fabulous.

We killed the house lights and turned the guys loose.

The lighting units they had were slightly warm (2700K color temp) lithium battery light fixtures with magnetic bases, which the stuck on the ceiling fans!

Soon it was looking like an exhibit should.

Once the lighting was done, up went the black theatrical backdrop, setting off the entire space and establishing the respectful tone for the entire event.

I took a couple hours to load the tools in the cabinet, with the entire crew of volunteers watching with the same looks on their faces I would see throughout the weekend.
With several minutes to spare, were we done.

Join the Conversation!