Pictures Fron An Exhibition (Of Historic Woodfinishing)
N.B. Things have been crazy busy in a wonderful way and I’m looking forward to a more sedate pace in the coming days. Stay tuned. — DCW
Three weeks ago I gathered with 10 novitiate varnishistas from around the country for a three-day romp down the long and winding trail of historic woodfinishing hosted by Joshua Farnsworth at his Wood and Shop facility near Charlottesville VA. Over the years I have evolved a very tight syllabus to make sure every participant leaves with a set of successful exercises under their belts, or fingernails as the case may be. This solid foundation allows me to work around the edges and incorporate some new things as I did this year, with mixed success.


A large part of the course success is due to the fact that I supply EVERYTHING for the students to use. Though that is a substantial undertaking it does guarantee a greater chance of success than if I mail out a supplies-and-tools list. After a couple experiences of wasting several hours of class time scrounging up supplies, tools, and projects for the students who forgot them I tossed that concept overboard many years ago.
The routine should be fairly familiar to anyone who follows this blog, so this year I will simply be posting a gallery of images to capsulize the three days. There is no way a few pictures can convey fully the richness of the event from either a learning or fellowship perspective, plus there were many portions where I had no pictures because I was, well, teaching. There are entire exercises that were not included in the photos.
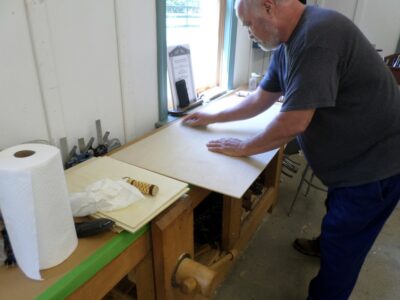
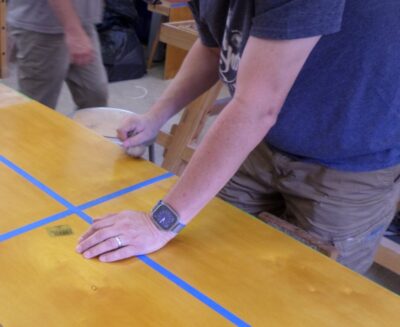
Smoothing the 24″ x 48″ birch plywood panels in preparation for fifteen coats of 1-1/2-pound lemon shellac.

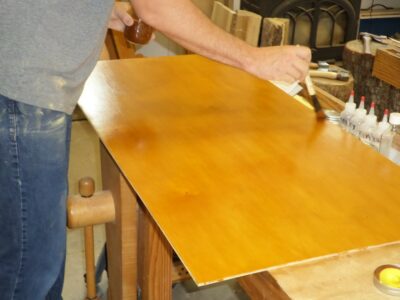
Shellac makes its first appearance
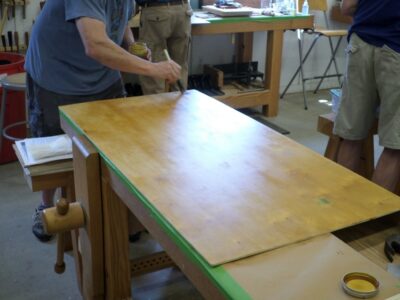
The end of the “first inning” (five brushed coats of shellac)
After drying for several hours, we ended Day 1 with a light scuffing of 220 sandpaper followed by another five brush coats of shellac.
After drying overnight following the “second inning,” the surface was uniformly scraped, followed by a “third inning” of five coats and set aside to dry for 24 hours.

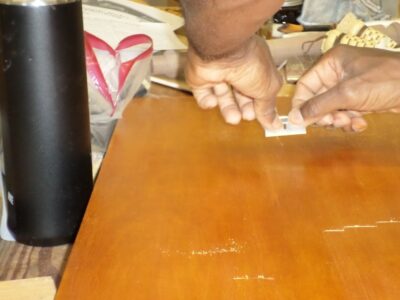
The final steps for the large panel included dividing it into quadrants, each of which was treated differently. This quadrant was dry-pumiced in preparation for shellac pad polishing.
Final shellac varnish pad polishing.
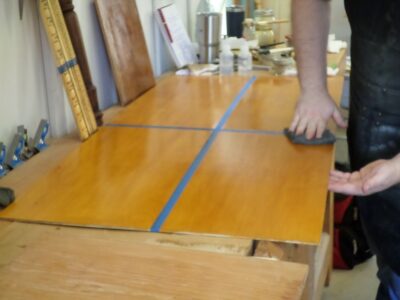
A second quadrant was polished with tripoli (rottenstone) in white spirits, the third was rubbed strenuously with Liberson 0000 steel wool saturated with paste wax, and the fourth was left “off the brush.”

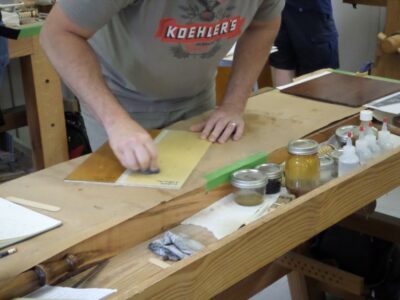
Smoothing a mahogany panel with a pumice block.
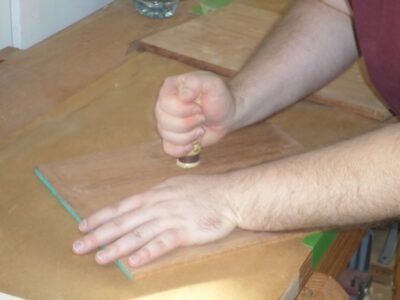
Working the mahogany panel with a 1″ x 1/8″ polissoir, followed by molten beeswax (scraped clean) as a grain filler.

Making and using a linen pounce/pad to apply the 1/2-pound shellac varnish.
Building the padded shellac varnish.
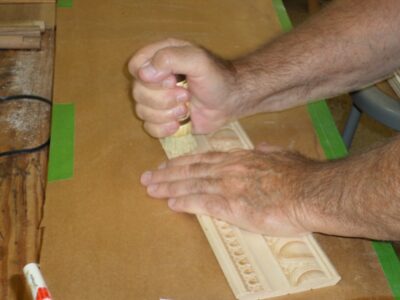
Burnishing an embossed molding with the Carver’s Model polissoir, followed by a few coats of brushed shellac.

Revisiting the shellacked surface with the Carver’s Polissoir.

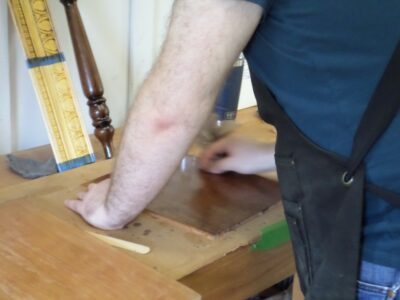
Applying asphalt glazing to half of the molding piece.

Feathering out the asphalt glazing with a badger brush.
Comparing the appearance of five coats each of Bullseye Amber and Bullseye Clear from the hardware store.

A classroom full of busy varnishers.
And much, much more.
So there’s a snapshot (pun intended) of the recent gathering. I know we will have the class again next summer at the school in Earlysville VA.

Join the Conversation!