Gragg Chair Workshop 2

Early on Day 2 everyone had their side units assembled and thus began one of the more frustrating parts — getting the baby up on its feet. As I often say about Gragg chairs, you are not so much constructing a chair as you are assembling curvilinear sculpture in three-dimensional space.
To assist in the process I had constructed for each student an assembly jig including four stirrups indicating the location of the four feet. Combined with a few diagonal struts held in place by spring clamps, the correct posture was assured with the use of a bevel gauge to make sure each side was canting in the proper direction at the correct inclination. Now it was time to start fabricating and fitting the cross-chair elements, the front seat rail, the rear seat rail, and the crest rail. It sounds so simple but when you start fitting structural elements to curved and tapered components it suddenly is much less simple.
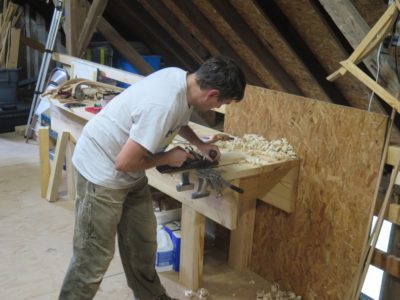
I learned two important items today to add to the “To Do” list in case I ever host this workshop again: 1) make a story stick for each student so they do not have to spend so much time measuring and remeasuring, and 2) have a fully dis-assemble-able chair so that it is quicker for me to explain how the parts fit together. I am working on that project right now. Perhaps a third thing is the hindrance of always working alone, repeatedly I would find myself forgetting to say out loud parts of the conversations going on inside my had, conversations that actually yield useful information about the “whys” and “hows ” of doing things.
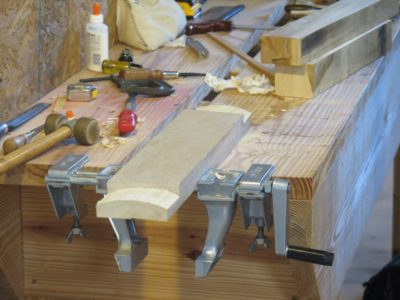
The easiest of the cross-chair structural elements is the front seat rail, so that is where I had the students begin. I had found that using a Zyliss vise is most beneficial to the Gragg chair building process so I made sure each workbench was outfitted with one. By the end of the class each student was a big fan of the tool.

Near the end of the day it was a thrill to see the inventory of chair forms emerging on the assembly table.


I was getting ready to ask you the name of the vise I kept seeing in the pictures when I finally read the name. Thanks!
Boy, do I get the working alone comment. My son is the third generation loner. Working together is still a work in progress and he’s 42.