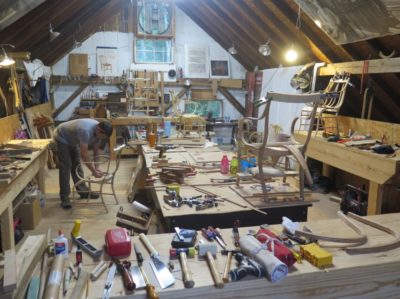
Gragg Chair Workshop 5
With the incorporation of the continuous seat/back slats the artifacts began to adopt the true character of a Gragg chair.
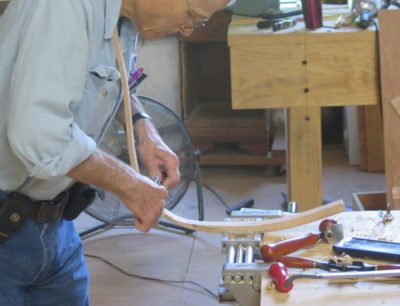
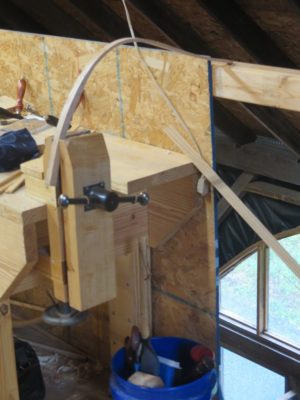
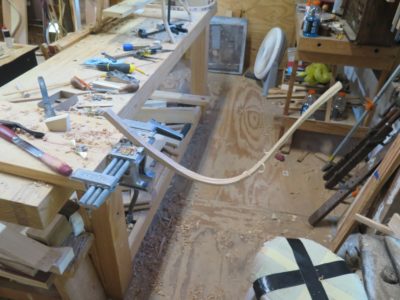

There’s not really a lot to say about the process; you thin the vertical sections to impart the requisite springiness (this is where clamping/vise weirdness is a feature, not a bug), mark, cut and excavate the dado troughs in the rear seat rail, and lay out the half-blind dovetails on the front set rail and the mortises in the crest rail. It sounds so mundane to describe many hours of intense work thusly.
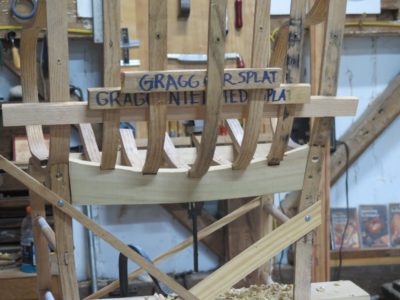
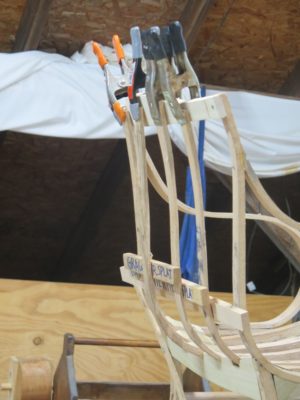

One “complication” is that the slats must be off-set front-to-back so that they are staggered in order to impart the “elastic” leaf spring function to the chair as a whole. The is accomplished by using spacers between the slats just above the rear seat rail. Only after this configuration is achieved can the half-blind dovetails in the front seat rail be layed out and cut.
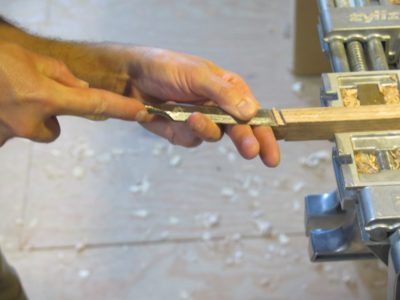

The dovetails themselves are a piece of cake, literally a minute or two per joint. The pocket mortises chopped into the rear edge of the front seat rail are a bit more involved but still not hysterically complex.

Once this is done the tops of the slats can be marked and the tenons cut.


Join the Conversation!