Parquetry Tutorial – The Basic Tool Kit
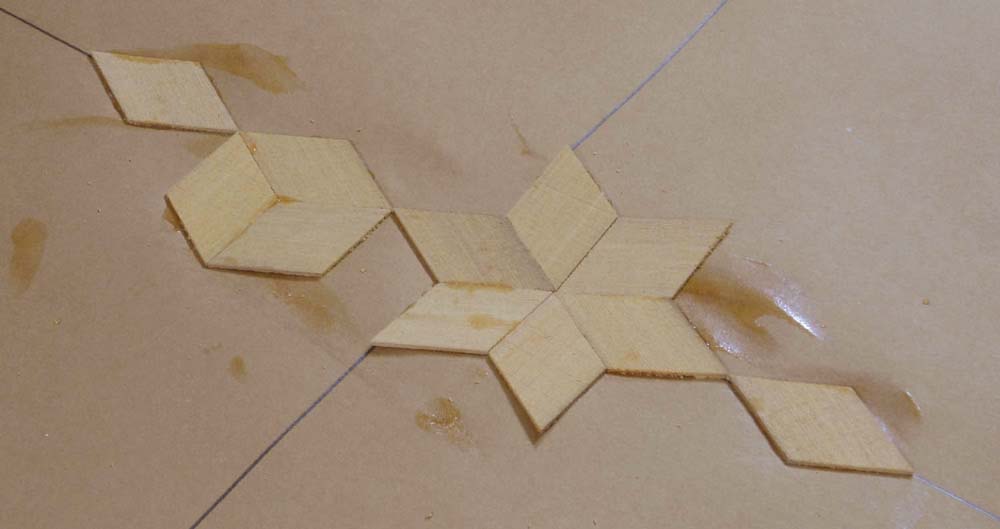
One of the beauties of parquetry, aside from its, well, beauty, is that it is a decidedly simple process requiring only a few tools to get started.
When we gather for the workshop at The Barn in less than a fortnight each student will need only a few tools, none of them exotic or impossible to find or purchase or even make.
These are not presented in any order of importance.
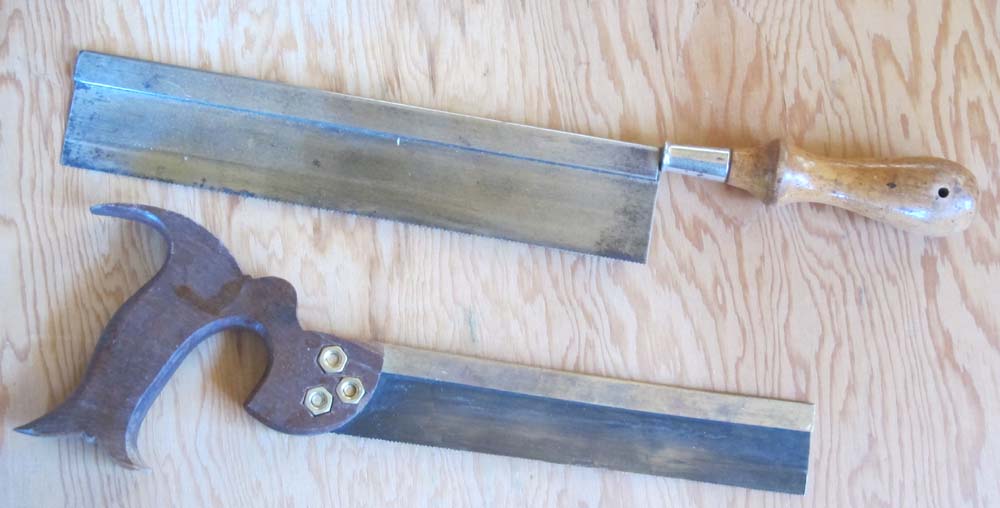
1. Small back saw
The first tool needed is a small dovetail-type saw, used to cut the already fashioned veneer strips into equilateral parallelograms. Almost any kind of small back saw that cuts cleanly will do.
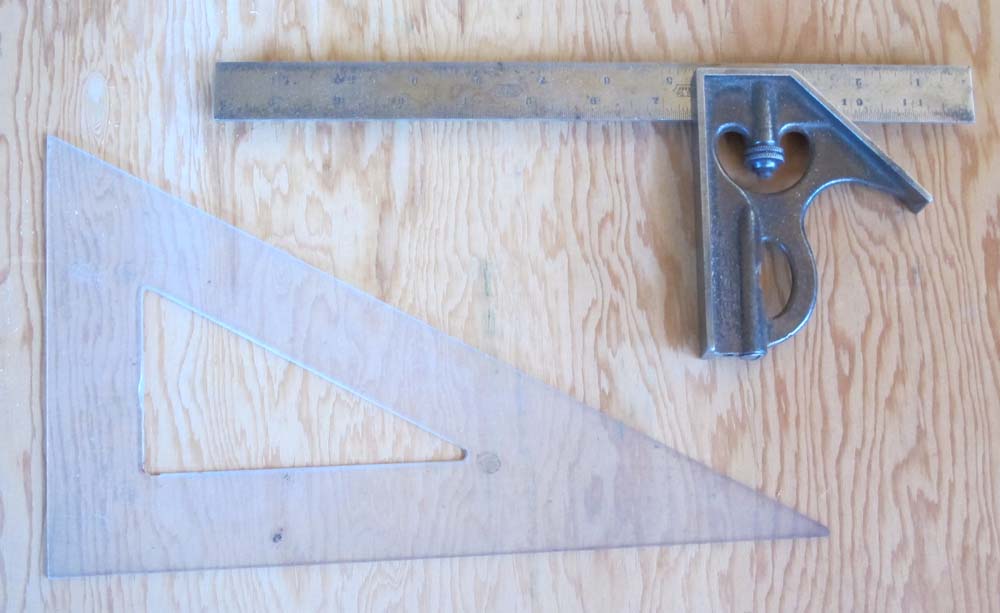
2. 30-60-90 triangle
Since this type of parquetry is based on the 60-120 degree equilateral parallelogram, a 30-60-90 triangle is required. A decent quality plastic one from the big box store works just fine. Or you could do what I do and just pick them up at yards sales for a quarter apiece. That does sorta explain why I have a whole drawer full of them…
3. Bevel Gauge
To both prepare the sawing jig and the layout of the veneer panel, a bevel gauge is needed. In the preparation of the sawing guide it is the fence against which you ride the back saw for establishing the initial kerf. As long as the blade of the gauge is straight and the locking nut locks, you are good to go.
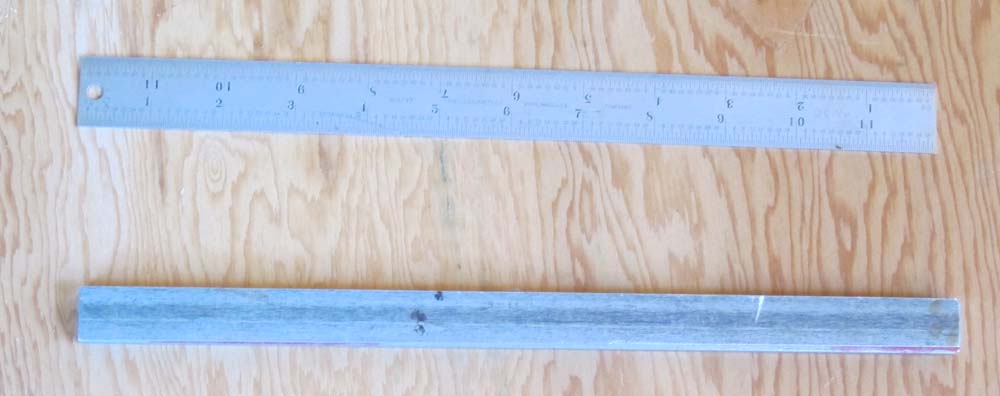
4. Straightedge/ruler
In order to assemble the parquetry pattern properly you have to establish the greater and lesser axes so you know how to assemble the pieces on the kraft paper backing. The straight edge makes this an easy task, especially if it is a ruled bar used in concert with the aforementioned triangle.
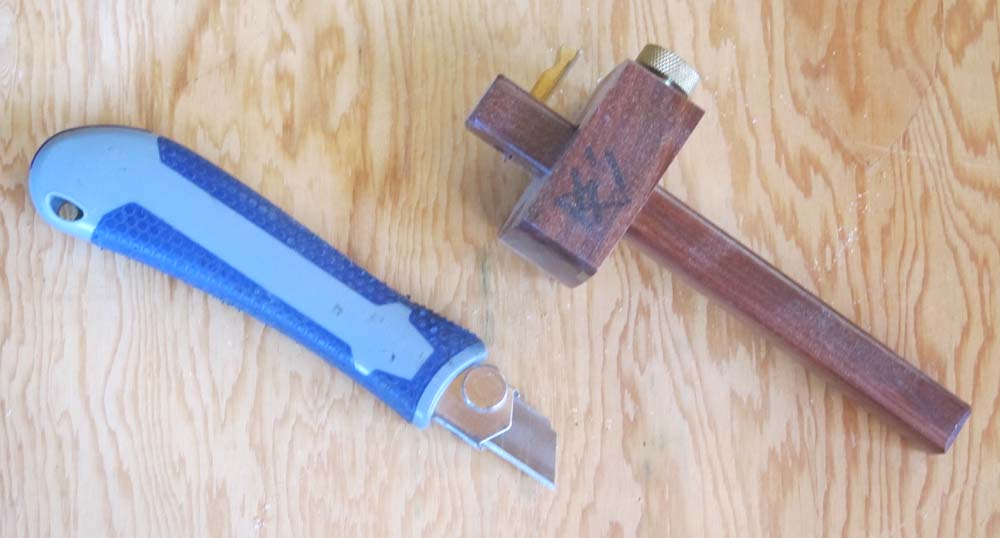
5. Utility knife
Many times in the course of a project you need to cut or trim something, so some sort of utility knife is called for. Equally applicable would be a straight ship carving knife.
6. Cutting gauge
If you are including banded inlay into your composition, a cutting gauge (pictured next to the blue utility knife) is useful for establishing the edges of the channels into which the banding will be glued.
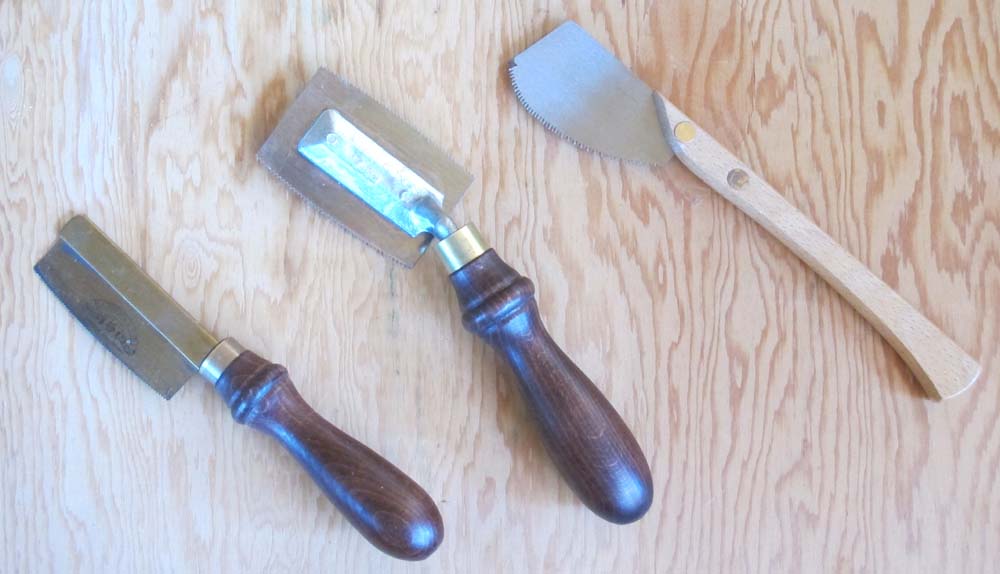
7. Veneer saw
For finishing the edges edges of the marquetry panel, or establishing the channels for the banded inlay, and marquetry saw is a godsend. I show three different iterations; on the left is an “English” style, the center one is I believe of German heritage — both of these saws cut on both the push and pull stroke — and the one on the right is Japanese, hence cuts only on the pull stroke. I have tried but do not yet own the new design from Gramercy Tools, but it is superb. Since much of my future work will be parquetry, I will order one.
8. Small bench chisel
To clean out the channels for the banded inlay.
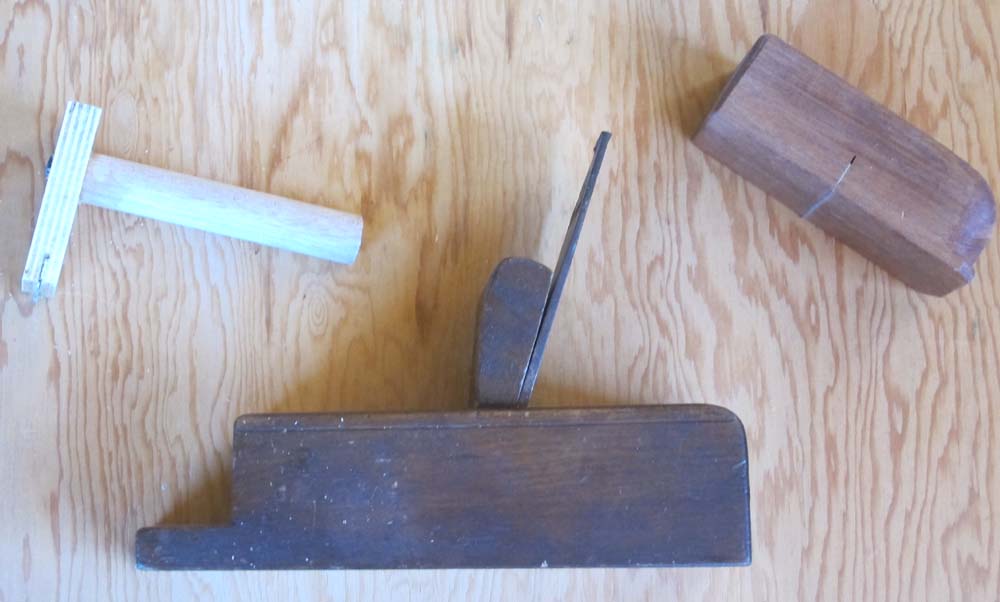
9. Toothing plane or analogue
When the parquetry panel is assembled and applied to the substrate, it will be neither flat nor smooth. A toothing plane will accomplish the former. I have about ten, but if you don’t have one you can make either a low-tech block toother or a squeegee-style toother, both of which employ hack saw blades.
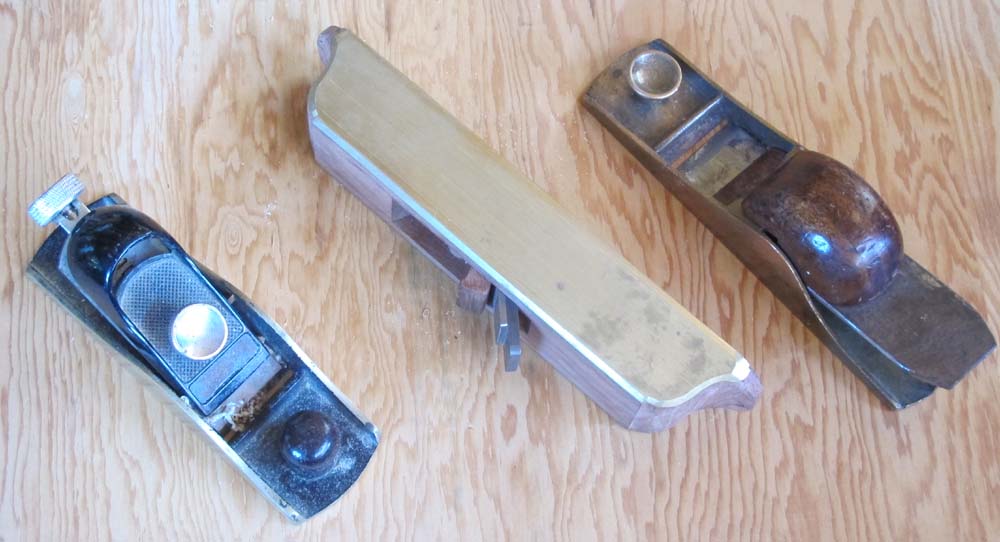
10. Block plane or similar
Often the parallelogram lozenges need just a touch along an edge to make it fit perfectly, and the sharp block plane is just the tool. Later on, you will need the block plane to follow the toother in the finishing.
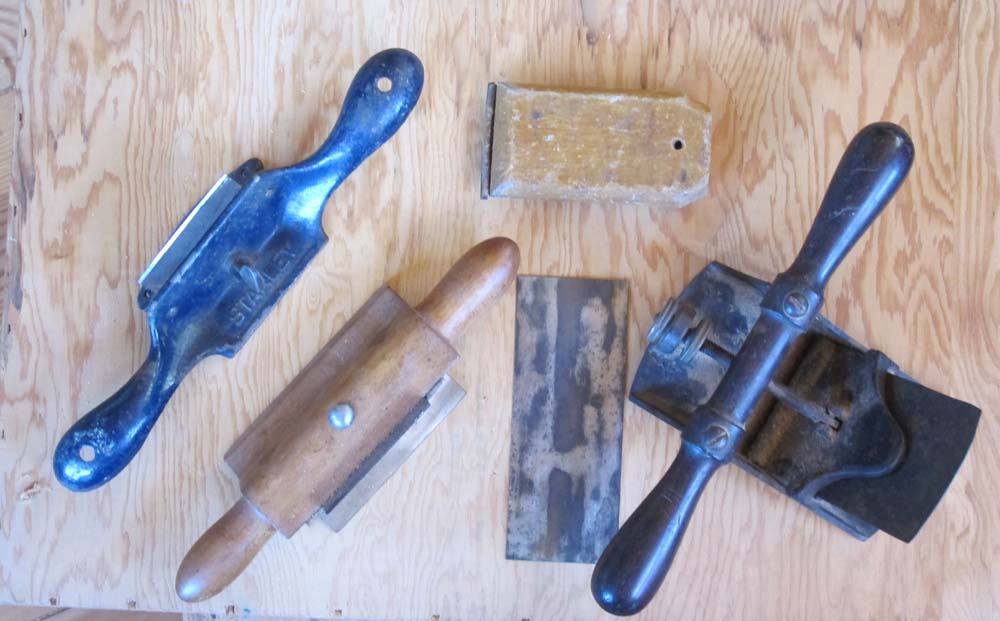
11. Scraper
The final step of smoothing is done with a scraper. Whether you use a card scraper or a block scraper is immaterial, all that counts is that it be cutting nicely and leaves a perfect surface.
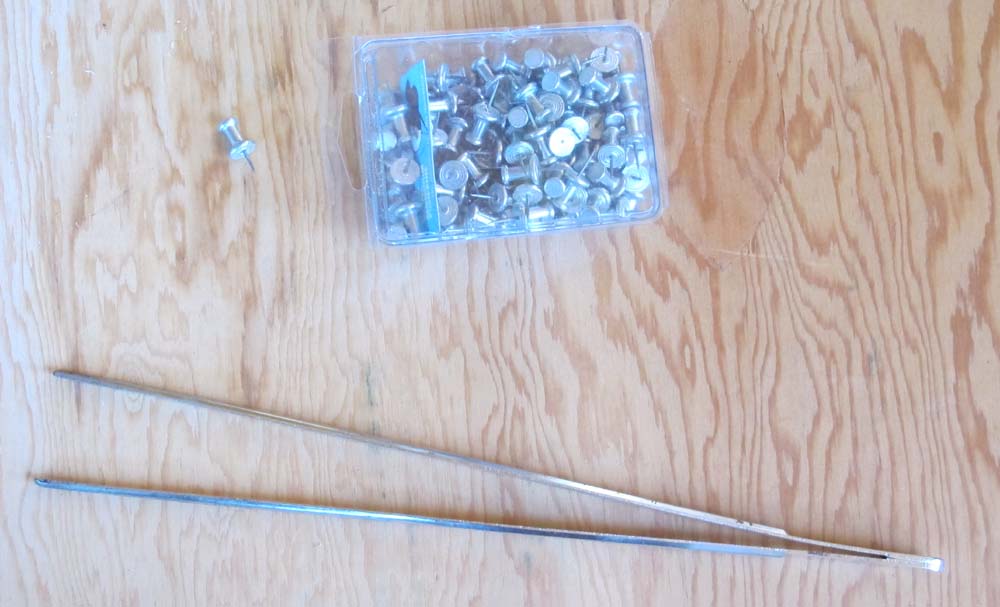
12. Miscellaneous tools
I always like to have a pair of tweezers laying in the vicinity, and a bunch of metal-headed thumb pins, to tack down the banding while the glue set.
That’s pretty much all you need tool-wise to get started. Next time I’ll talk about making and using the sawing and planing jigs.
===================================
If spending a weekend in Virginia’s Little Switzerland making a parquetry panel sounds like fun, drop me a line and sign up for the class. It is a week from Friday-Sunday.


Join the Conversation!