Straightening Up

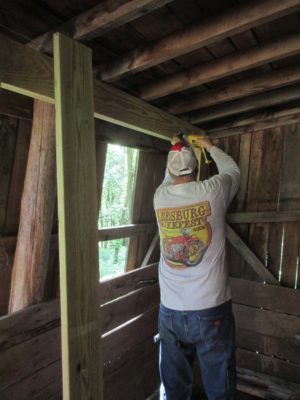
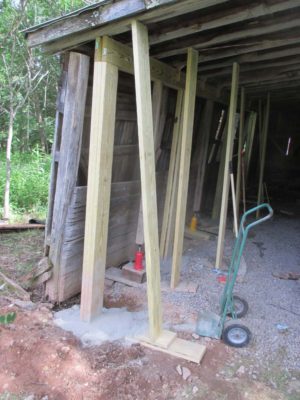
With the shed roof line as straight as we could get it (there was still a tiny bit of dip but I was fearful of literally tearing the building apart if we went any farther based on the screeching coming from the building itself) we began the steady process of assembling in-place the laminated post-and-beam to replace the sagging wall.
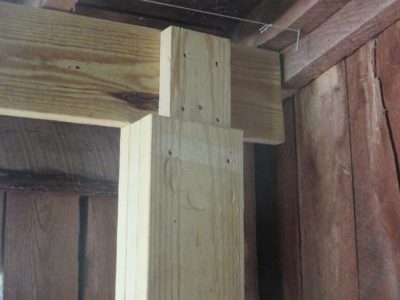
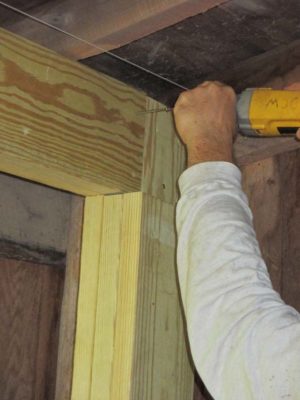
We started by assembling the posts complete from three laminae of 2x8s with the center board being off set the width of the beam dimension and notched a couple of inches to serve as the tenons so that the beams could be assembled in-place fairly simply. This also provided good purchase for the concrete we were using as the footer ex poste.
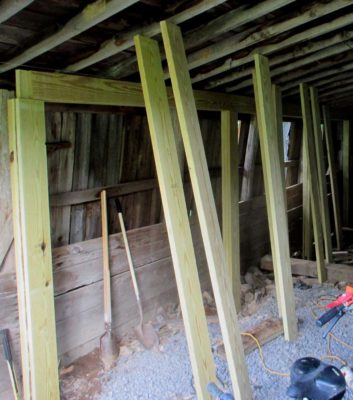
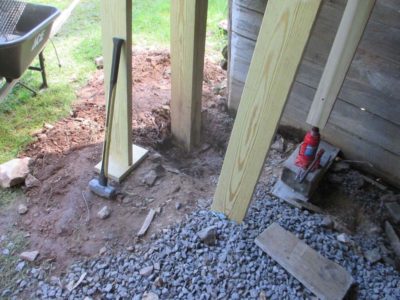
Since the rear corner being the highest, we shot for everything eventually becoming level with it. So as the posts were constructed moving forward, we had to dig out holes in order to make all of them the same length. Once the structure was complete I began the gentle lifting of the front corner with a post and hydraulic bottle jack. Even I was astounded to recognize that the front corner needed almost 16-inches of raising to get everything level-ish.

With that I filled each footer hole with dry concrete mix, and old trick I learned from a deck-builder friend of mine, who said that you could use dry concrete in holes like this and it would absorb moisture from the ground and set in fairly short order. I have used this method numerous times in the past and it turns out he was right.
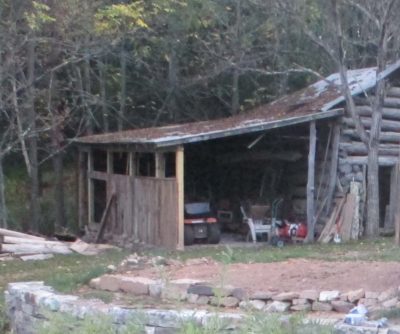
The following week I dismantled the original wall and salvaged almost all of the material to use as the new 3/4 wall. That new configuration, along with the new structure, has transformed the space from a sagging, foreboding cavern into a robust and airy storage space for the tools and machines necessary for maintaining the homestead. For the moment I have left the rear section of the wall un-built as we are debating the desirability of a door opening there.


Join the Conversation!