Writing Desk – Final Pieces of the Puzzle
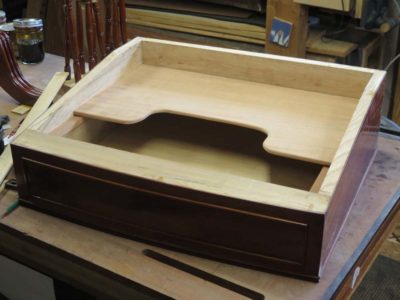
With the light shining at the end of the tunnel, in hopes that it was not an oncoming train there were but a few more elements to fashion and fit and the desk construction would be complete. Sort of. In fact the final assembly did not take place until after the individual pieces were finished, but more about that later. This final construction phase would perhaps be better named the final fitting phase. This included the two top sections, one the writing surface and the other the horizontal back piece all cut from the same mahogany slab, and a little extra enhancement. The back (horizontal) piece of the top was thinner than the writing surface by 1/4″ in keeping with the original.
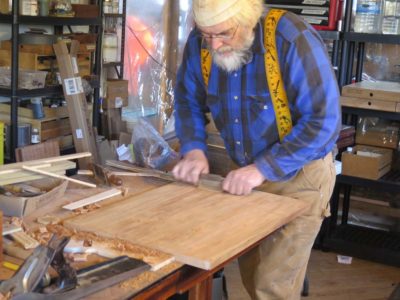

The “construction” of the top pieces was ordinary to the point of mundane. They only had to be cut to the right size for the places, planed and scraped with a rounded edge planed onto them, then fitted together in a butt joint.
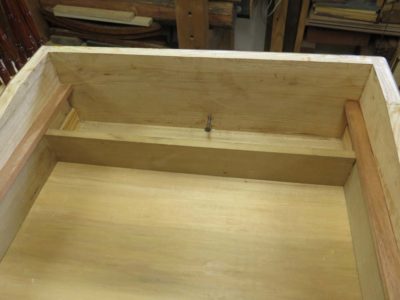

Before the top was glued onto the sides with glue blocks it was the proper time to make the drawer stop. I used a preposterously simple technique I have seen in many small-ish pieces of early 19th Century styled furniture like this replica. A simple flat head wood screw served the purpose perfectly, with the additional benefit that as the dimensions of the case or drawer changed over time to to moisture cycles and any resultant compression set, the depth stop could be easily adjusted infinitely.

On final little whimsy was to add a hidden “whisky shelf” immediately above the drawer. Since the top was slanted and fixed there was a fairly spacious void above the drawer, and it was not uncommon for a small shelf to be included inside to that a flask of libations could be kept there. I made a “U” shaped shelf that could be accessed when the drawer was pulled part-way out, then tacked the shelf on to the fixed drawer guide rails with a spot of hot animal hide glue.
And now it was on to the finishing.


Join the Conversation!