Note: My only connection to Safest Stripper is that its manufacturer is a Minnesota-based company, and I have a brother and many friends living in Minnesota.
One of the most vexing headaches when treating a piece of furniture is that gob of white or yellow glue that has been slathered on to or in to bad repairs. Yes, paste paint strippers work on getting it softened and removed, but will also likely remove any adjacent coatings materials.
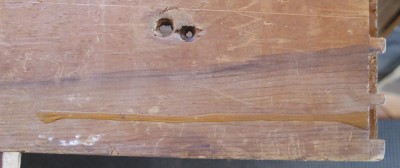
But what about those instances where the glue runs down the nearby vertical surfaces? Sure tehy can be chipped off, but in most of my work the objective is to leave the object as undisturbed as possible when enacting the repair. This is an example that is painfully typical. A repair of some damaged dovetails in this drawer resulted in a line of yellow glue crustifying on the unfinished inside surface of the drawer. Chipping this off with a knife or chisel will almost certainly result is some damage to the underlying substrate.
The approach I have found to be most satisfying is this one.

Placing the affected surface horizontally I brush a thin bead of Safest Stripper on only the glue reside.
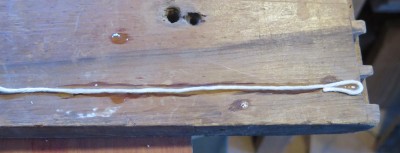
Then I lay on this line a piece of unsized cotton string and repeat the brushing of the Safest STripper until the string is saturated, serving as a reservoir for the solution to do its work.
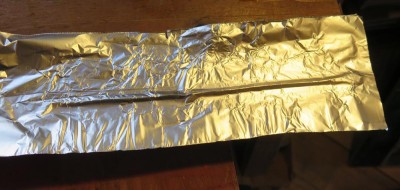
I then cover the area with a piece of aluminum foil and walk away for a day at least, sometimes much longer. When I check on the progress of the process and think the time is right, I take off the aluminum foil and get to work. I lift up and remove the string (sometimes the softened glue is imbibed into the string and it comes up with it, but that is not a common happiness) and with either my fingernail or a piano key I begin to lift one end of the glue drip.
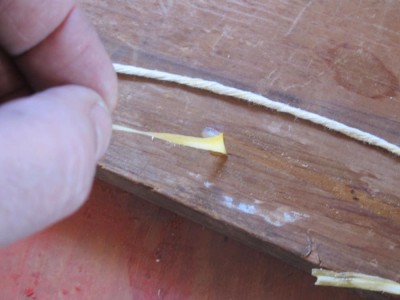
With care and a bit of patience the entire line of the drip peels off leaving the underlying surface completely untouched.

Since DBEs are water soluble and very low volatility I generally poultice the area at least twice to wick out any residue that might have infused the surrounding area.
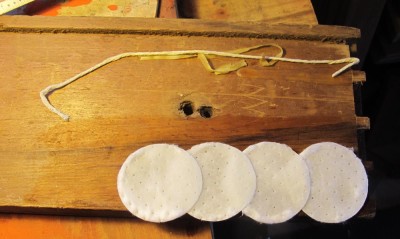
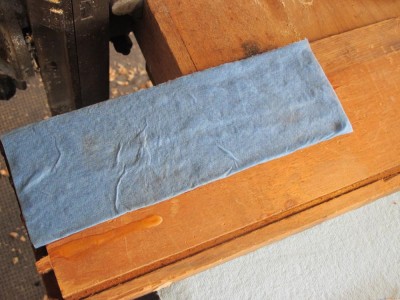
Almost any clean poulticing material is fine. I generally use either cosmetics pads or blue shop paper towels.
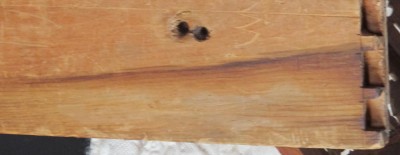
Once I am satisfied that the clean-up is complete, I am done. I’ve still got a tiny bit to do here, but you get the idea.
Thanks to my pal DaveR I spent a delightful few minutes watching the fabrication of a new “art bicycle” complete with gold and urushi as the paint job.
You will too.
https://vimeo.com/80796396
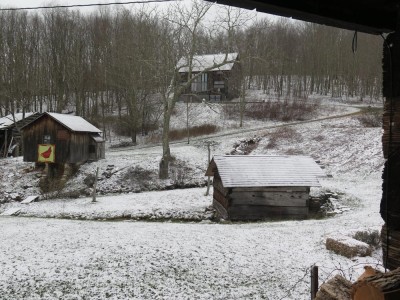
Cold and windy and snowy, with more snow expected off and on for the next few days. Ugh.
High tomorrow in the 20s. In Virginia. In April.
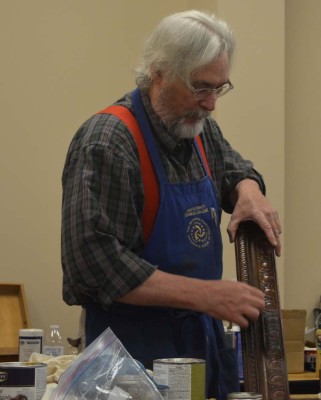
An eagle-eyed blog reader noticed that the initial schedule for the upcoming “Historic Finishes” weekend workshop at The Barn coincided with the Mid-Year Meeting of the SAPFM, and since it precluded those attendees for contemplating spending time here I decided to change the schedule. The new date is June 20-22, the Monday-Wednesday before the SAPFM meeting. It is a switch for me to have a weekday event so we will see how it goes.
If you are interested in attending the workshop, which will be mostly hands-on instruction and exercises, contact me here.
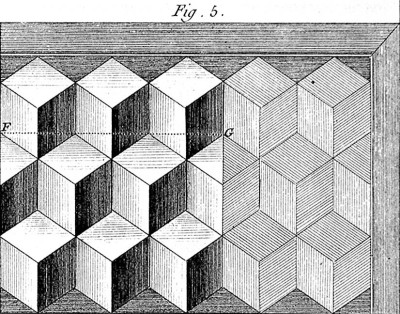
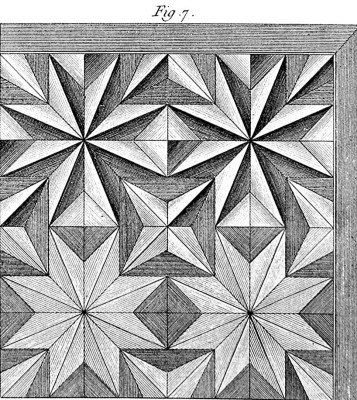
The final of the three summer workshops at The Barn will be held August 19-21, 2016, and involve the replication of three principal patterns for parquetry as documented by Roubo’s L’Art du Menusier, from which we have created To Make As Perfectly As Possible: Roubo On Marquetry.
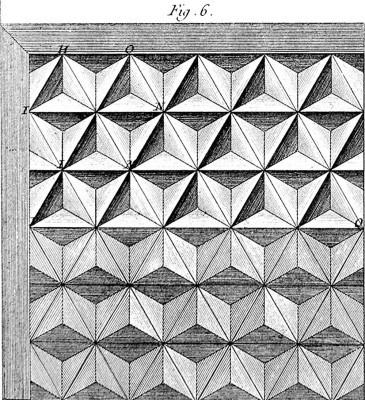
Unlike some of my earlier workshops in marquetry and parquetry, this weekend will focus entirely on the replication of the techniques (lots of precision saw and planing jigs involved) rather than making a completed project. From the review of the design, the sawing of the veneer stock and the individual elements, the participants will leave with completed jigs integral to the techniques and a solid foundation for incorporating these designs into their own work. I know I will be working on a project that could best be described as the imagined result if James Krenov received a commission to build a piece that was the merging of 16th Century Chinese and 18th Century French styles.
Drop me a line here if this interests you.
===================================
The other two workshops at The Barn this summer are Traditional Finishing (originally planned for June 24-26, but that is the same schedule as the SAPFM Mid-Year meeting so I will likely move it forward, stay tuned) and Build Your Own Nicholson or Roubo Workbench (July 25-29).
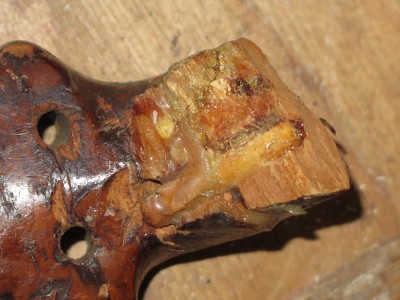
One of my most typical exquisite applications for Safest Stripper is demonstrated by this problem. This almost life sized sculpture of a lute player, where the head of the lute had been snapped off and the break slathered with yellow glue in an ill-advised and worse executed repair, had a mass of the hardened glue preventing anything useful as a response. The rock-hard glue had to be removed before any further steps could proceed.
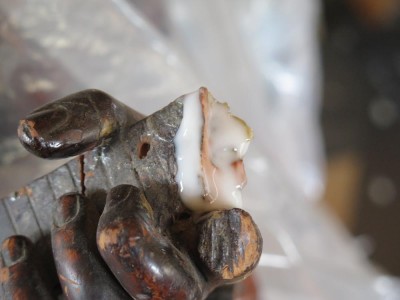
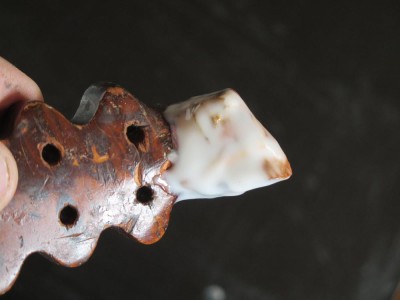
First I coated the effected areas with a healthy load of Safest Stripper, then wrapped those areas with aluminum foil and set them aside for at least a month.
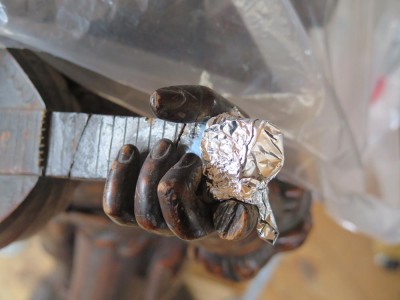
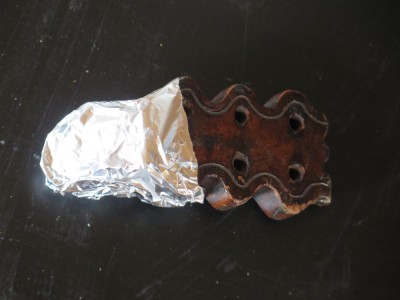
That’s right, a month. (If you have a project with an urgent turn-around time, I am not the guy for you).
The beauty of Safest Stripper for me is that it can be set aside and allowed to work at its own pace. In some instances this means overnight, sometimes until next month. In these cases letting it sit until I was ready to get back to them was not a problem, it was a feature.
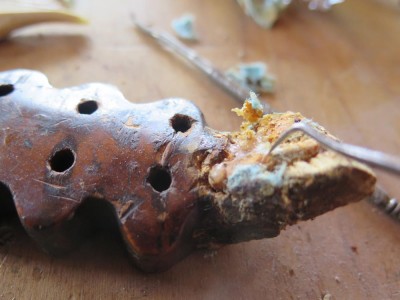
A month later I returned to this part of the project and the mass of yellow glue was in perfect condition. What I was looking for was for the glue to have softened to a hard taffy consistency rather than a liquid goo. Using a variety of tools, including dental picks and self-fashioned tools of similar function, I was able to peel off the softened plastic mass gently without inflicting any harm to the underlying substrate.
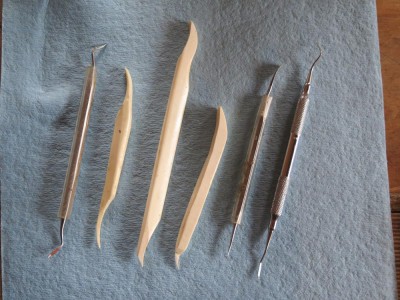
Swabbing the surfaces with distilled water to remove any DBE residue the broken pieces were ready for reintegration with hot hide glue.
Next time I will discuss the absolute best use of Safest Stripper when dealing with old, damaged, and badly repaired furniture.
Again, no commentary required. Just sit back and enjoy the simultaneous appreciation of Sleepless Jim’s magnificent work along with the implicit condemnation of your own slackerdom.
Or perhaps I am just engaged in psychological projection…
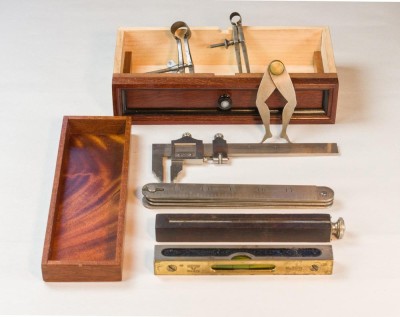
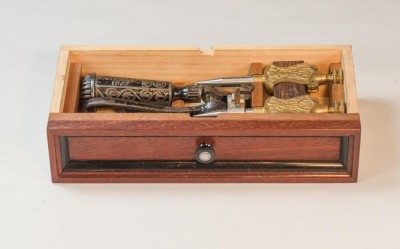
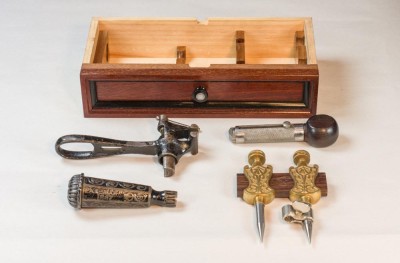
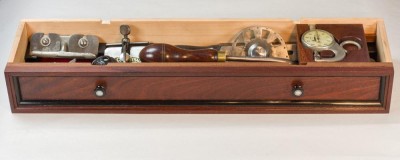
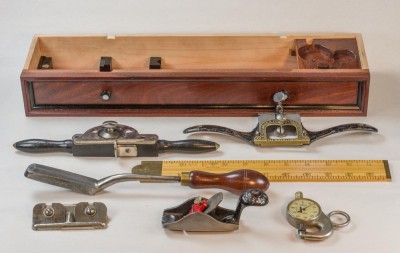
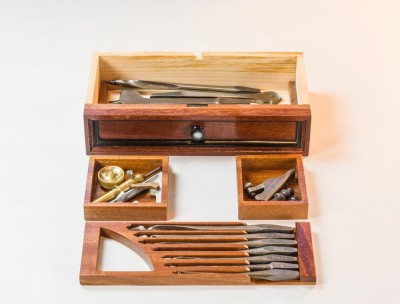
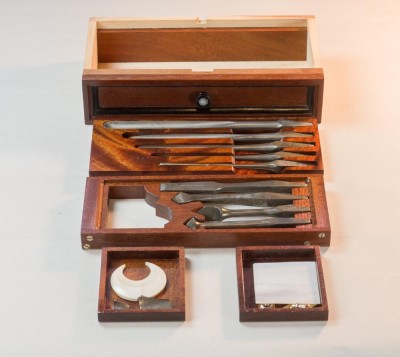
More to come anon.
Between acquiring books during the LAP soiree and the spate of packages arriving recently in the mail, I have several new volumes on the reading pile, er, list.
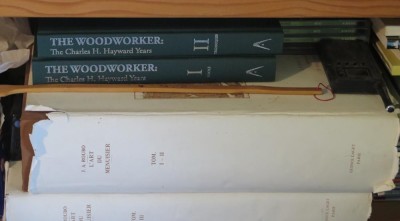
The first things to note were the new releases from Lost Art Press, namely Chris Schwarz’ new The Anarchist’s Design Book, and the monumental two-volume set of The Woodworker: The Charles Hayward Years which resides appropriately on top of my Roubo replica set on the shelf. The former volume is another of Chris’ creations of love (actually all of LAP is a labor of love) into which he pours himself with abandon. The Hayward set was nearly a decade in the making, and it would not surprise me if it took me as long to work my way through it with the attentiveness it deserves.
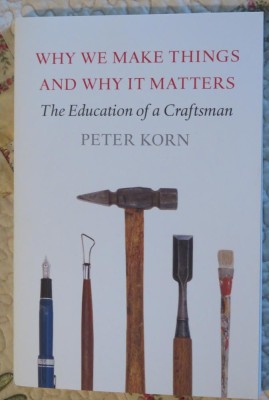
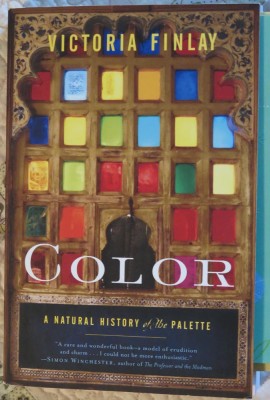
My recent birthday brought me Peter Korn’s Why We Make Things and Why It Matters from my younger daughter and Victoria Finlay’s Color from my Gragg chair collaborator Daniela. Korn’s thesis and memoir is on a topic that has always fascinated me, especially when it comes to the creation of artistry rather than merely utilitarian artifacts. As my long-time colleague and friend, the late Mel Wachowiak, used to say, “Any time something is made more elegantly than is necessary for its function, you have art.” I look forward to Korn’s ruminations on that subject.
Color is a historical and technical panorama about the pigments that are fundamental to the visual creativity we practice once we step beyond the palette of wood and transparent coatings. In some respects, at least on my initial entry into it, it has much the same feel and tenor as the engaging Much Depends on Dinner from many years ago. Color is a rollicking good read.
Jim “Stumpy Nubs” Hamilton’s appearance at last year’s Woodworking in America was one of the main programmatic reasons I attended that event. He did not fail to fulfill my expectations with his presentation of “Making Your Own Machines” and Mrs. Barn and I had a great time chatting with Jim and his dad in their booth, which was conveniently adjacent to the Lost Art Press booth where I was signing books and visiting with readers. I have long found his blog to be among the most entertaining and informative in the woodworking blogosphere, which is why it is bookmarked.
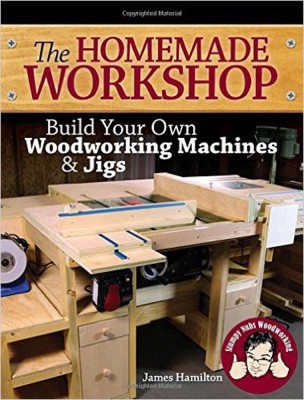
Face it, even those galoots who are uncompromising in their philosophical approach to bench work are still readily seduced by puttering and making machines. His recent book The Homemade Workshop is tailor-made for those of us who enjoy crafting our work environments ourselves, down to the machines that augment our workbenches and hand tools. Most helpful to me in this book was the mountain of background work Jim has done in finding useful materials and supplies for building your own machines. That alone is worth the price of admission. The multitude of tips makes it a terrific addition to the reading shelf. I’m going to make a precision thicknessing sander for my sawn parquetry veneers once I get out from under the current pile of projects in the studio and on the homestead.
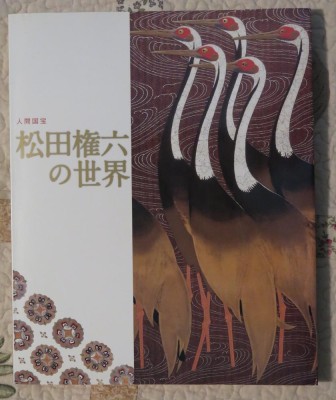
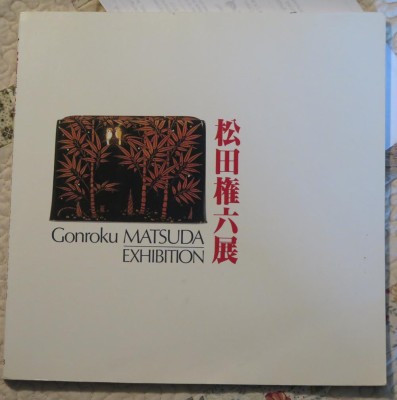
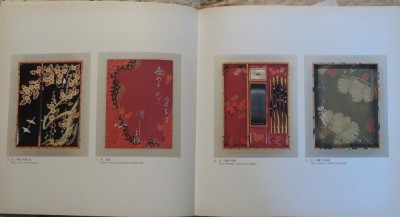
My growing fascination with urushi artistry, while not new but increasingly virulent, led to my acquiring two Japanese language picture books on museum exhibits honoring the greatest modern lacquer artist, Gonroku Matsuda. Very little of these volumes is in English but they are nevertheless highly informative as many of his processes are presented in step-by-step photo montages. Besides, sometimes you need books whose sole purpose is inspiration.


Recent Comments