A Cabinet for Mrs. Barn – Lumber Prep and Initial Construction

Once it was time to begin construction of the cabinet I looked through my pile of salvaged chestnut and hauled the necessary pieces up the hill. I rough cut pieces to size; there is no point in preparing an eight foot board when all you need is five feet. With the pile on a pair of sawhorses I carefully examined each one, both sides, to locate any wayward nails left behind. Fortunately my initial cleaning efforts at the salvage site were pretty good, I found only a couple of metal pieces left. But even these would have torqued me off to hit them with a plane or chisel.

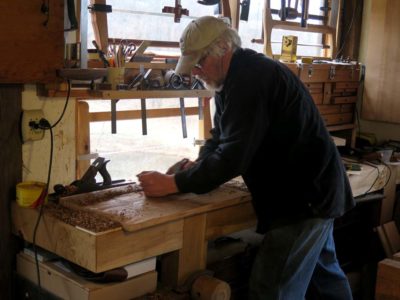
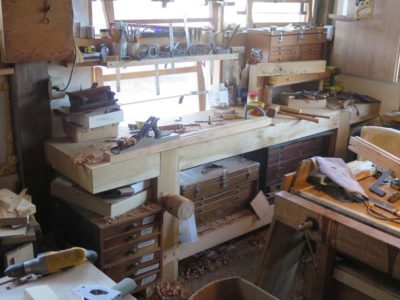
Prepping the lumber for further work was straightforward and pretty fast, all the more simplified by both chestnut’s relative softness and almost a century of seasoning for these particular boards. I made the panel stock from the 1x roof sheathing material and the frames for the frame-and-panel construction from sections of rafter lumber. My newly up-on-its-feet FORP Roubo bench was the platform for most of the work on this cabinet, even though all the amenities (leg vise, planing stop, etc.) were not (and are not) completed. It is a most wonderful tool, and coincidentally the focus of tomorrow’s workbench, and probably the next couple ones as well.

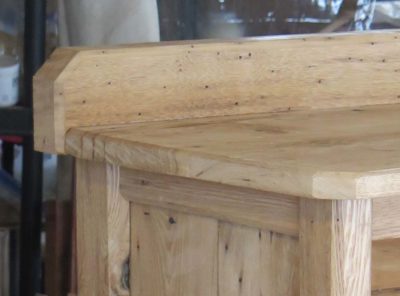
It all moved smoothly along to the point where I was shooting the dadoes for the panel insets and sawing and chopping the mortises and tenons for the joinery itself. It was simple but robust construction; tapered panels sitting in continuous dadoes in the posts and ends of the frames, which were held together with hide glue.

The details of the stylistic “design” were in keeping with the setting and intention, it was going to rest in a small room simply furnished, in a renovated cabin from the late 19th Century. To that end the “design” details were really all about proportion and crisp lines, with the only “ornamentation” being the presence of crisp beveled edges for most edges. Combined with the fairly careful surface treatment of the vintage gnarly wood the overall effect was not unpleasant.
Now it was on to the shelves and doors.


I am so jealous that you have a stash of old chestnut. My old house (1909) had much of its woodwork done with chestnut. And, not surprisingly, there are a few places in need of repair. Hey….should you have any scraps left over, I’d be happy to take them off of your hands. :)