Board Stretching
Looking through my lumber inventory for vintage cherry boards from which to make the trim for the new bay window, I found some beauties. Unfortunately, all the boards I had on the top of the pile were about 4″ shorter than I needed for the lintel and base trim. The deeper into the pile I looked, the more frustrated I got as these were too short also. Aaaargh!
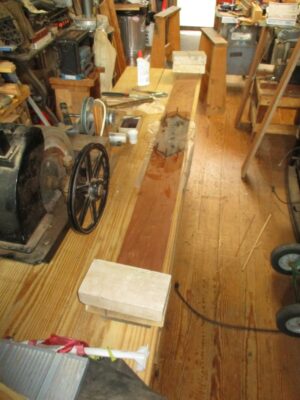
After many days of ruminating on the problem, including contemplating a trip to a sawmill to get some new lumber, I settled on a plan to stretch my boards by grafting in some diamond “dutchmen” as decorative elements into the center of the boards I had. I rough cut the boards with my circular saw and a fence, then fed them through the lunchbox planer.
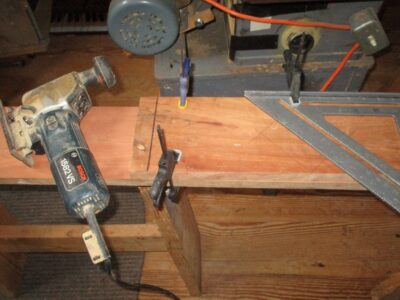
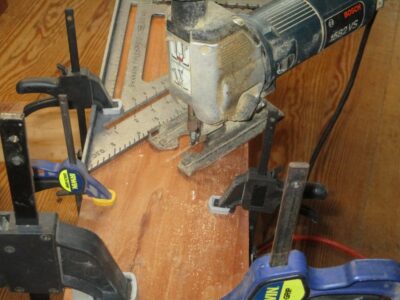
I laid out the dutchman on the inlet, clamped the inlet board and the longer board together, and cut the angles with my reciprocal saw and a speed-square fence. The kerfs were smoothed with my Iwasaki float to fit them together well.
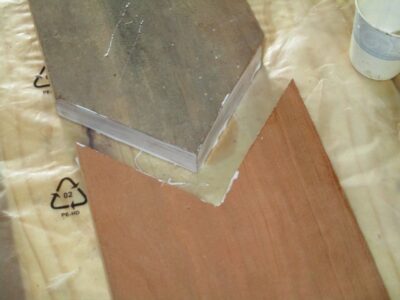
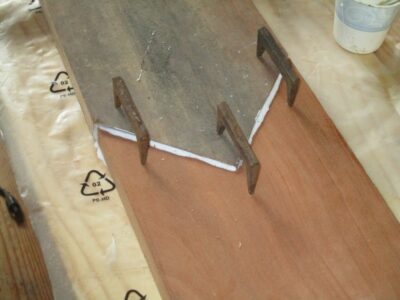
Using pinch dogs on the verso as the clamps (indispensable accessories I first used in the foundry patternmaking shop when I worked there 45 years ago), the glue margins drew together very tight with nice squeeze-out of the PVA I was using as the adhesive.
To counteract the slight curling induced by the pinch dogs being only on one side of the assemblage, 10-pound bricks were placed on each end of the gluing-together element to press them flat on the bench top.
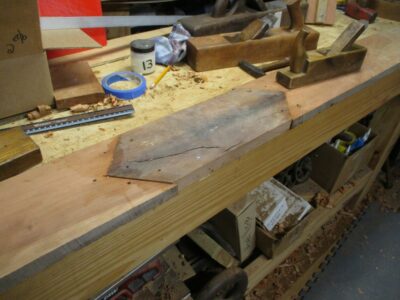
The next morning they were ready for me to work by hand.

Will be eager to see the finished work installed, the results of your board stretcher. Are you going to fill the pinch dog holes, or did you locate those uniformly and will use them as decorations?
The pinch dogs were used only on the back sides of the boards so disguising their holes is not an issue.