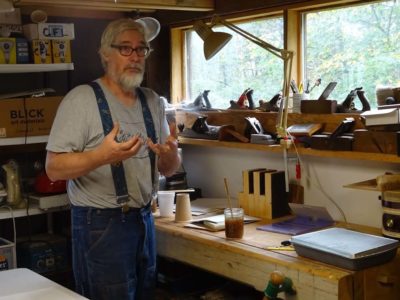
Boullework Class – Day 1
Every three or four years I teach my approach to Boullework, a branch of marquetry technically known by its original Italian title of tarsia a incastro (literally “interlocking inlay”) that was so prominent in the 17th and 18th Centuries . This identifier probably comes from the fact that all the elements of the composition — positive, negative, and sometimes additional accents — are cut simultaneously and do in fact “interlock” with each other. I always cut my marquetry vertically by free-form rather than horizontally on the chevalet, due to the fact that I have almost fifty years of muscle memory doing it the way I do it. This approach also has the advantage of allowing newcomers to begin work with only a flat board as a sawing platform, a frame saw, and some tiny saw blades, investing very little resources to begin.
My approach also has the component of using a persuasive imitation tortoiseshell (nicknamed “tordonshell) I invented several years ago to compensate for the fact that true sea turtle shell is a proscribed material as a result of the world-wide adoption of the Convention on International Trade in Endangered Species adopted in 1975, essentially forbidding any commerce or other transactions involving the two species of turtle shells integral to Boullework.
That is where the three-day workshop begins, with a brief chemistry/materials science lesson on protein macro-molecules and their polymerization and the morphology of tortoiseshell.
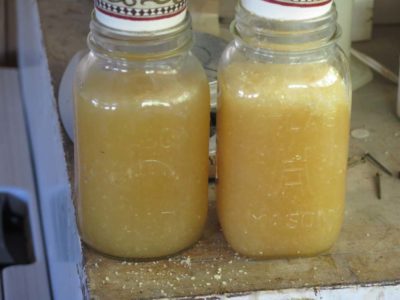
Using materials I prepared in advance, and the addition of ingredients at the moment, the attendees begin the lengthy process of making their own to take home with them afterward (this recounting of that is condensed from work over the three days).
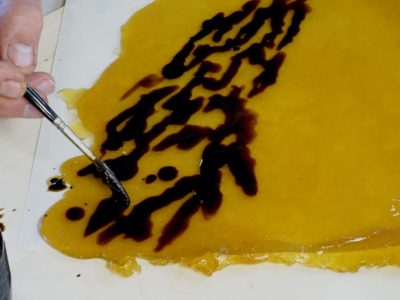
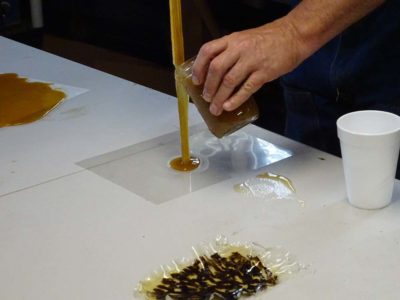
First they cast out a film that would become tordonshell, then created the pattern endemic to the material.
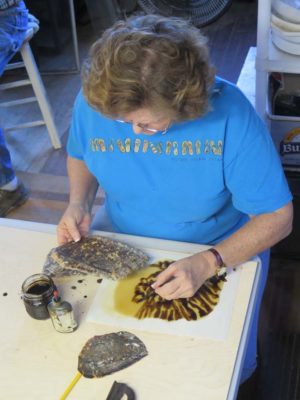
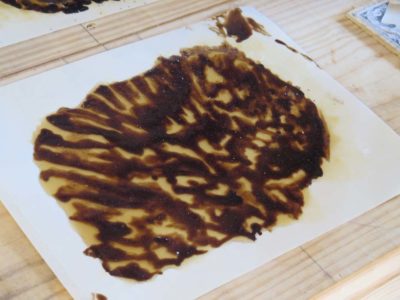

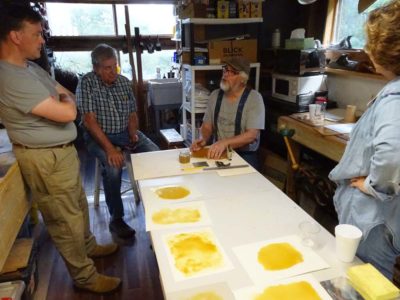
After watching me make a piece they set about to making their own. The results were gratifying.
The process took them the three days to get finished, in part because the chemistry was fighting me. In all the times I’ve made tordonshell I had not wrestled with the fundamental exothermic nature of the polymerization, but it was sure rearing its ugly head this time.

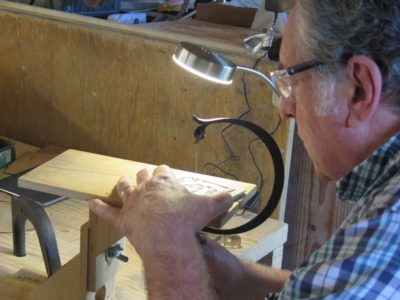
We then assembled 4″ x 4″ packets to saw (I was working alongside the attendees, I find they like me to be working on the same type project so they can peek over my should if necessary), consisting of a 1/32″ annealed brass sheet, a piece of tordonshell, and a 1/8″ plywood support. All of this was wrapped with veneer tape and the mirror-pattern of their initial was glued on to the surface with stick glue.
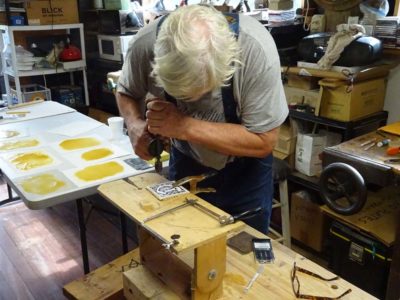
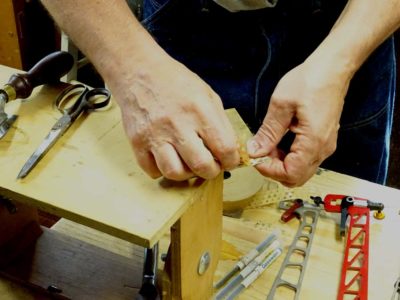
This approach requires beginning the sawing at the center of the composition, so a tiny hole had to be drilled with my ancient mini-eggbeater drill.

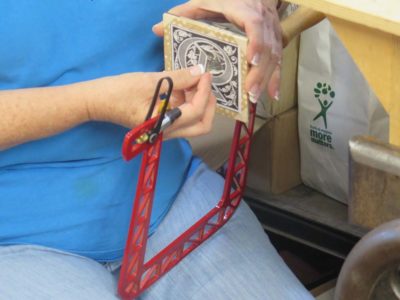
Once that was completed the saw frame was set-up and a 0000 blade was fed through the hole and the frame tightened down. this can be a frustrating task the first time, requiring four hands until you get the hang of it.. After that, no problem.
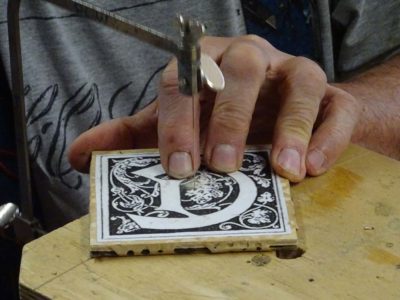

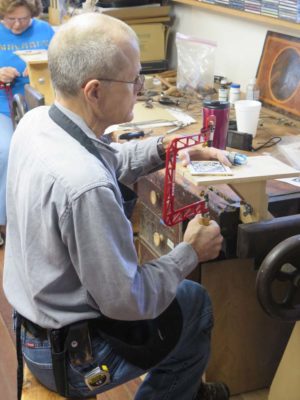
After waxing the backside of the blade the sawing (and blade breaking) began in earnest. There is a real “touch” to sawing like this, so indeed the blades were snapping right and left. Not a problem, I was expecting it. I provided the tools and blades for the most part, but John had recently purchased a new Knew Concepts saw and was giving it its first road test.
Joe had an intriguing saw from Green Lion, I only wish I’d had a chance to test drive it myself but Joe kept it busy. I think I may have to get one, just to round out my inventory. For the most part the others used Knew Concepts saws from my collection.
The sawing continued apace until Mrs. Barn called us to supper.
And that was the end of Day 1.

Join the Conversation!