This is a summer to try new things for workshops. Thus far one was less than successful (my annual traditional finishing weekend scheduled for the final weekend in April; the workshop itself was fine but the timing was just too early in the year), and two that were complete successes IMHO — the Traditional Handtool Woodworking confab in Arkansas and the recent Make A Petite Dovetail Saw weekend. As with the Arkansas shindig, I had taught folks to make a saw one-on-one over a relaxed and fluid timetable but never as a group with tight and fixed time budget.
From my perspective it was a rousing success.
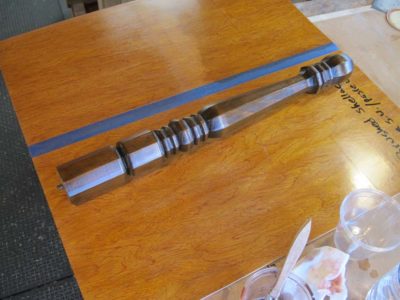
Making a dovetail saw involves integrating three major components: the handle, or tote (I never heard the word “tote” until a few years ago, and now it is everywhere although I still prefer to call a handle a handle), a spine or back, and a plate or blade in which teeth are cut with a file. My technique for small saws is to not set the teeth but rather taper the plate so that the thickest cross-section is at the teeth and tapers off towards the back. I find this method works best for me for making saws to cut very small joints in thin stock.

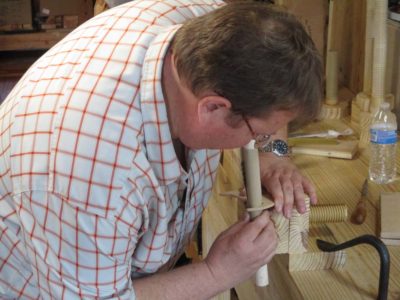
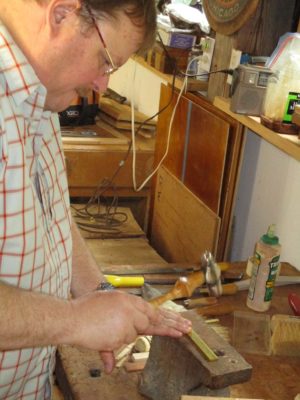
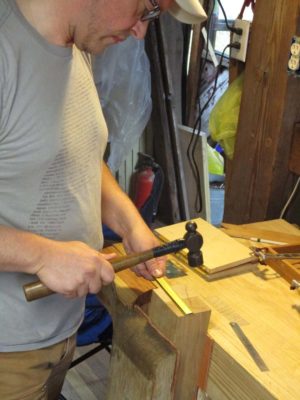
The first step in any custom-made saw is to fit the handle to the user’s hand. I had my own pattern for the students to examine, and each of them modified my template to their own preference.

A couple of students brought prized wood for the handles, and my sash saws came in handy.
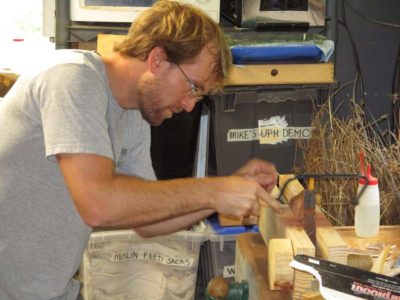
They transferred the pattern to their prepared wood for the handle and sawed it out with a coping saw, then trimmed the perimeter with files and rasps.
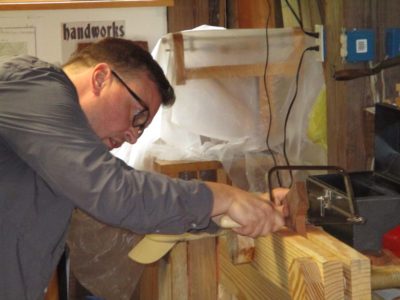
Next came shearing the saw plate from coil .020 x 1-1/2″ spring steel to an 8-1/4″ length, cleaning up the ends with a diamond stone and a bench hook. Everything in the fitting and sizing of the saw was determined by this piece from this point on.
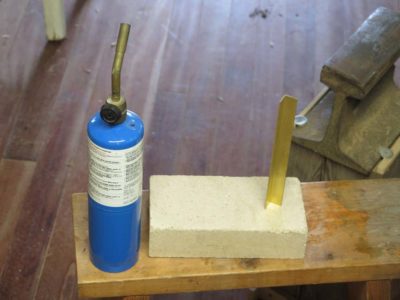
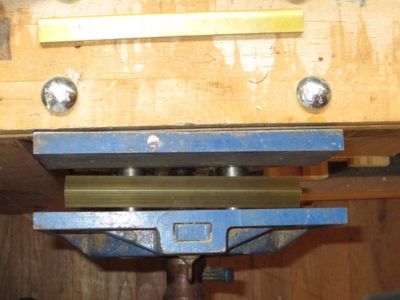

I used to bend the brass backs from flat stock but in recent saws I have switched to 90-degree 1-inch angle bar, 1/16″ thick. It cuts the time down to almost nothing. The angle bar stock is annealed with a torch, then allowed to air cool. Once cool the piece is set on the bottom of a large bench vise and the vise is closed, keeping a careful eye on it to make sure it bends evenly and nicely. After the initial bending it is moved to the top of the vise to crank it down as much as possible.
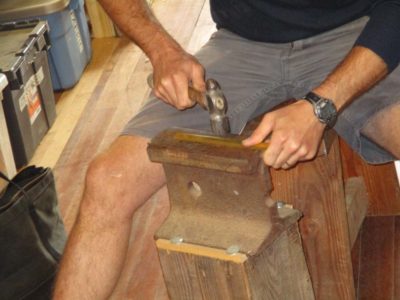
This is followed by a little hammering to close the fold tight to make sure the saw plate will be held/pinched snugly once everything is assembled.
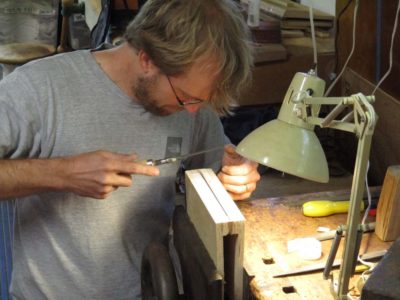
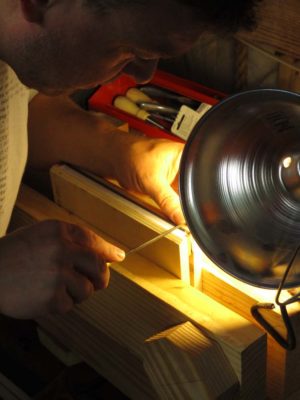
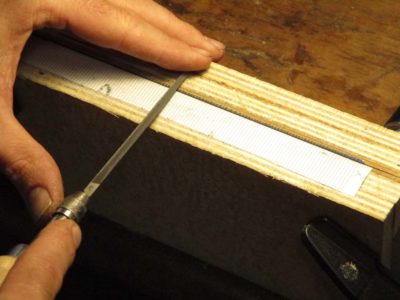
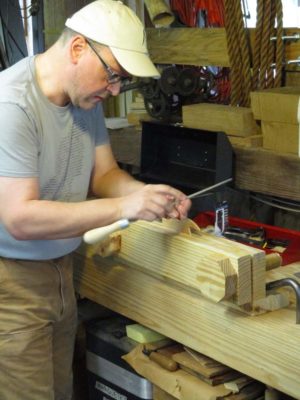
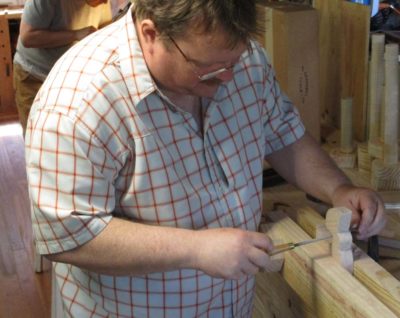
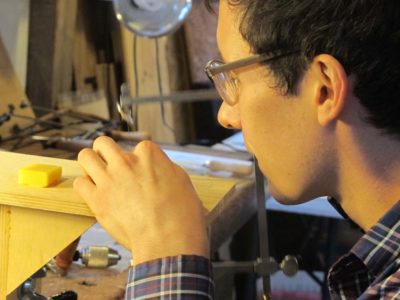
Then came the most intimidating part, cutting the teeth in the blank spring steel saw plate. We used 4″ XX slim taper NOS files (I am always looking for more) at a 16 t.p.i. spacing. I printed out the 16 t.p.i. pattern on my computer so they could tape it directly to the filing vise for easier spacing. One of the fellows brought his new Gramercy saw vise in his luggage, and we ogled it shamelessly.
I used to alternate filing each tooth from the opposite side, but then learned that Andrew Lunn filed his saws all from the same side. Given his results that was good enough for me, and I demonstrated and had the students work in this manner. Since we were not going to set the teeth there was no reason not to try this method.
They all took their time and established a good rhythm, their results were more than satisfactory.
Thus endeth Day 1, ahead of schedule and making me optimistic about a special project for them.
I was making some preparations for next month’s Boullework workshop (July 13-15) and noted that there is still space in it. If you would like to participate just drop me a note.
We’ll be making tordonshell from my own special process, and using already-cured tordonshell and brass sheet to cut a couple of tarsia a encastro designs using a jeweler’s saw and 6/0 blades!

In this technique you will cut both the pattern and the background at the same time and thus create two complete compositions, one being the negative of the other. If we add pewter to the mix it will be three compositions.
I’ll be providing all the tools and supplies for the course.
Hope to see you there.
P.S. There is also still space in the knotwork banding class August 10-12.

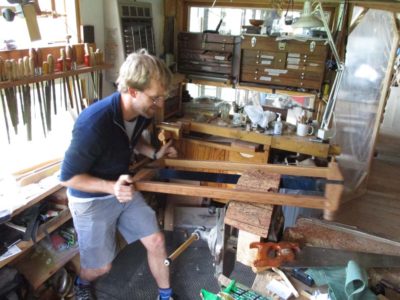
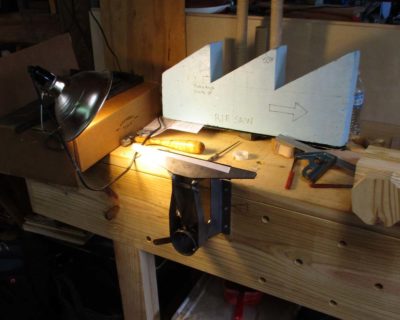
With prep time barreling down the rails, and given the zero interest thus far in September’s workbench building workshop at the Barn I’ve decided to cancel that event and use the week for ripple moldings instead. It might be or might not be a reprise of last year’s First Annual Meeting of the International Ripple Molding Association or it could be just me and my friend John noodling on ripple cutters in the shop. I really need to concentrate on perfecting my machine and maybe building another one, and I’ve asked videographer Chris Swecker to mark his calendar just in case John and I decide to make a video as we make both the machine and the moldings.
If you might be interested in joining in, let me know.

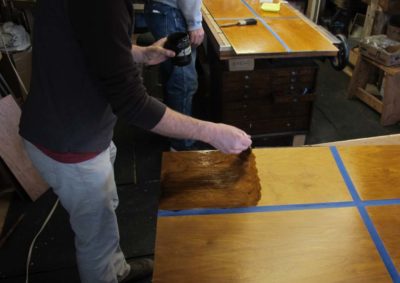
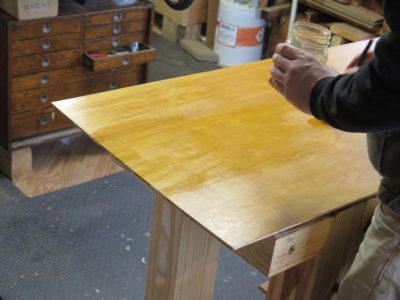
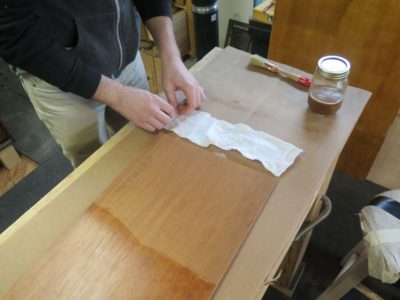
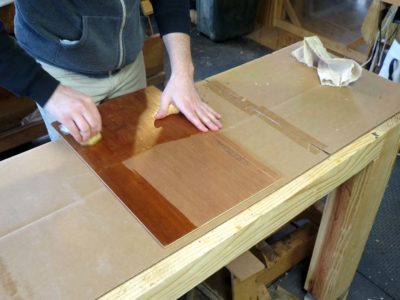
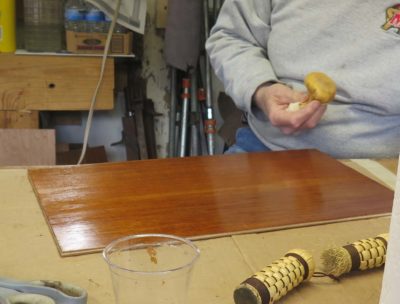
The final day of my finishing workshop is all about the final appearance, including rubbing out and adjusting color the shellacked big panel, which had more than a dozen coats and looked like this at the start of the day.

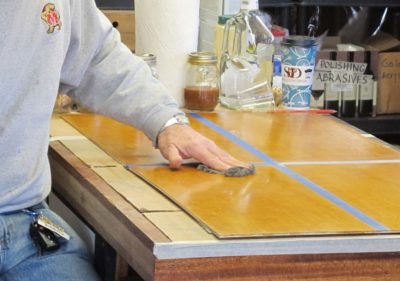
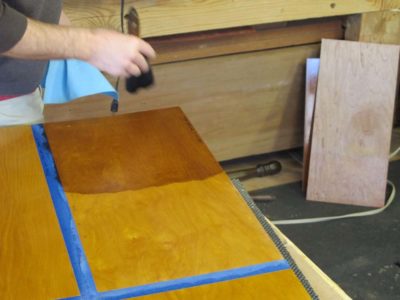
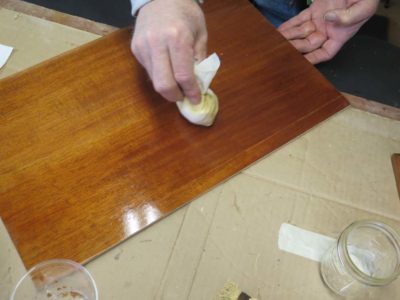
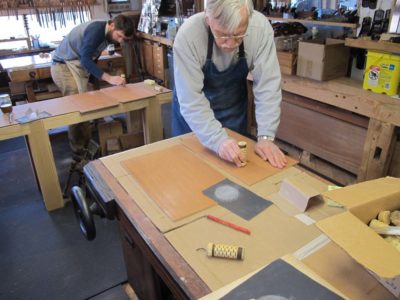
Beginning with the 24×48 panel subdivided into quadrants, each received a different treatment. One quadrant was left untouched as a reference point, then work began on the second one. It was rubbed with Liberon 0000 steel wool, then rubbed with more Liberon 0000 infused with paste wax. The result is wondrous, and this is one of my very favorite finishes. It glows visually and is irresistible for just rubbing your fingers over its surface.

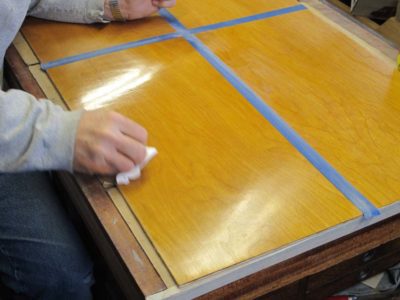
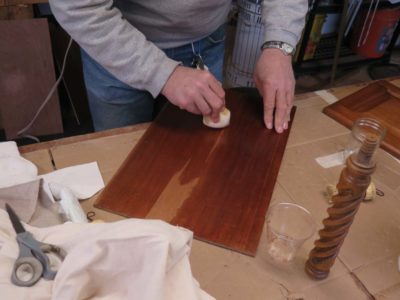
The third quadrant was polished with tripoli/rottenstone and mineral spirits, using a fine linen polishing pad nearly identical to that used for spirit varnish pad polishing. Any residue was wiped off and the surface received a light coat of paste wax. The resulting surface is absolutely spectacular.


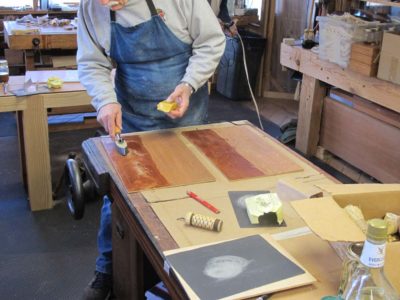
The fourth section was rubbed with dry Liberon 0000 to give it a tiny bit of tooth for the addition of colorant glazing. Two gazes were tried, the first being asphaltum thinned with naphtha and the second being waterborne shellac with goauche colorant. They work very differently but both students had excellent results of a gentle color shift. The final step was to seal the glazing with a brush coat which both saturates the color and provides an even gloss.
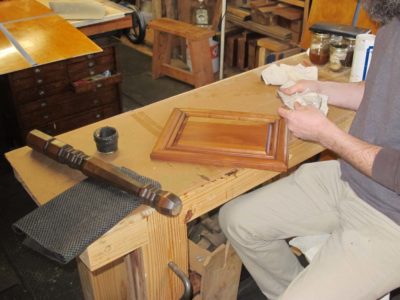
The final project completed was rubbing out and waxing the raised panel doors and the table legs.

We took pictures of their gallery of work, and they headed for home. Both had very long drives, one to Louisville and the other to Syracuse.
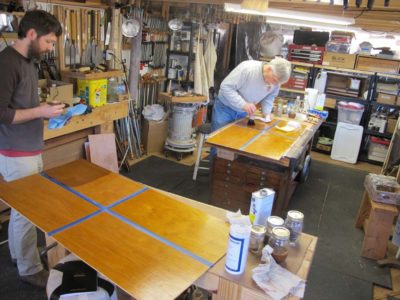
The primary work of Day 2 was building up the finishes in preparation for the rubbing-out and toning of the final day.

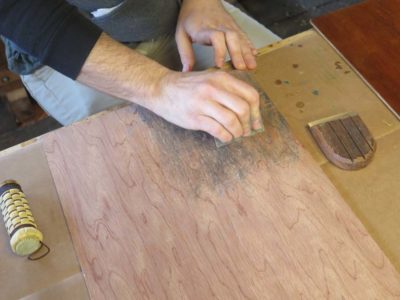
The first task was to scrape the large shellacked panels with disposable razor blades to get them smooth as silk for the final application session to follow. True enough, disposable razor blades are not historically precise but scraping is, and using the disposable blades is the best way I can get the process integrated into the workshop. If done carefully the resulting surface is pretty much a flawless ground for the final layers of varnish.

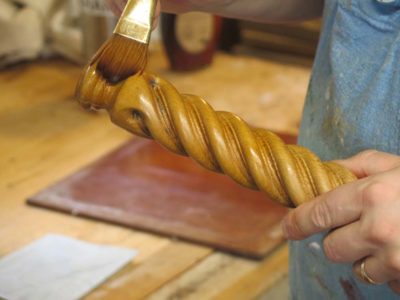
We then moved on to some tables legs to get a little time in on working with “in the round” components. These are often a challenge for inexperienced and old-time finishers alike, but one key to success in this regard is a light touch and the right brush. I’ve found that a rounded-tip brush, sometimes called a “Filbert mop” with good bristle drape results in a near-perfect application every time.

The fellows worked so fast we had time to insert a couple of exercises, one being the use of molten wax on tables legs. We let a hair dryer substitute for a red-hot poker, but the results were acceptable.

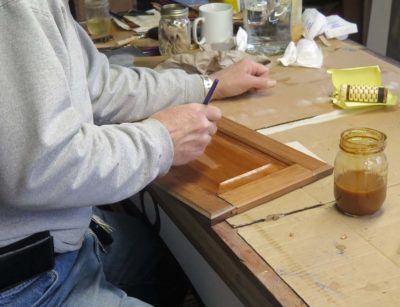
Raised panel doors are also a sometime headache, but once you get the hang of the routine it works out pretty well.
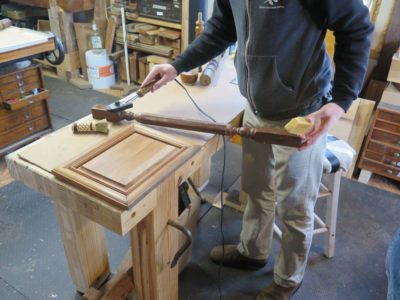
Finally it was time to start on the spirit varnish pad polishing, a/k/a “French” polishing. Each of the students constructed their own pad from cotton wadding, then charged it with the spirit varnish. (This led to a fairly involved discussion about the fabrics that are best suited for which tasks in the finishing room. I asked my long time friend and Roubo colleague Michele Pagan, a textilian for as long as I have been a woodfinisher, to write a blog post on the topic. I will post it probably next week.)

By tapping it on their palm they knew when it was ready to go. And, it gives a lovely sheen to the palm.


The boards they had prepared on Day 1 were partially wax-filled and partially raw-but-burnished wood. Since so much of spirit varnish polishing is “feel” there was not much to do but turn them loose.
Before long there was a-glist’nin’ all over the place.
Another exercise that frankly I have never been able to get perfect was to fill the grain with beeswax and powdered colorant, pressed in to the wood grain with a polissoir. I need to work on this concept a little more, although Roubo promises success.
And with that we were done with Day 2.
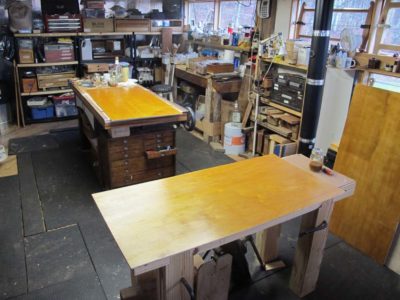
Recently I hosted my almost-annual three-day Historic Woodfinishing workshop at The Barn. Due to family medical emergencies three of the five registrants were unable to attend. This, combined with some seasonably chilly weather (holding this the final weekend of April was an experiment that will not be replicated), led me to relocate the event into my heated workshop rather than the unheated classroom space. That actually added to the intimate atmosphere of the session.
My syllabus for this workshop is pretty well established after this many iterations. Given the brevity of the schedule I restrict it to only two major finish materials, shellac and wax. Next year I am penciled in to teach a longer workshop at MASW so we can explore the topic more broadly, but for now this is what we cover. As always my objectives are to 1) present finishing as a structured enterprise, to familiarize the participants with my approach to finishing and remove any hurdles of intimidation, and 2) provide some hands-on/muscle memory experiences to impart confidence for once they are back home.
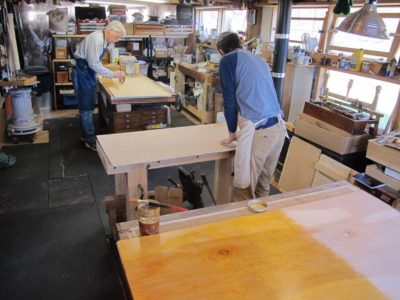
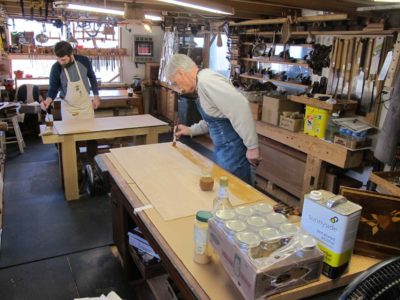
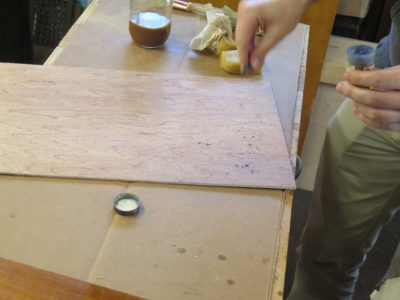
One of the foundational exercises is to brush shellac spirit varnish on a 24″ x 48″ plywood panel that is straight from the bin at the lumber yard with only the most cursory preparations of sanding with 220 paper for a coupe minutes. The objective is to build up enough finish in three sessions, two on Day 1 and one on Day 2, to provide a great base or polishing out on Day 3. Each of the three sessions results in about a half dozen applications of varnish. In between the first two application sessions on Day 1, the dried varnish is lightly rubbed with dry pumice to remove and nits that are there.

Other Day 1 exercises include burnishing a mahogany panel with a polissoir, with a polissoir and wax, and applying a layer of molten wax to fill the grain and serve as a final coating.
Thus endeth Day 1. Now on to Day 2.
The complete 2018 Barn workshop schedule, which I will post every couple of weeks to help folks remember the schedule.
************************************************
Historic Finishing April 26-28, $375

Making A Petite Dovetail Saw June 8-10, $400
Boullework Marquetry July 13-15, $375

Knotwork Banding Inlay August 10-12, $375
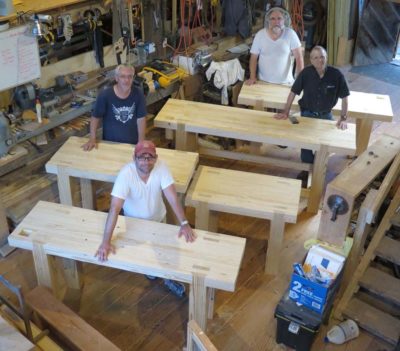
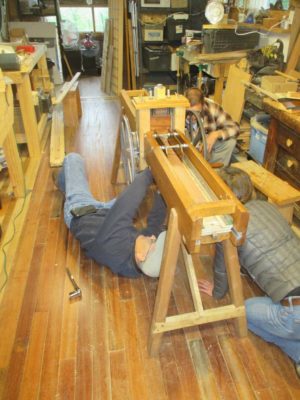
Build A Classic Workbench September 3-7, $950
contact me here if you are interested in any of these workshops.
The complete 2018 Barn workshop schedule, which I will post every couple of weeks to help folks remember the schedule.
************************************************
Historic Finishing April 26-28, $375
Making A Petite Dovetail Saw June 8-10, $400
Boullework Marquetry July 13-15, $375
Knotwork Banding Inlay August 10-12, $375
Build A Classic Workbench September 3-7, $950
contact me here if you are interested in any of these workshops.
Since our first-ever convening of the International Ripple Molding Association last spring JohnH has been an enthusiastic fellow traveler along this road, and once he got home he started building his own following the instructions of Roubo as closely as practicable.
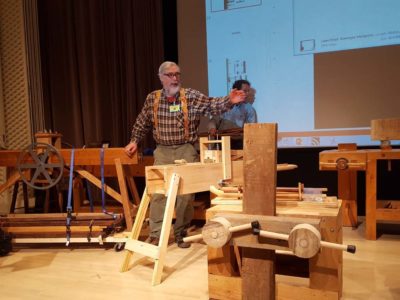
Inasmuch as he had it finished and working I asked him to bring it with us to Williamsburg, since I had already asked him to be with me on stage when we were demonstrating Winterthur Museum’s ripple cutter made by my longtime friend and colleague Cor van Horne.
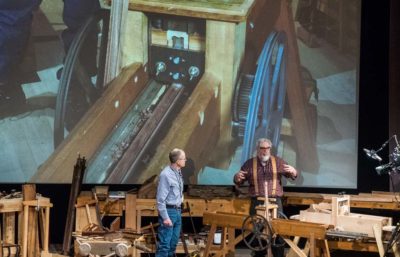
While demonstrating we were able only to get the Winterthur machine before we ran out of time, but we arranged for John’s machine to be on display out in the atrium of the museum.

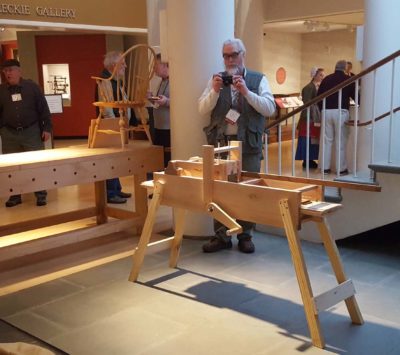
There was a great deal of interest, including mine, and it would not surprise me to learn of several copies being made in the world of historic furniture making. I know that one will begin to take shape in The Barn in the not too distant future.
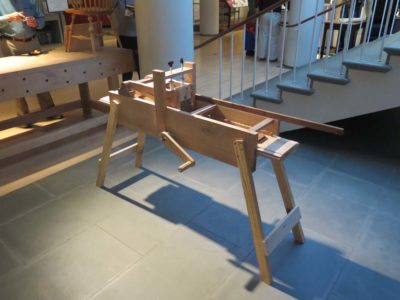
In addition, as John and I continue to develop our designs and facility in building these elegant little machines, we decided to offer a workshop on building your own ripple molding cutter at The Barn in late July 2019.
Stay tuned.
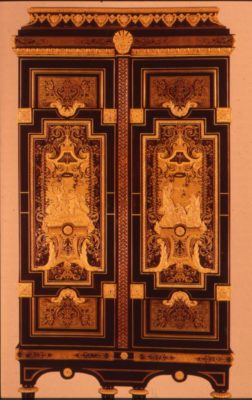
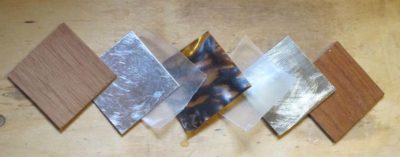
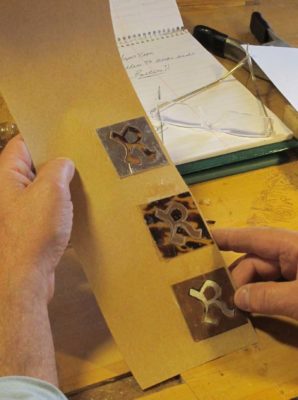
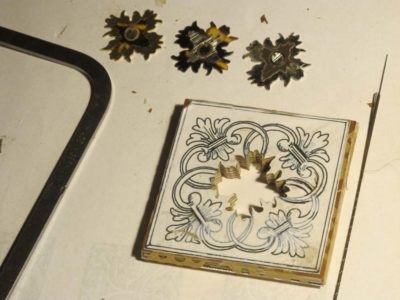
Since seeing my first piece of antique furniture decorated with tarsia a incastro, or “Boulle work,” I have been captivated by both the art form and the technique.
This ancient method of using a minuscule blade in a frame saw, usually a jeweler’s saw in our time, for cutting patterns in two or three layers of material comprised of the shell of a sea turtle, a sheet of brass, and sometimes a sheet of pewter, remains captivating to this day. The result is the same number of completed compositions as the original number of layers in the stack.
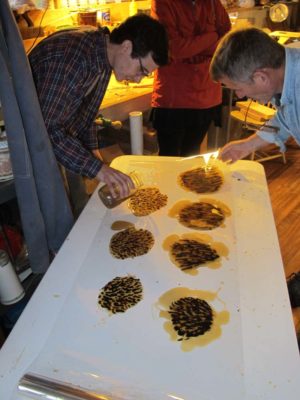
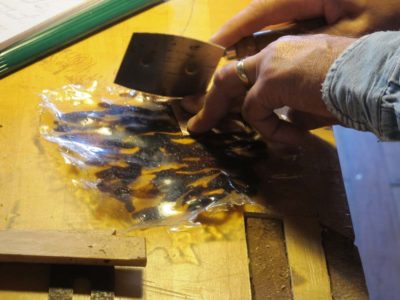
Due to the prohibition of trade in turtle shells I invented my own very convincing replacement material I call Tordonshell.

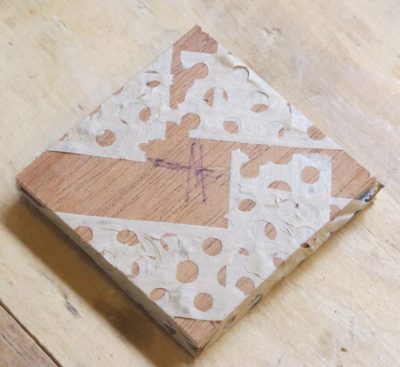
So these three days will comprise of making your own piece of Tordonshell (I will have some pieces made in advance for the workshop) and sawing patterns from packets we will assemble for cutting.
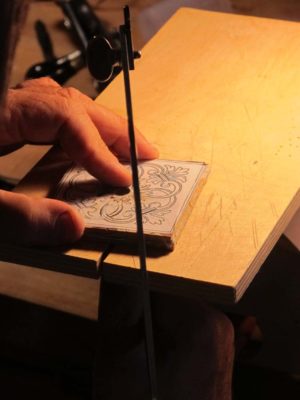
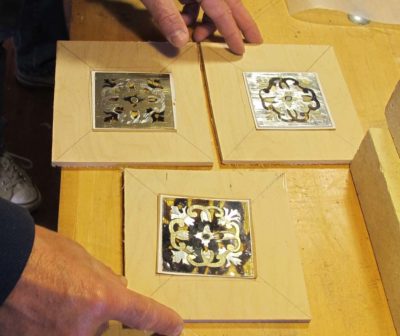
Though we will be cutting them vertically to begin, there is a chevalet in the classroom and anyone who wants to give it try is welcome to do so.
*********************************************************
The complete 2018 Barn workshop schedule:
Historic Finishing April 26-28, $375
Making A Petite Dovetail Saw June 8-10, $400
Boullework Marquetry July 13-15, $375
Knotwork Banding Inlay August 10-12, $375
Build A Classic Workbench September 3-7, $950

Recent Comments