Upcoming Presentation

March 14 I will be presenting “Historical Finishes” to the Tidewater Chapter of the SAPFM. The meeting will take place at Somerton Ridge Hardwoods (http://somertonridgehardwoods.com) in Suffolk, VA.
Hope to see you there.
March 14 I will be presenting “Historical Finishes” to the Tidewater Chapter of the SAPFM. The meeting will take place at Somerton Ridge Hardwoods (http://somertonridgehardwoods.com) in Suffolk, VA.
Hope to see you there.
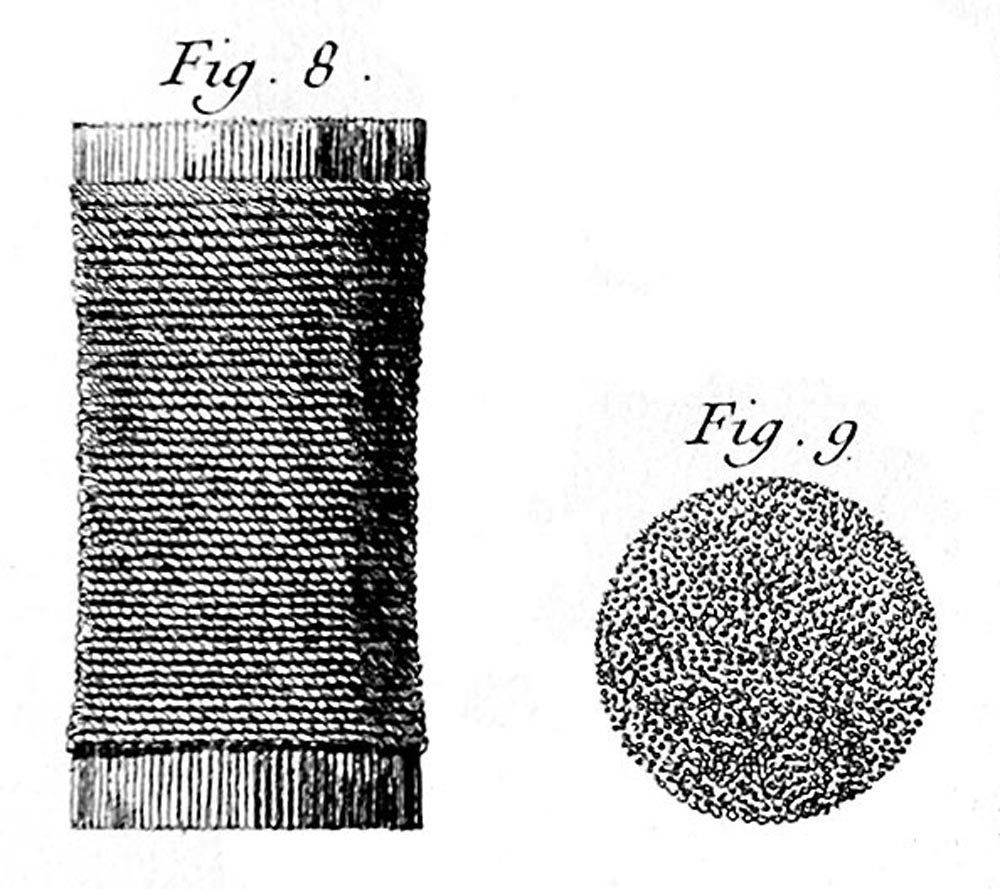
We’ve recently debuted a new style of polissoir, based on the one depicted in and described by the accompanying text for Roubo’s Plate 296. Not too surprising, I have dubbed this the Model 296 polissoir. The Lie-Nielsen website featured it in their “Tom’s Toolbox” page of episodically available specialty tools.

This polissoir as close the original as we can make it, using full length broom straw bristles and ultra-heavyweight waxed linen cord wrapping to accomplish the overall diameter of somewhere between 1-3/4 and 2 inches. It is somewhat looser than the woven 2-inch polissoir, but not really enough so that you can sense any difference in how it works.
This polissoir is available from both The Barn On White Run and Lie-Nielsen Tools for a retail price of $36. They are also carrying our 1/4-pound hand processed beeswax for $10.

I am delighted to take note of the recent Gift Catalog from Lee Valley Tools, which I believe offered the Original 1-inch Polissoir from The Barn On White Run, and the accompanying 1/4-pound block of hand processed beeswax. Yes indeed, our interpretation of Roubo’s finishing magic has gone international, and I am truly appreciative of the vote of confidence from Rob Lee! I don’t know if it will remain a specialty item for them or migrate into their standard catalog, so check it out.
Their retail prices are the same as mine, $24 for the polissoir and $10 for the block of wax. So, you now have two sources for the same wonderful products.
Go forth and polish.

Charles Brock of the video series Highland Woodworker visited me a few months ago to film at The Barn, and the episode came out today. They did a nice job of making me seem sensible. It was an ordinary day in the shop, I didn’t get all dressed up or anything.
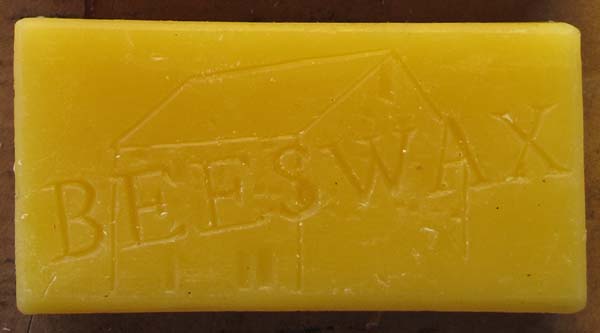
I unpacked the new silicone rubber mold and wooden pattern for the new beeswax mold, then tried it out with some molten beeswax I had previously processed. Success!, and I am pleased with the outcome.

Production has now begun. Thus far I have orders for about 300 1/4-pound blocks. I should be caught up with these orders in less than a month.
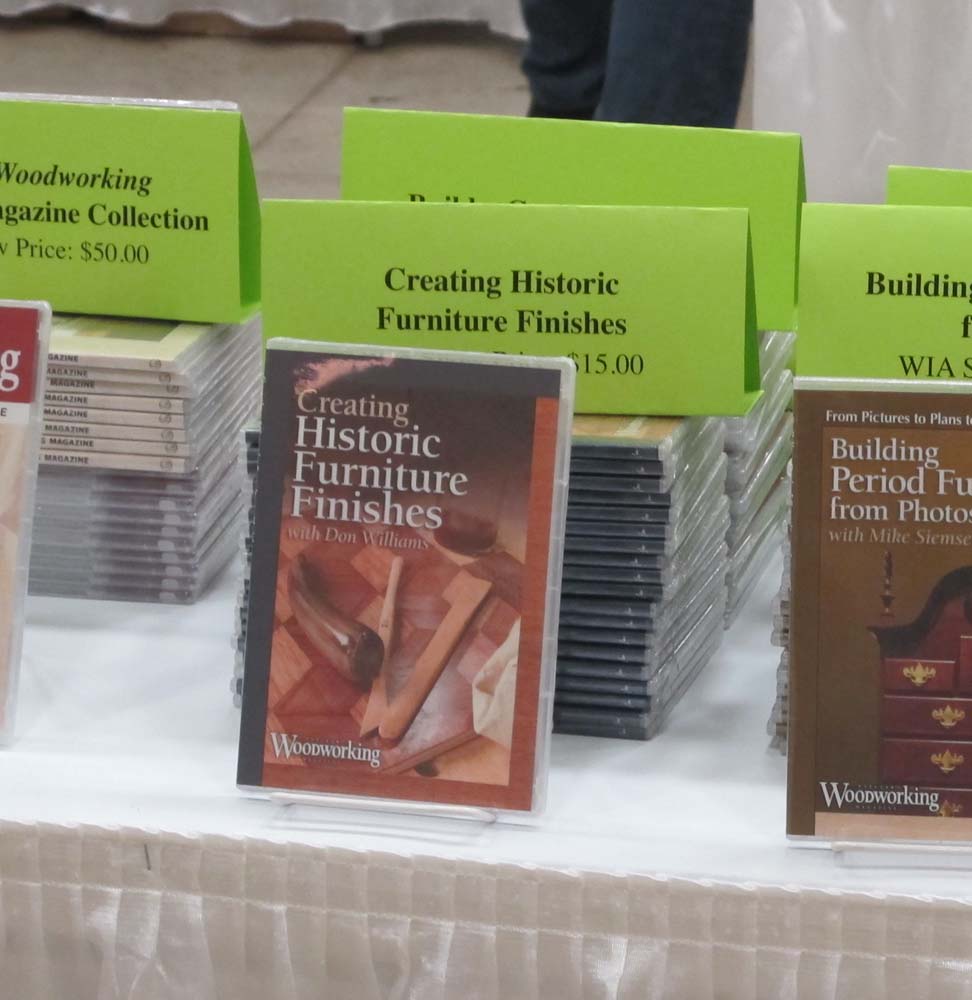
If you would like any of this hand processed beeswax, drop me a line at the Contact portal of this site. The slightly-more-than-a quarter-pound block is $10 plus shipping. This is the beeswax I use myself when doing Roubo-style finishing, and demonstrate using it in the new video Creating Historic Furniture Finishes that PopWood released a little while ago.
Once the Studley book manuscript is submitted in about a month I will turn my attentions to many new projects, including the creation of new finishing products including pigmented waxes and “Mel’s Wax,” the revolutionary high-performance furniture care product invented in my lab at the Smithsonian.
Since I am ramping up for mega beeswax production (about 500 pounds to process and pour into blocks for sale), I thought I should make a new rubber mold more to my liking. My previous mold design was a spur of the moment sorta thing that I needed in a hurry. It has served me well for a while, but I never really liked it all that much. So it was time for a new one.

The new one is based on a poured-wax block of 1/4 pound, whereas the previous one was approximately 6 1/2 ounces, not exactly a nice round figure. Once I determined the new mold size of 4 inches long by 2 inches wide and 1-3/4 inches thick, I needed to make a design to match the size of the face. I settled on a background of the barn with the word “BEESWAX” overlaying it.

I printed out the pattern I created, and using spay adhesive glued it to some 1/8″ mat board,

then glued that to a wood block.
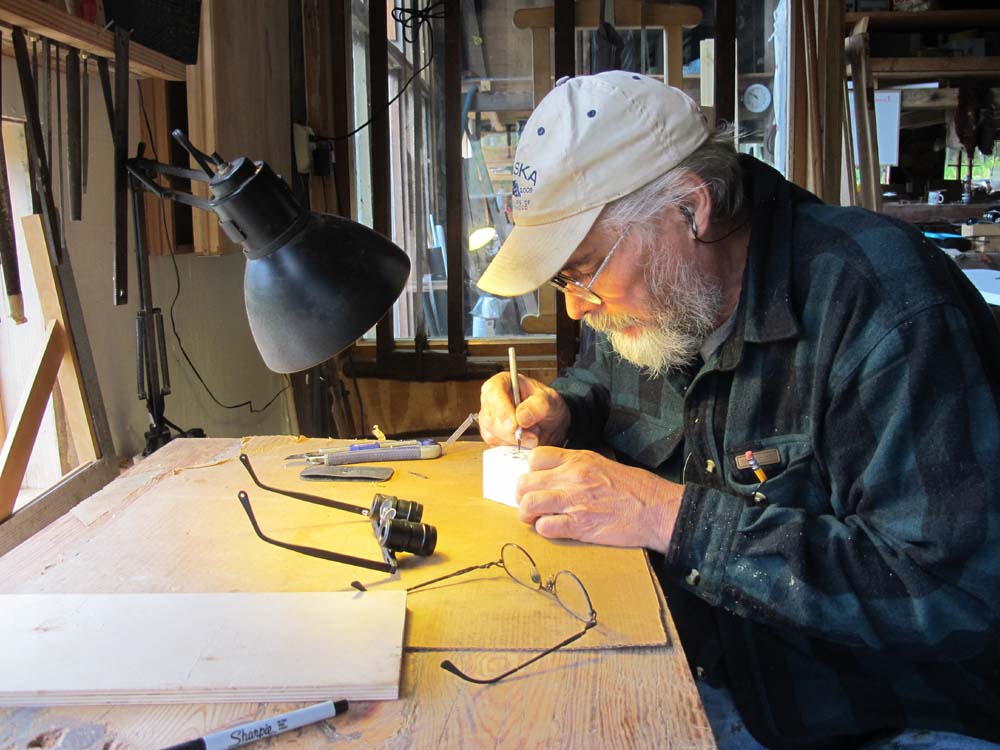
With a scalpel I incised the completed design,

then dipped the whole thing into molten wax since the edges of the paper were a tad ragged in some places.

When the wax hardened I re-carved the master pattern to show some various relief levels in the design,

and readied everything for pouring the rubber mold by first mounting it to a piece of cardboard using hot melt glue.
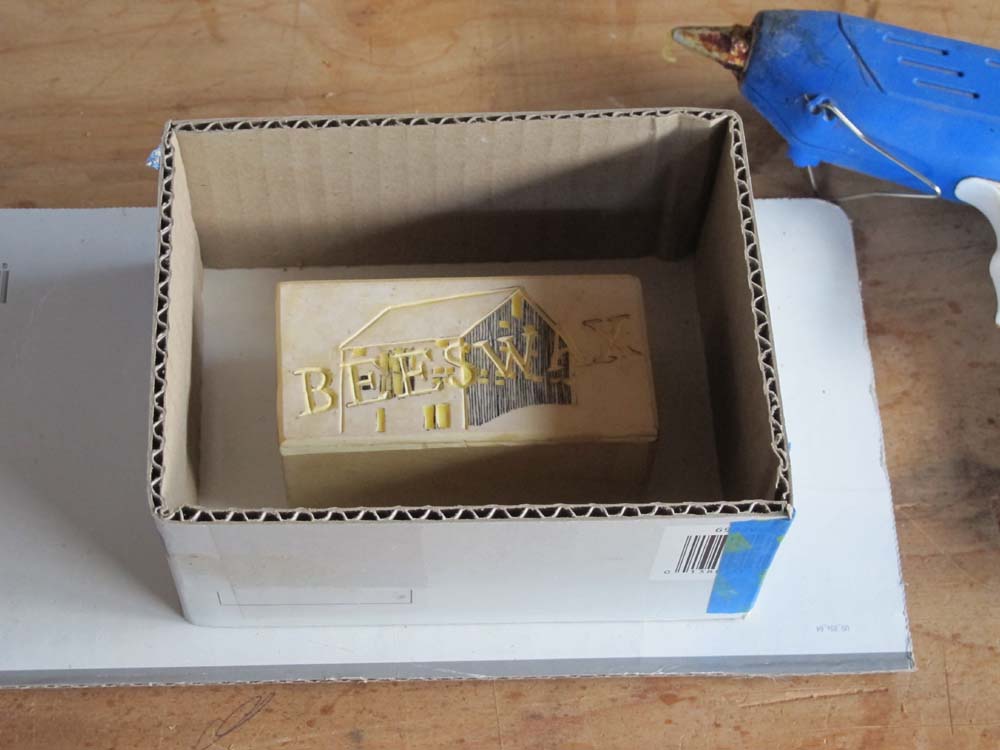
Then I built the cardboard dam around it (I could not find my molding clay and Lego blocks I normally use),

and filled the flask with RTV silicon rubber.
Done! I can’t wait to see how it turns out.
My recent presentation on “Gold Leafing” at WIA was the most I could cover in a short period, but it was still woefully shy of a thorough understanding. I hope it was a solid teaser. We were able to complete the entire process in the compressed time of two hours, ending with laying gold leaf by both oil size and water gilding, with a little burnishing tossed in. (If you were at the presentation and have some of the pictures to share with me, I would be delighted).
I emphasized that the truths about finishing in general became stratospheric when that “finishing” was with gold leaf. Namely, each step of the processed is conveyed clearly in the following step, so you’d better make sure to get it right every step along the way. Integral to gilding in my opinion is the making and using of traditional glue-based gesso as the primer built up to the point where the surface was ready to apply the gold leaf and it would look good. While I will not go into detail on the techniques of each step here, I do want to take a minute to talk about how I make and use gesso. I do not know if it is the “right” way, I only know it is how I do it and it has been working fine for me for more than four decades.

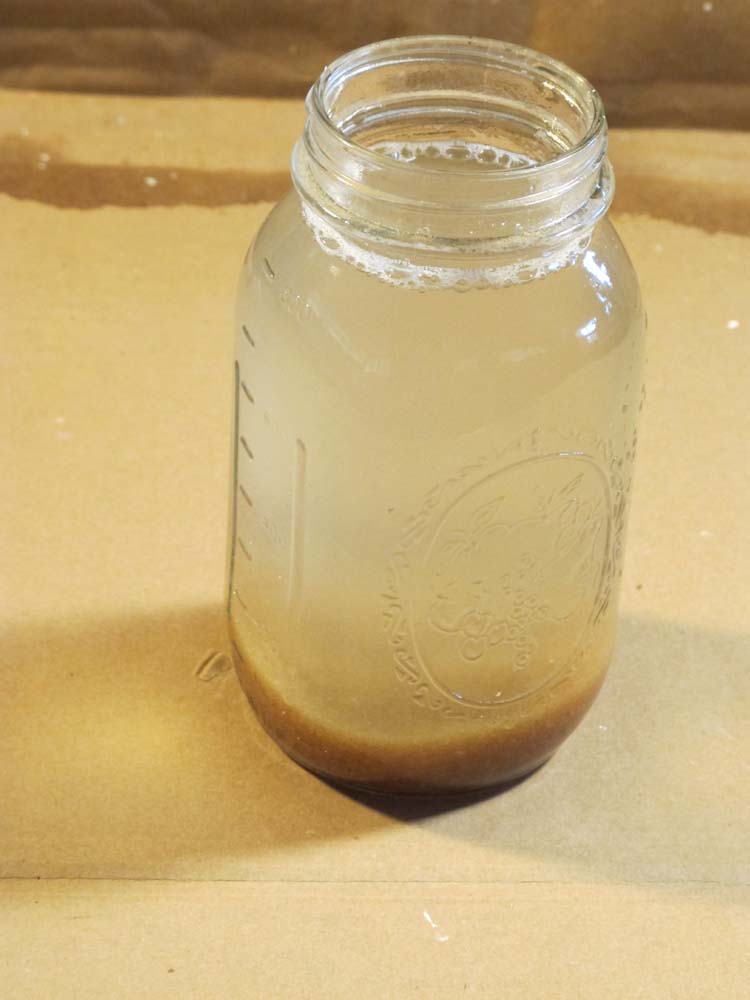
I start with an empty jar, and place dry glue granules in the bottom to fill about 10% of the volume. My preferred glue for this is either 379 or 444 gram weight strength glue, but I have had fine results with glue as low as 192 g.w.s.
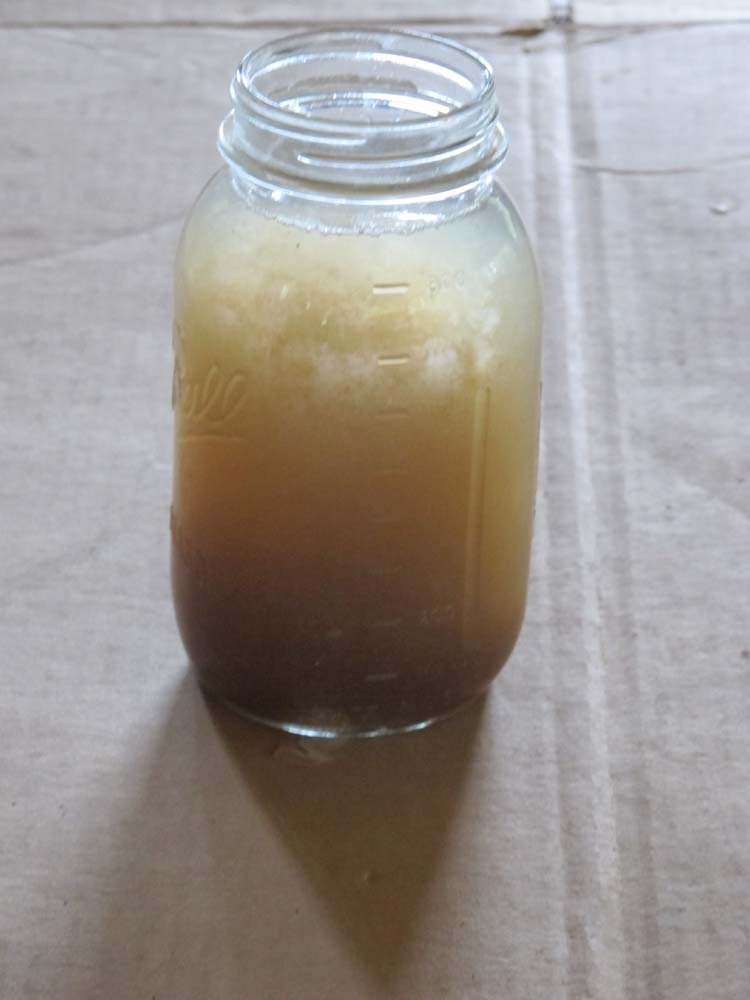
I fill the jar with clean water and let it soak overnight, then cook it to make it a homogeneous solution. THIS DILUTE GLUE IS THE CORE OF THE GESSO MIXTURE, AND IS NOT MODIFIED FROM THIS POINT ON.
I use this as my glue size and binder for the ever thickened gesso and I NEVER add more glue to the solution. The ideal is to progressively dilute and make the glue weaker, to render a leaner and leaner admixture as you build up the gesso ground. You always want gesso to be getting marginally softer as you apply additional layers of this ages old primer to your workpiece.

I first brush on a generous application of the dilute glue size to the wood surface, and allow it to dry thoroughly. (see center section of the sample)

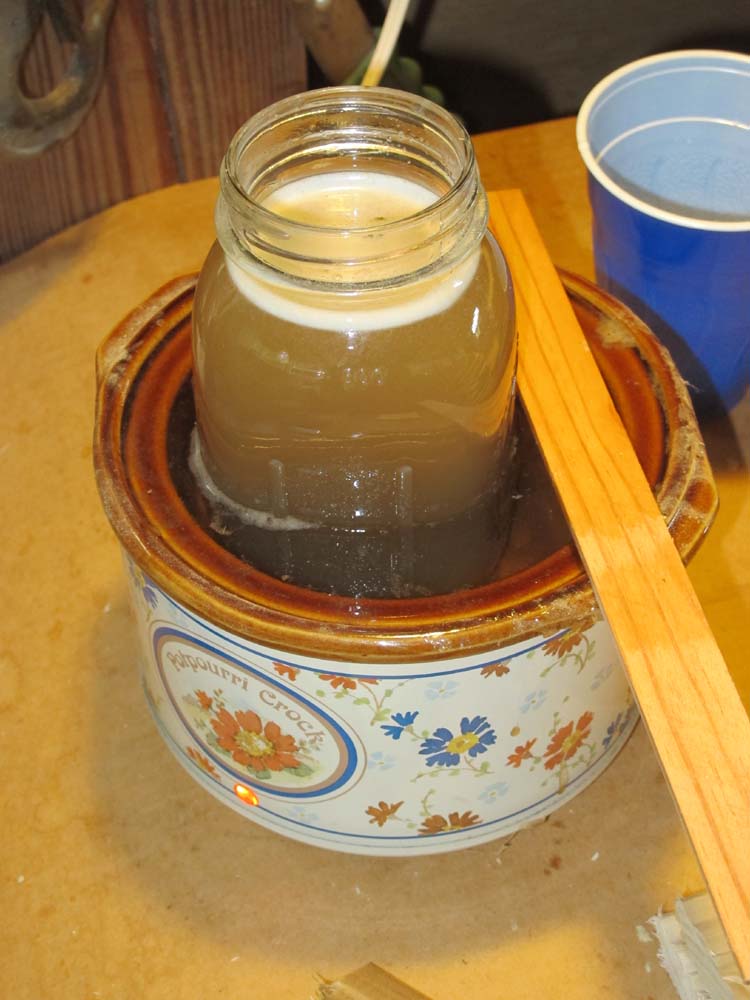
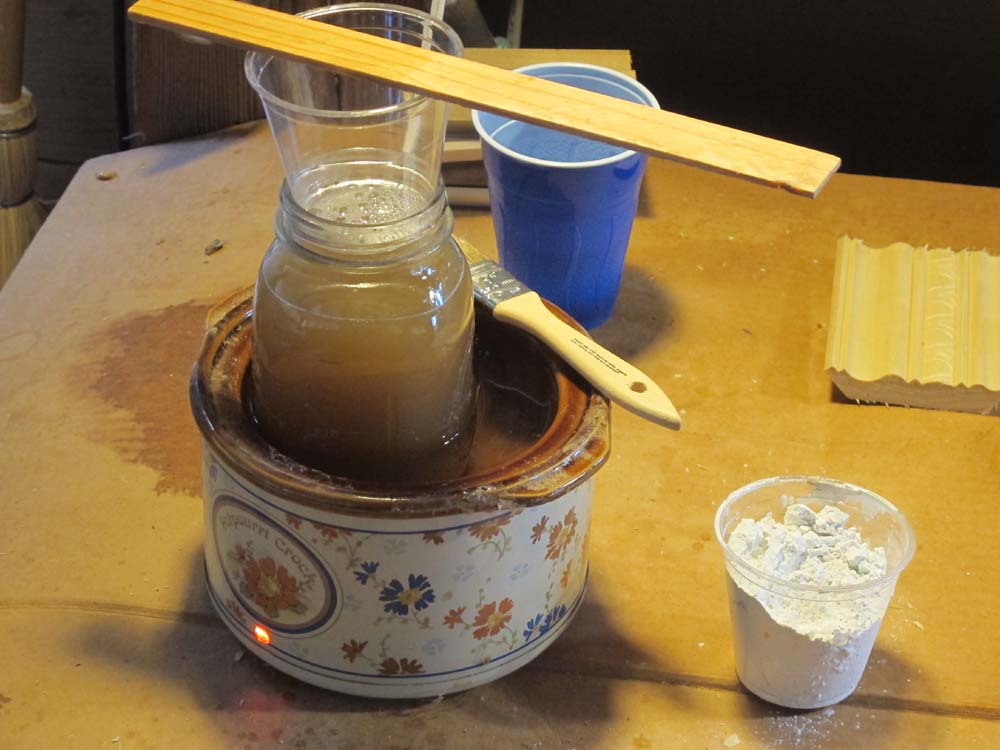
When that is dry, to the heated glue solution I add enough calcium carbonate, sold as “Whiting” by art suppliers, to make the jar seem like it is filled with skim milk. Here I am preparing to add the amount of whiting to the glue solution.
I brush this on to the surface and allow it to dry. In the follwing steps, I make note of how much whiting I added to the glue size to render this first “skim milk” solution, and I add that same amount for the next iteration, which I also brush on and allow to dry. Then a third portion of whiting,and a fourth, and as many as is necessary until you get to the point where the heated gesso acts like heavy cream. Make sure to “pounce” the gesso in the early stages with a coarse brush to make sure it fills all the interstices if there is carving.

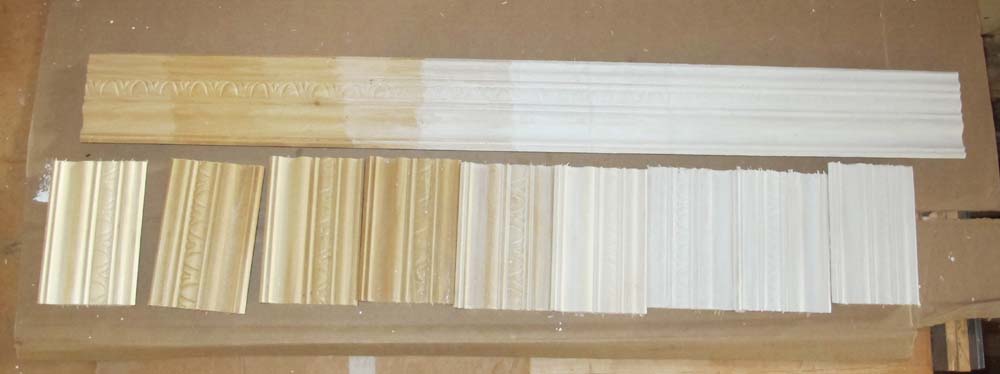
Here is the progression of the applications and the built-up surface ready for abrading and re-carving as needed. In this case I could have stopped after the sixth application and it would have been fine.
And as I said, the addition of more and more whiting serves to dilute the glue portion of the mixture. Also remember to stir the heavier gesso as you use it because the whiting will settle to the bottom without agitation.
This is as perfect a primer as I have found for my work whether gilding or japanning. How much you build up depends on how well you prepared the wood to begin with, and where you want the surface to end up.
At some point over the coming winter I will work a surface through from beginning to end so you can get the detailed blow by blow. Until then you can go to the Writings page of this blog and read the article I wrote on Japanning, which gives a good summary of the process.
WIA began with a sumptuous breakfast courtesy of our hosts, the good folks at Popular Woodworking magazine. I had been kibitzing with friends and acquaintances down in The Marketplace and was a bit late for the start and Editor Megan Fitzpatrick’s comments, but there was still bacon and eggs and lots of fruit when I got there so all was well.


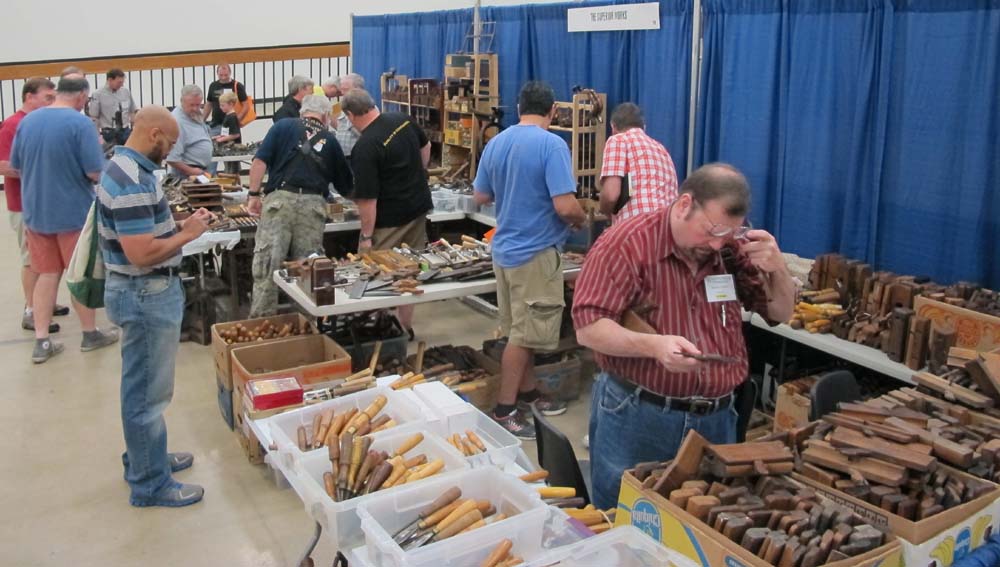
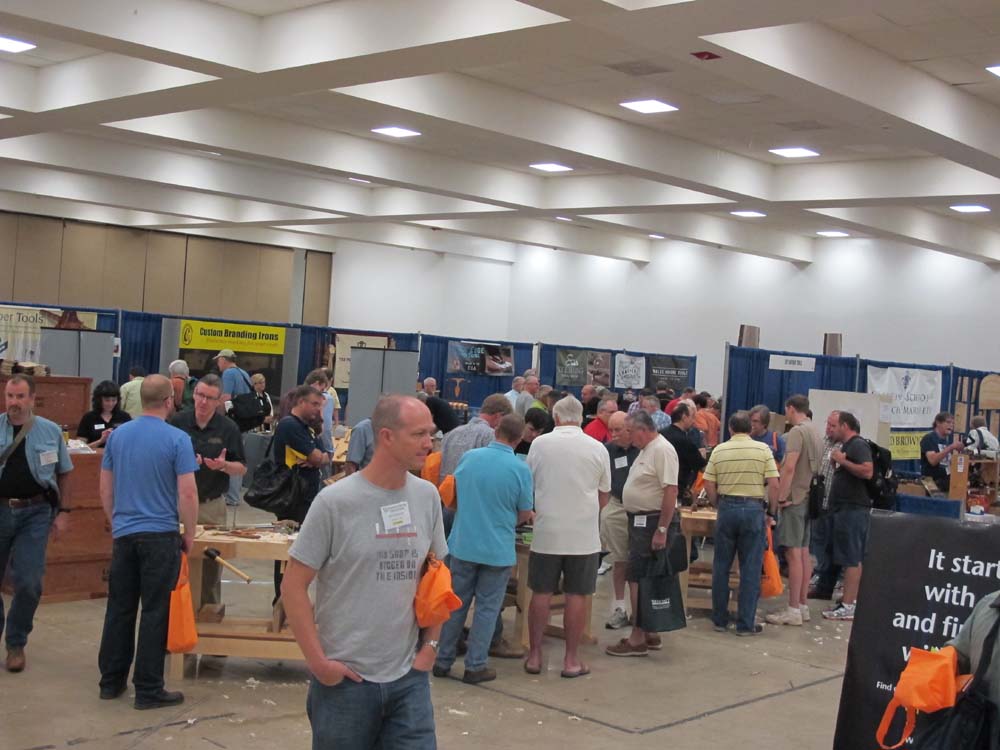
We then moved en masse down to the same Marketplace, where the money started flowing from the guests to the vendors, and there were many fine vendors selling exquisite tools.
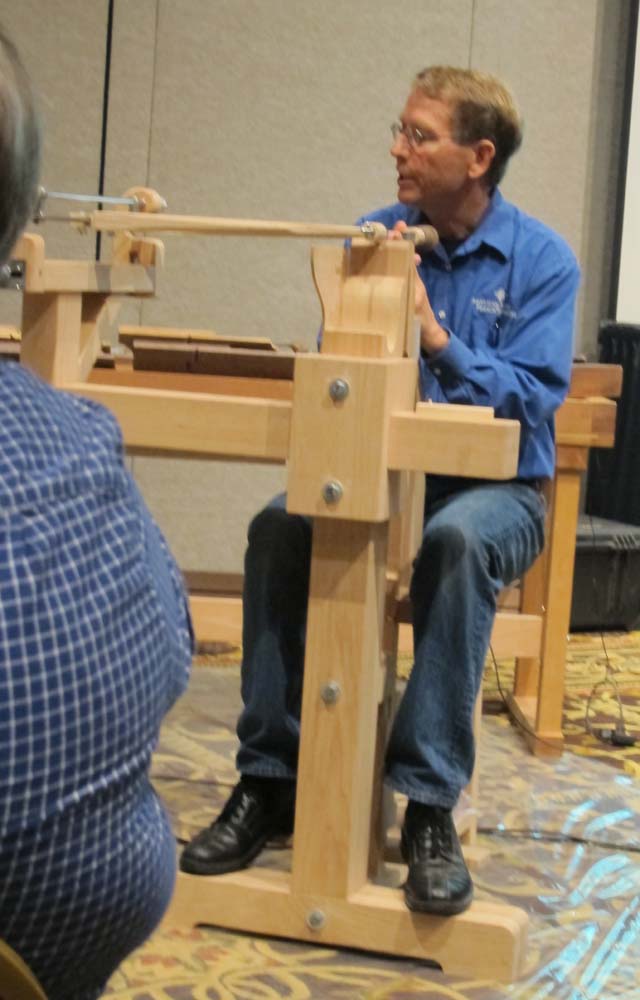
At the appointed time I dashed upstairs to sit in on Patrick Edwards’ excellent talk on the history and range of French Marquetry, which given my investment in the Roubo franchise should make my interests pretty clear. Patrick and I first met 32 years ago, and have remained acquainted ever since. We invited him to contribute the Foreward to To Make As Perfectly As Possible: Roubo on Marquetry.
Patrick did a terrific job of covering an immense amount of material in his allotted time.

That session had gotten off to a rousing start with stand-up comic Roy Underhill introducing Patrick with a wild story of their first meeting at the Great Brine Shrimp Roundup in The Great Salt Lake of Utah, and how Patrick somehow saved the day in diffusing a brine shrimp stampede that threatened any and all who were nearby.

Immediately thereafter I was next door feverishly setting up my session, “Secrets of Period Finishing.” It was well attended by an enthusiastic audience that frequently led me down rabbit trails with their insightful questions. I really have to watch myself about that and remember to stay on course.

I am now thinking that a four-hour session is too long in that it actually encourages me to divert from the main theme, and that a three-hour session would impose a certain disciplinary constraint. I’ll have to talk to Megan about that. Still, a large number of folks stuck it out to the very end.

The day concluded with a festive gathering at Martin O’Brien’s eerily tidy shop, where fellow Groopsters were joined by Phil Lowe and Will Neptune.
Since we were planning on taking all my stuff to WIA late in the afternoon, we decided to follow our hosts’ recommendation and view a local museum exhibit of Chairs at The Reynolda Museum on the north side of Winston Salem. Unfortunately they did not allow photography, but it was a terrific exhibit. We were accompanied by old friend and brilliant furniture maker Freddy Roman.

Later in the afternoon we navigated the clogged pathways of the WIA Marketplace in the convention center to get all my demonstration supplies up to the room I was using for teaching, and noted several things along the way.
First, I must admit it was quite a kick to see the video front and center in the Popular Woodworking bookstore. I had actually only seen the released version two weeks ago; it was not terrible.

Second, even though I have given scores (hundreds?) of talks it still is a bit of a jolt to see my name listed on the room schedule. I don’t know why, it just does.
Third, there were a lot of great folks exhibiting mighty fine tools in The Marketplace. Somehow I managed to emerge from the weekend with zero dollars spent. Not that I wasn’t tempted…
We wrapped up the day with some good old North Carolina barbecue and bluegrass music a Prissy Polly’s, a renowned local eatery a few miles away in Kernersville. Ummmmmmmmmmmmm.
I see that according to WordPress this is my 200th blog post. Who knew I had that much to say about anything? I mean besides anyone who actually knows me.
We all have quirks, but one of mine is the irrational fear of running out of stuff to talk about whenever I am making a presentation. Notwithstanding the fact that I have never run out of words before the end of my previous two hundred presentations, I still try to prepare such that I can “wing it” if ever I do.
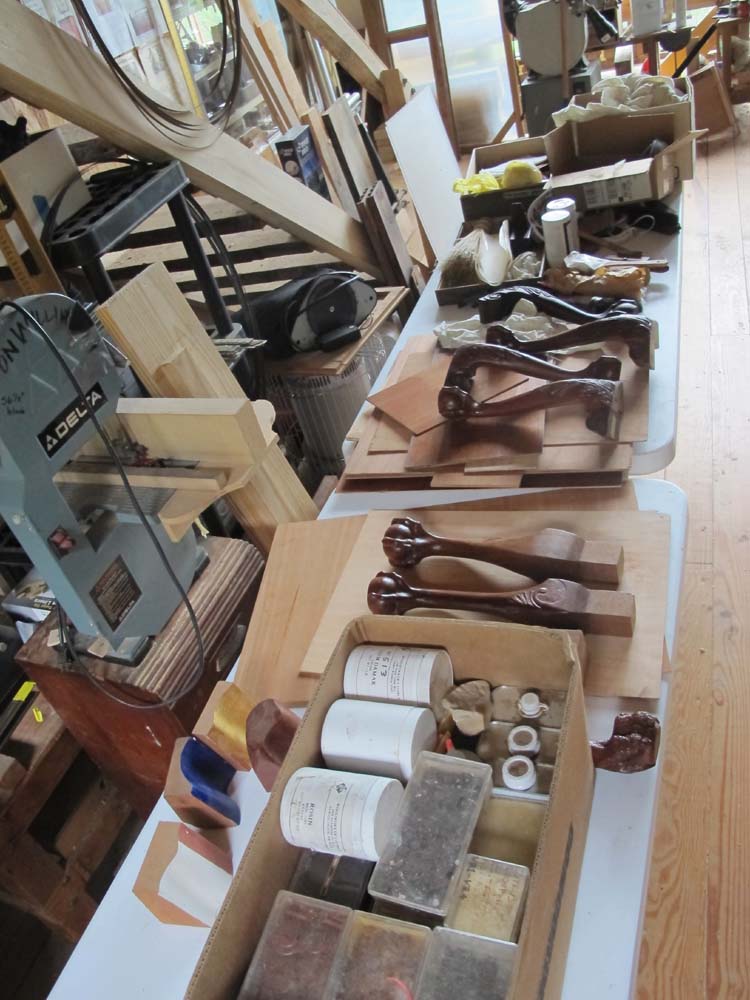
So, in preparing for the upcoming presentations at WIA I have been working assiduously for both the historic finishing and gold leafing talks. Just the supplies and examples for the historic finishing talk seems somewhat overkill, but don’t bother to argue with me. It’s what I do.
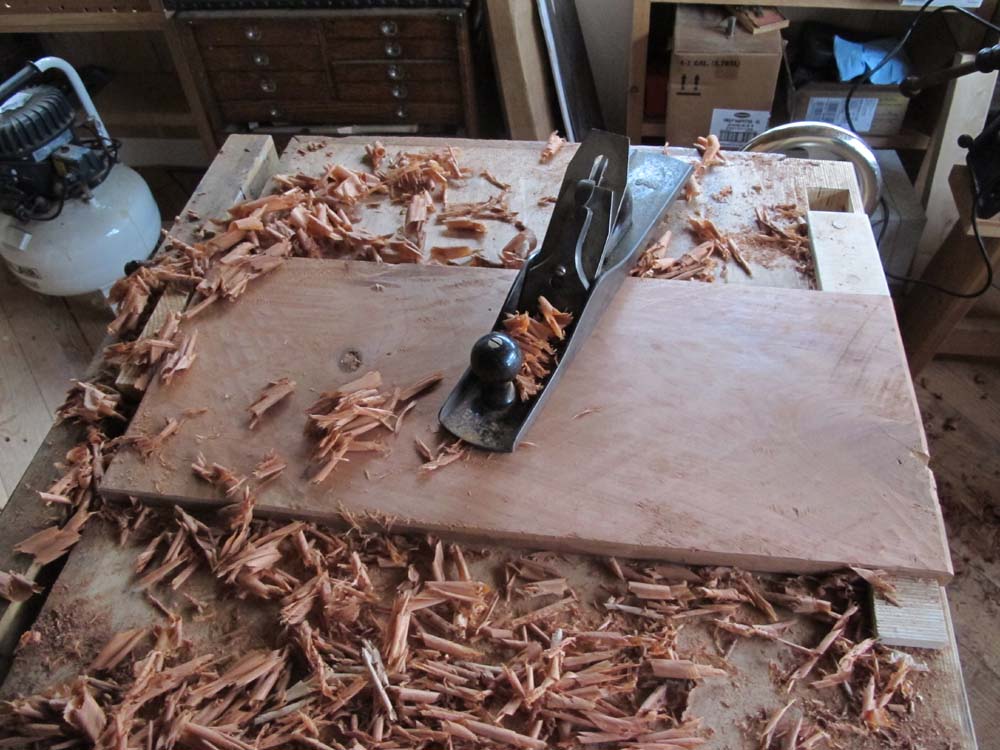
I even hand-planed some boards from the lumber pile,
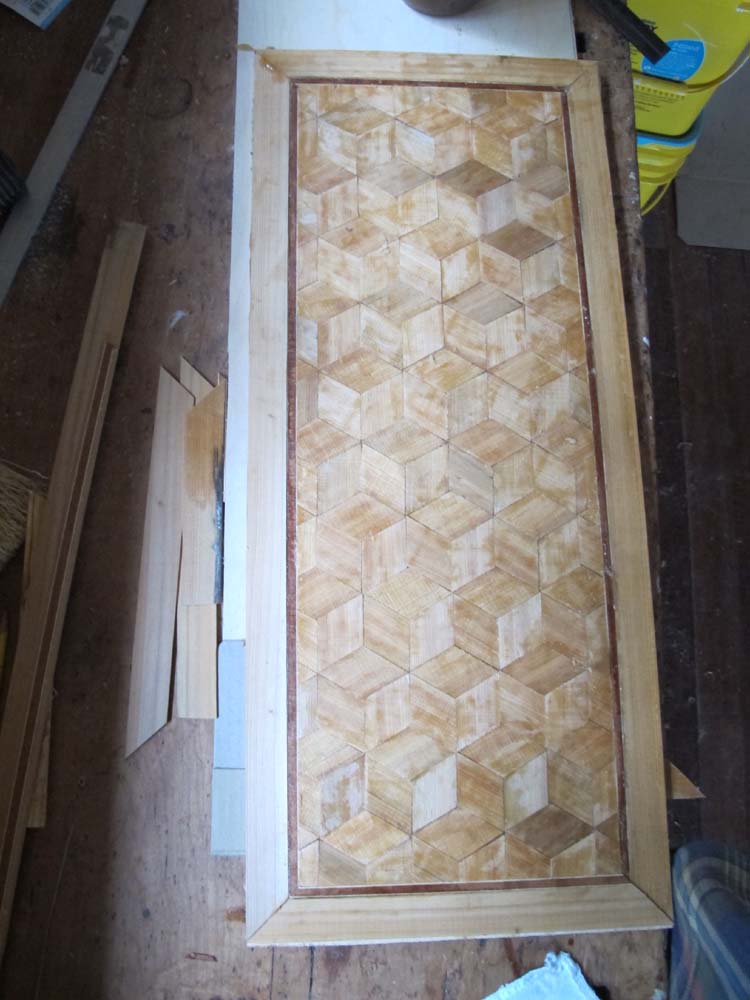
and made a couple of parquetry panels to make sure I had things to work on while the crowds are watching.

I might’ve gone even nuttier with the gold leaf demo, starting with mixing up traditional gesso by putting 10% glue granules in a jar,
Adding water until full,

and soaking over night.
I cooked it,
added calcium carbonate/whiting,
and started preparing step-by-step examples so that I can walk the attendees through the entire process from start to finish, ending with the toning of the newly applied 23 karat gold leaf..
If you are at WIA make sure to say “Hi” and tell me you read the blog.
© 2024 Don Williams

Recent Comments