Desk Structure – Base Joinery
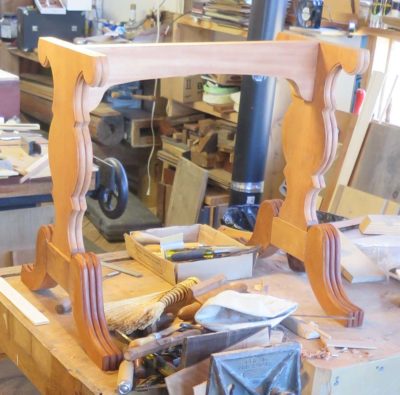
Cutting and assembling the joinery for the desk base was a chicken-and-egg sorta thing. Since they were so forcefully integrated, did I cut the moldings into the desk frame first, then cut the joinery, or do it the other way around?
In the end I decided to cut some of the joinery first, like the mortises in the feet, but then mostly did the moldings first and added the upper joinery after that.


For the tenons I marked and cut the saw-line first with a knife, excavated a bit with a chisel to provide a clean, precise shoulder, then sawed as usual.
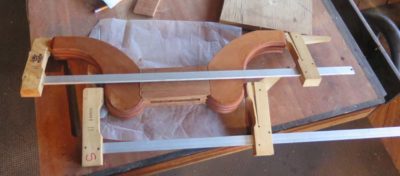
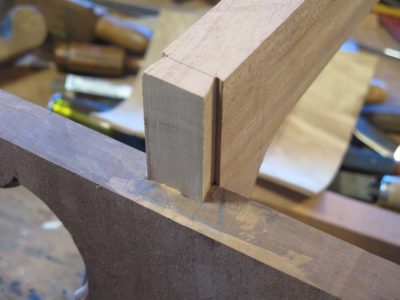
The only real interesting exercise for the joinery was the main cross beam at the top of the base, immediately underneath the writing box. Originally I had considered a simple mortise with screws from the outer face since that would be covered completely by veneers (I think the Senate replica I worked on was made this way), but then decided a better way was to make a haunched blind sliding dovetail.
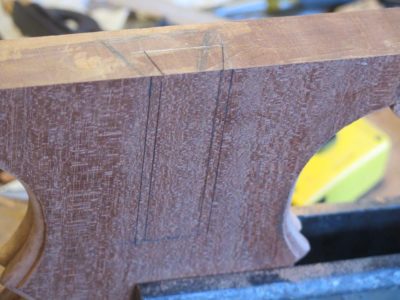


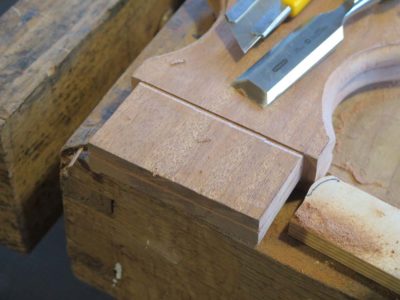
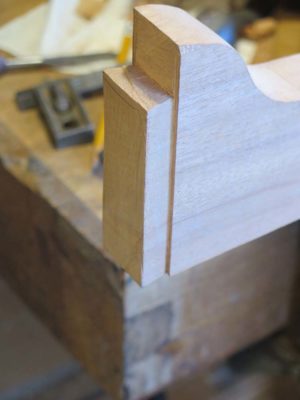
That sliding dovetail tenon was matched with a dovetailed mortise. I used a mitered block as a sawing guide and things proceeded smoothly in cutting the dovetail shoulders, followed by a series of cuts to make the waste removal easier.
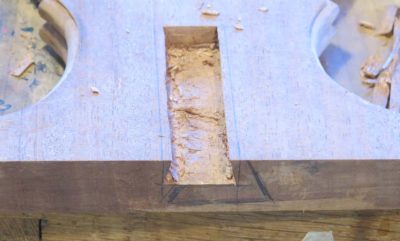

Chopping out the waste with a chisel followed by a router left a perfect mortise.
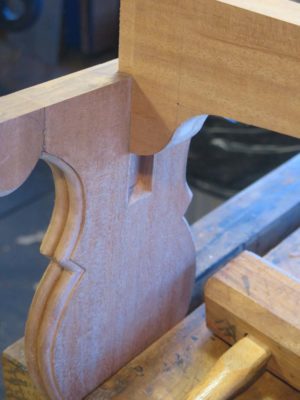
The dry fit made me smile.

Join the Conversation!