Dovetail Saw Rebuild
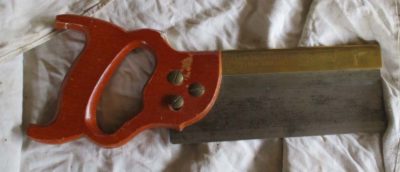

The rehabilitation of my first “brand name” dovetail saw began with dismantling all the components and re-thinking the proportional issues that rendered it an ill-fitted tool for me. As I said before, the cutting edge (teeth) of the saw was about the only thing I liked about it, so that would be left alone but everything else was on the table. Removing the handle was of course no more complicated than removing the saw nuts holding it on. (I’d already mucked around with the handle before I took this picture. Also, note the shallow bedding of the saw plate in the brass back).
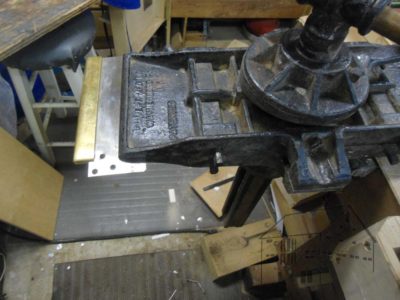

Separating the back and the plate was not much more involved. I set my Emmert vise to the horizontal position and tightened the saw plate in it. With a mallet and a stick I gently drove the back off the plate.
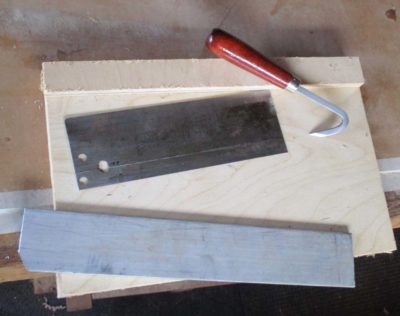
I addressed the easiest part first, the handle. I’ve been working wood for five decades but have not yet figure how to make holes smaller. Given that limitation I was stymied in making the handle and its way oversized hand-opening the right size for my hand, but at least I could make it more comfortable. I accomplished that by transforming it from a closed tote to an open tote, albeit a pretty ugly one. This did allow for and encourage a more comfortable grip on it and is an immense improvement. Still, I will make a whole new handle once I get a little ahead on the multitude of other projects occupying my days.
Next came the re-dimensioning of the saw plate which was just wa-a-ay to tall for my taste. Previously the distance from the teeth to the top of the spine was almost 3-1/2 inches, a pretty excessive proportion for an 8-inch saw. Some of this was due to how the plate was bedded in the back and some on the depth of the plate. The plate was a very hard piece of tool steel, probably cold-rolled sheet that was effectively forged and thus too hard to saw through. It was also too hard for my little sheet metal shear to cut through so I had to use a different approach.
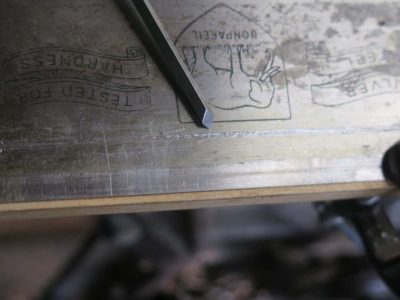
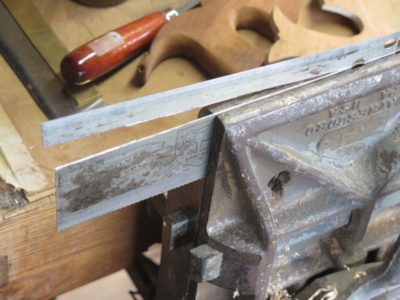
Instead I scored the plate with a scribe along the line I wanted to cut. I then used an engraving burin and took several passes along the scribed line to create a furrow, weakening the plate to the point where I could break off the excess. It worked like a charm.
I finished this slightly jagged edge with a diamond stone and it was ready to go back in action.

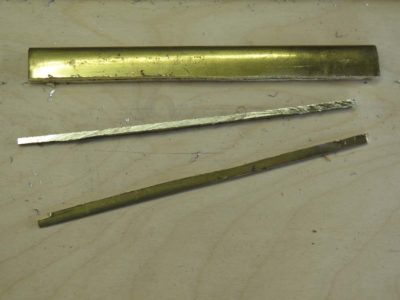
My final major modification was to narrow the brass spine. The saw was originally fitted with a bent back made from 1/8″ brass with a 1-1/8″ depth making it a stout, really heavy component. On a saw this small it threw the balance way off, another feature I did not like. I did not necessarily mind the depth of the back but it was just too massive as it was. Using a hacksaw I ripped a proud quarter inch from its depth, then finished the edge with a file resulting in a brass spine that is almost 1/3 lighter and narrower than it was before.
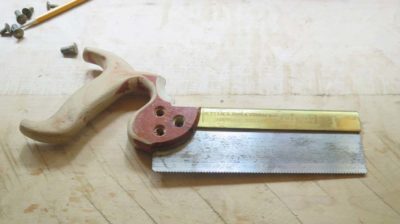
One final modification was to re-set the plate fully bedded into the bent back, as opposed to the original bedding that was only about 1/4″ at the tip of the back. The result of this combined with the cutting-down of the plate resulted in an 8-inch saw that was only about 2-1/4″ in overall depth versus the original 3-1/2″. This improvement alone was worth the effort as it makes the saw feel like more of an extension of my hand rather than some barnacle stuck there.

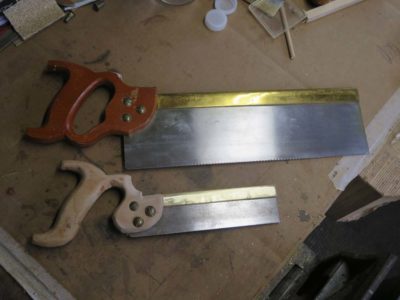
With all the old pieces made new, the reassembled saw more closely resembles a tool I might use regularly. The relatively heavy set for the teeth, at least when compared to my no-set tapered saw plate model, feels a little “wallow-y” in the kerf but performs well. I can definitely see this old/new saw becoming part of my regular repertoire of options.

The most important issue with your handle modification is that the grain is running the wrong direction for an open handle saw. Instead of parallel to the back, which is strong in a closed handle saw, it should be running from the tip of the top horn to the back mortise. Otherwise, you have short grain through the neck, and with one drop to the floor it’s toast.
The new handle will have the grain running in the right direction. I was just trying to see what could be done withe the old one. Its grain direction is neither perfect nor horrible.