Finishing The Octagon Window

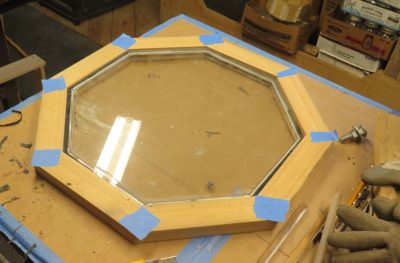
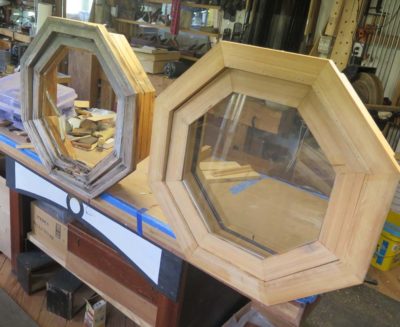
With the basic octagon frame glued and toenailed together I systematically added the inner jamb for the screen and the outer jamb for the tilting window. I moved on to the tilting window frame itself, different only from the unit frame in the orientation of the individual pieces and the cutting of the glazing rebate before assembling everything. None of this was particularly difficult, just some of it was a little fussy. Again the joints were butt miters with waterproof glue and toenailed with my pneumatic pin nailer.

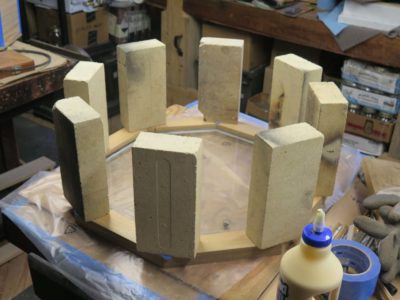
Once I made sure the pieces fit together it was time to add the fascia and start the finishing.

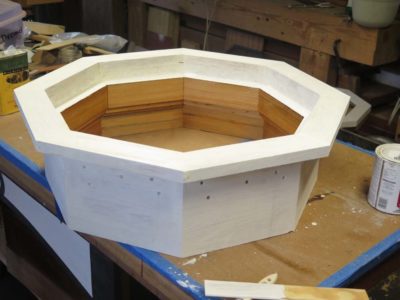
To make sure the window unit was the longest lasting unit I could make I used the old-growth cypress throughout the entire project. That alone should add decades. On top of that every surface had several coatings of finish. The outside surfaces received two coats of primer followed by three coats of acrylic latex enamel. The inner surfaces had three coats of oil-resin varnish applied to them. Oddly enough I must not have thought that the ready-to-install window was worthy of a picture as I did not take one of everything all put together, painted and varnished.


With all the pieces now assembled it was ready to be installed in its new home. The three layers of weatherproofing the original hole in the master bathroom performed well, I am happy to say. I peeled all that off and hoisted the new window on my shoulder and carefully climbed the ladder fervently praying that the fit was good. It was. All it took to install the window was to get the orientation exact and pound it home with a few gently taps from the heel of my fist. A wave of relief washed over me as I did not have to adjust anything.
Now came the truly time consuming part of the project, weaving in the new shingles around the window and the roof fascia. The roof fascia was not removable since the new roof and drip edge were securely fastened to it.

Join the Conversation!