Historic Finishing Day 1
Last week was my almost-annual workshop in Historic Finishing, three days spent introducing the notions of systematic work with shellac and beeswax. This year I had three students which allowed for a lot of great fellowship and one-on-one instruction and problem solving.
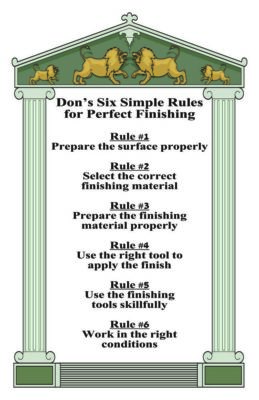
It began with a discussion of the strategy of finishing I developed many years past, emphasizing the Six Simple Rules for Perfect Finishing. As always my goal is to not only teach and inform, but to change attitudes. Usually woodworkers are indifferent at best and terrified at worst to finishing, and again this year I saw the students leave with a whole new level of confidence. I cannot say they departed with my own mindset of looking forward to any finishing task, but at least they were no longer fearful of it.
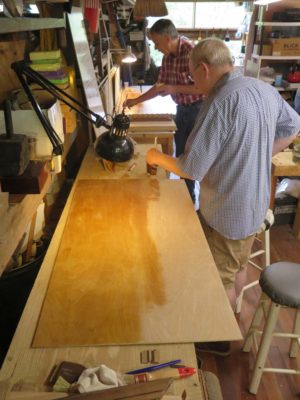

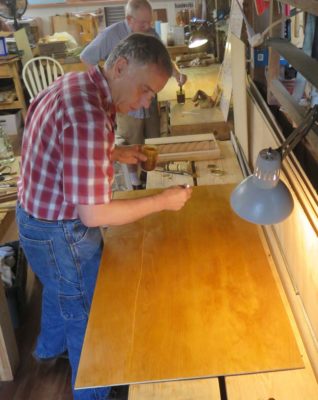
After the opening lecture they got to working on the first of a dozen exercises I had devised for them. This one was brushing shellac on a large panel, building up about a dozen coats in three application sessions, or “innings.” Using only a one-inch brush this exercise develops excellent hand skills at applying a finish evenly over a very large area, and lays the foundation for some Day 3 exercises.
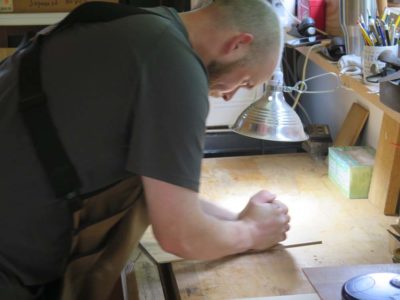
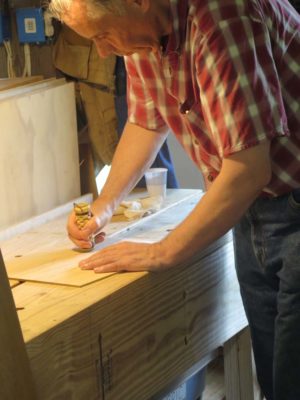
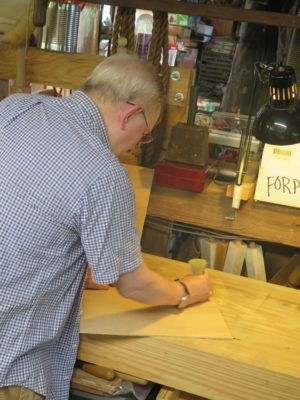
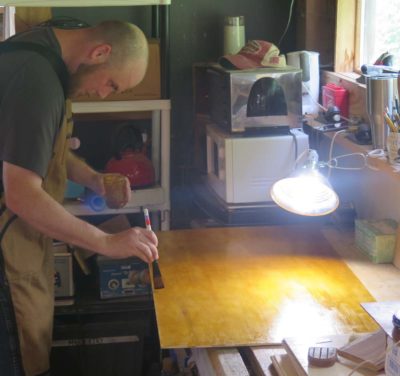
We then moved on to the means of preparing surfaces in general (the initial large panel exercise has to fall a bit out of order since it required three sessions to complete the applications; the start of Day 1, the end of Day 1, and the start of Day 2). Thus much of the day was spent building up Popeye-like forearms, a/k/a using a polissoir.
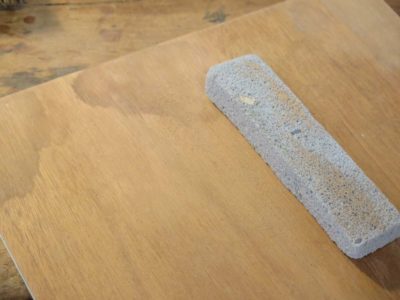
I also demonstrated the use of a pumice block for smoothing wood. This was a very common procedure in ancient days, an analog to our own use of sandpaper.
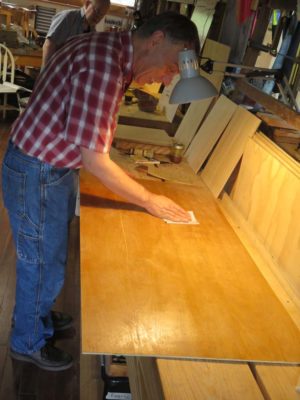

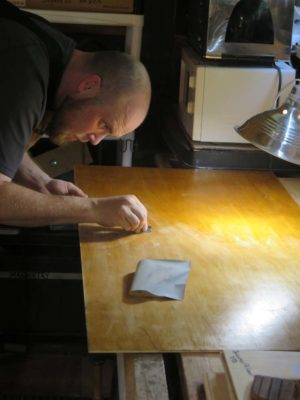
Preparing panels with the polissoirs and then a polissoirs-plus-cold-beeswax occupied much of that afternoon, followed by a light sanding of the large panel and re-application of the 2-pound shellac from the morning.
And thus endeth Day 1.

Join the Conversation!