Japanese Knife, Part 2 – Use It Up, Wear It Out… (second verse)
My long-held interest in replicating Japanese urushi lacquerwork with synthetic materials (to avoid using the refined poison sumac sap that comprises urushiol) led me to lurking at Maki Fushimi’s youtube channel. His narration-free tutorials are spellbinding to me and I am an enthusiastic cheerleader for them. I recall visiting my pal Dave and telling him about the videos so he pulled them up and sent them from his iPad to the television. Two hours later the ladies had to drag us away to dinner.
As I began my own work to mimic urushi lacquer, I found that Maestro Fushimi demonstrated the tool set employed by a lacquer worker, including the use and making of brushes and spatulas to apply the molasses-like varnish. I must have watched this pair of videos on making spatulas a half-dozen times, and was drawn to the knife he was using for the task. I determined to get one. Then I checked the price. Nyet.

Instead I turned to my collection of spare parts to see if there was any readily available tool steel for such a project. There was, old planer knives to be more specific. I ground the tip of one end to resemble the shape of the knife in the videos, then set about to make it as much like Maki’s as possible, at least functionally, with just what I hand on hand. With the planer knife already having an established bevel edge sharpening it would be a piece of cake.
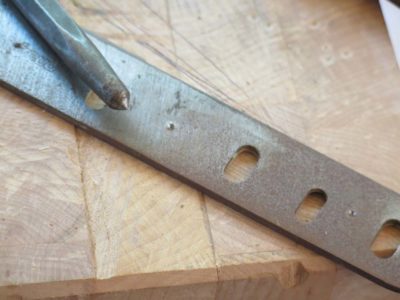
I marked and drilled the holes for the rivets and the handle cheeks.
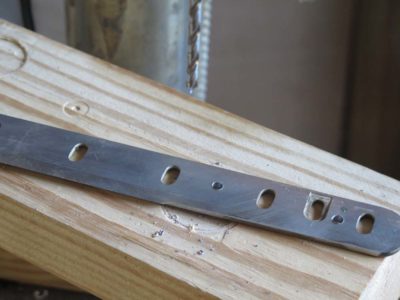
I grabbed some walnut for the scrap box and quickly made some cheek blanks suitable for the handle. By taping the cheek blanks to the drilled blade I located all the holes in exactly the right place.
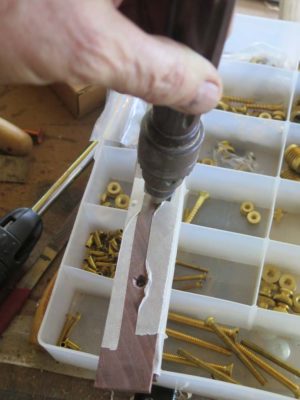
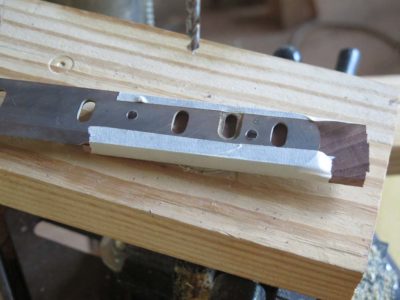
Using a hand-held countersink I worked the rivet holes just enough for the rivets to fit (the longest ones I had in my rivet box were a bit too short). I was so eager to test the concept I did not take the time to fabricate custom rivets, a topic I will blog about soon.

And then I hammered the rivets into their holes.

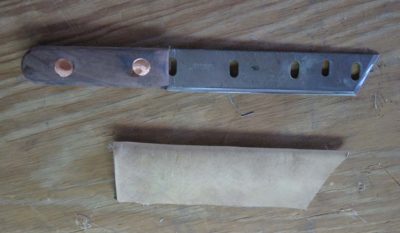
I worked the shape of the handle, sharpened the two edges and made a sheath, and it was done. I was using it just this afternoon and love it. At some point in the not too distant future I might make another one, only nicer.

Join the Conversation!