Japanese Toolbox – Assembly With Squared Nails
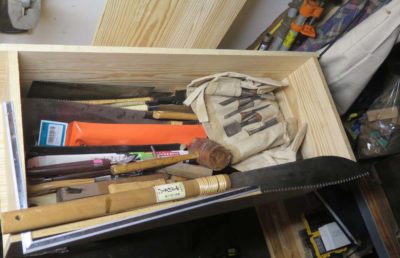
The dimensions of my box were 38″ long by 15″ deep and 10″ high as the starting point, not long enough to include my very longest saws but a good selection nevertheless. Obviously once the box was assembled I could not modify the length and depth but could adjust the height (which I did need to do, but that’s later).


I sawed the boards to the exact dimensions I wanted, and avoiding the temptation to cut dadoes at all the contact lines, I went old school and glued and nailed all the joints together (although really old school would have avoided the glue). This was one time I chose white glue rather than hide glue since I did not have any of the latter prepared. I pre-drilled all the nail holes with my Yankee drill (I do not possess Japanese gimlet drills) and drove them home.

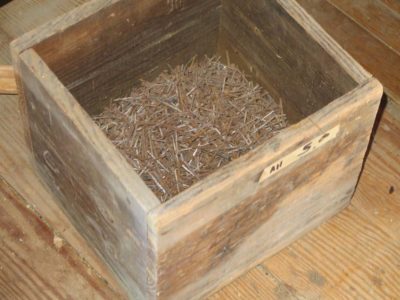
Fortunately I had a bunch of 8d squared nails, I mean a bunch. I found these at a yard sale in central Pennsylvania on one of my trips to Martin Donnelly’s Toolapalooza. The yard sale sign said “Tools” so of course I was morally compelled to pull over. While none of the tools interested me, this cubic foot of squared nails did. I see the label said $5 but I doubt I paid that much for it. These were not case-hardened concrete nails but soft steel or wrought iron from days long past, a feature that redounded much to my benefit in the coming steps.

I glued and nailed on the bottom and suddenly I had a box that would hold a whole lotta tools.


Join the Conversation!