Making A Simple Rubber Mold
While in Georgia last month I overheard a conversation suggesting the benefits of having small wax blocks with logos to give as premiums to students or as gifts to friends, or to even provide as commercial products. I decided to do that for myself, and will describe the process here.
My objective was to produce a small wax block with The Barn logo incised in the surface.
My first step was to print out a version of the logo that was the right size for my needs. I glued this to a piece of 1/8” mat board. Once the glue was dry for this I cut it to the exact size I needed, which I then glued to a piece of ½” Baltic birch plywood.
Using a scalpel knife I incised the logo through the printout and down into the mat board. Once this was finished I immersed the entire block into molten beeswax, mostly as a means of smoothing out any raggedness of the incised lines. I wiped off all the excess wax.
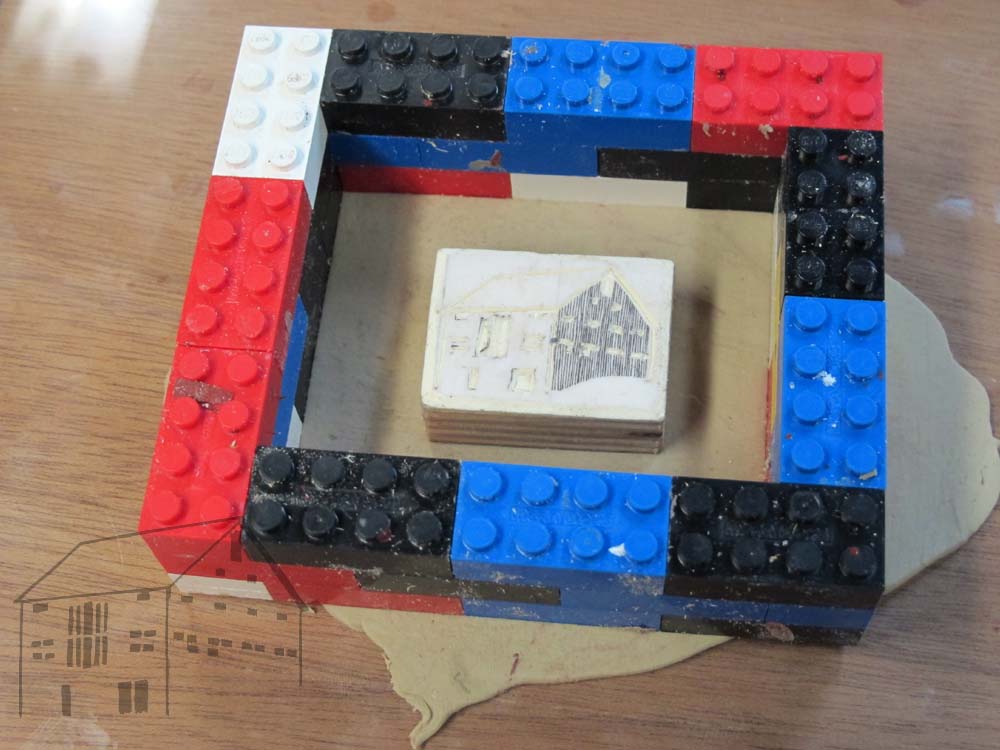
I prepared a bed of plasticine sculpture clay and pressed the block down on it, detailed side up. Then I construct a Lego-type flask around the block with at least 3/8” margins on all five sides.
NOTE: do NOT use plastilina or any sulfurous sculpting clay. It is a fine product but the sulfur-containing chemistry is not good for what comes next.
Fill a paper cup with the appropriate amount of silicone RTV (Room Temperature Vulcanizing [crosslinking]) molding rubber with its catalyst, and stir them thoroughly. These are mixed by weight and vary from product to product; be precise. There are many different grades of silicone RTV, and they will be the subject of another blog on casting molten pewter. For this project I simply used some I had sitting on the shelf. Admittedly, I do a fair bit of this for my artifact conservation projects so my shelf may be outfitted differently than yours.
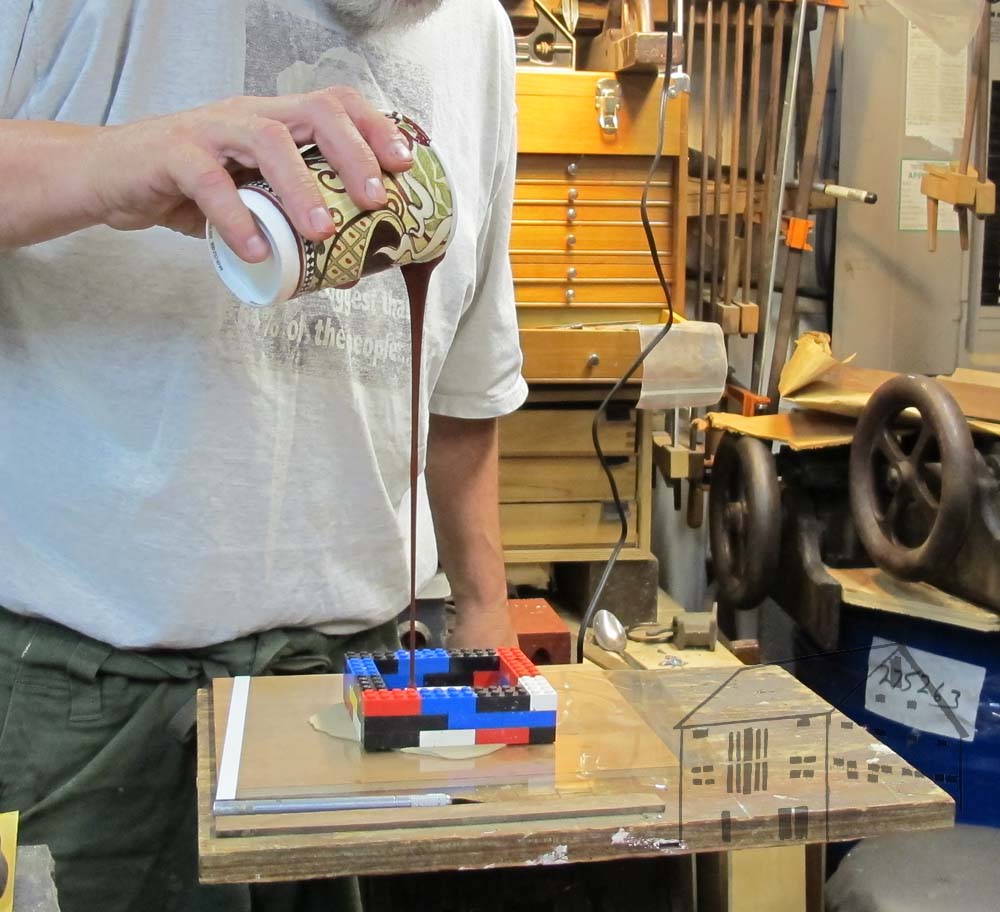
After mixing the silicone RTV and catalyst I raised the cup and poured a thin stream of the liquid rubber into the flask, starting with the corner away from the pattern block and allowing the rubber to flow over the pattern like lava from a volcano. This technique reduces to almost zero the problems of bubbles in the surface of the finished mold. Let the mold cure and disassemble the entire construct, gently removing the block from the silicone rubber mold. It does not need any separating agent.

Melt some wax and pour it into the rubber mold. Allow it to cool and then gently pop the wax block out. You are done.
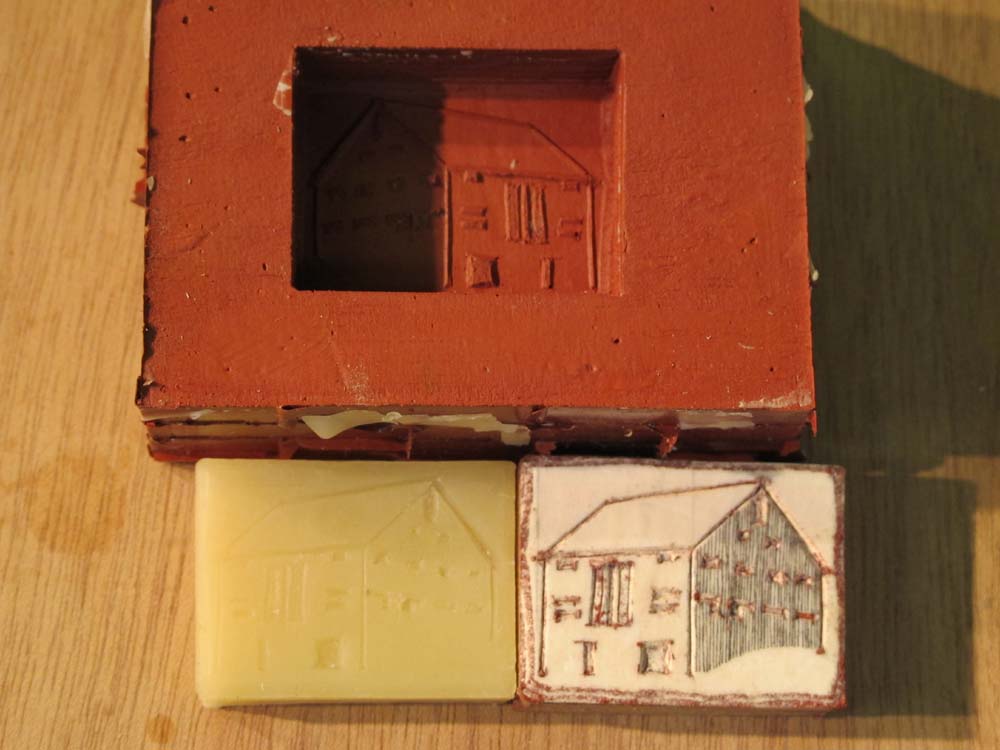
Using this method you can create a single piece mold for casting a wide selection of materials ranging from epoxy, plaster, wax, hot-melt glue…

Join the Conversation!