Making My Own Carvable Epoxy Fills
In years past we who are engaged in the compensation for damage of historic wooden artifacts often employed Araldite 1253 carvable epoxy for filling substantial losses requiring high-performance structural integrity. I have found this product hard to find (and it was black!) so I for some time I have been making my own.
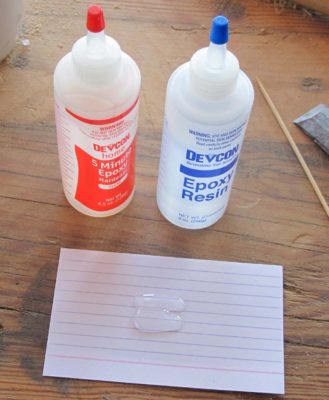
In this instance I took one squirt of Devcon epoxy from the hardware store, although any good quality epoxy will suffice, along with the appropriate proportion of catalyst onto a paper surface and mix them thoroughly. To that I add acetone drop by drop until I get a watery consistency; it does not take as much acetone as you might expect.
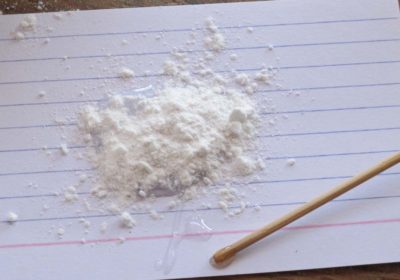
Once you have the thinned epoxy ready, stir in glass microballoons a little at a time, making sure to mix until it is uniform in consistency. The microballoons serve to both reduce the flow of the material (to “stiffen” it) and reduce the overall density (making it lighter in weight) and reducing the hardness and brittleness (making it “carvable”).
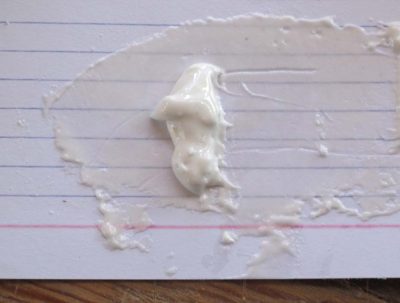
Keep adding microballoons until the mixture is the consistency of very stiff taffy (or thin putty if you prefer). You can also add pigment for coloration at almost any point.
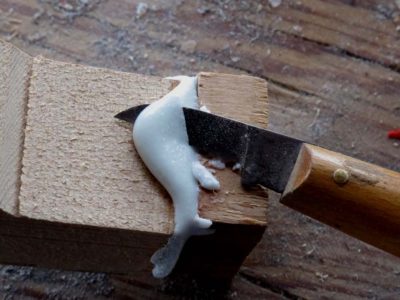
Once the putty is ready you can apply it to the area needing filling with a spatula. When you are done with that that and smoothed out the fill, set it aside. It will take 12-24 hours to harden. Once it has set you can, well, carve it and smooth it to fulfill your requirements for the task at hand.
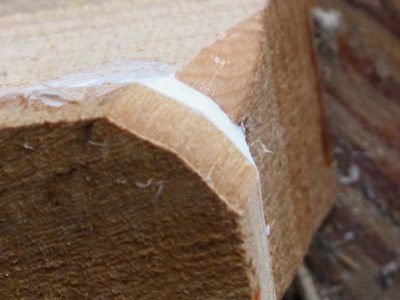
Since I make my own carvable epoxy one small batch at a time customizing the stiffness, density, and coloration, I simply discard any excess mixture and move on.


Join the Conversation!