New Hoop Covers for Raised Beds


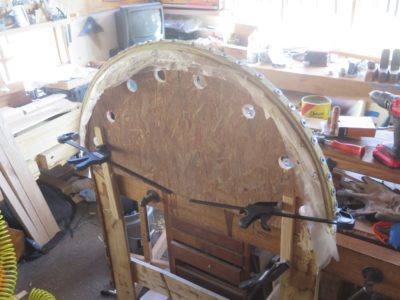
With the form for the curved ribs in hand I set about to making the four necessary ribs from 3/16″ strips of pressure treated lumber. Using the combination of T3 adhesive and my fender washer/deck screw method I clamped the laminations to the form, followed by a boat load of crown staples.

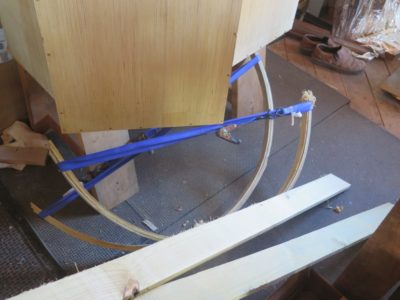
When the glue had set (but not hardened fully) I removed the ribs from the form and strapped them to maintain the proper dimension until everything was dry and hard. Unfortunately I do not have any pictures of the skeleton all assembled (I should follow the example of RalphB who is scrupulous about photographing his projects).


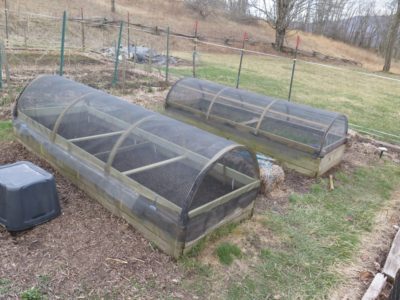
With the skeleton finished I stapled 1/2″ hardware cloth as a skin. This was a bit of a problem until I had a blinding flash of the obvious. The tip of the pneumatic stapler kept sliding off the wire of the hardware cloth, that is until I filed a tiny notch in the center of the stapler tip, the part that slides up as a safety measure. After that the process went amazingly fast.


The hoop covers were really light and easy to maneuver into the proper place. Mrs. Barn wanted them to be attached and hinged so I made that happen, then covered them with a second skin of window screen to keep out the moths that love to eat up the veggies she grows inside.
Come winter we will cover these with plastic to turn them into mini-greenhouses so that she can grow things inside year-round. This works well enough, but a big improvement in this regard is coming soon to the homestead.
Stay tuned.


Join the Conversation!