New Infill Mallet Shell Castings – Initial Surface Work
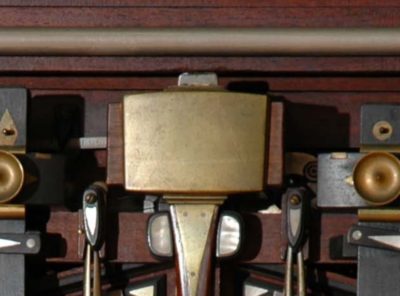
One of the challenges to replicating Henry O. Studley’s incomparable mallet is obtaining the surface texture when it is all done and finished. As someone who comes out of the foundry trade myself I can only shake my had in amazement at the shell he used in his mallet. There is no hint of who produced the brass casting, all I know is that is was provided by a virtuoso. Hmm, that sounds like a good title for a book about Studley. When I originally saw the mallet in person I thought that it was like many of the “finished” casting for the foundry where I worked; the pieces were cut off the sprue tree, ground and filed, then tossed into some sort of bead blaster to achieve a final surface.
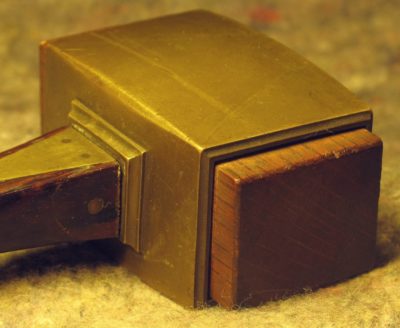
However, once I got really up-close-and-personal I realized that was an unlikely proposition as the shadow of the parting line from the casting was still evident, about 1/3 up from the bottom. Abrasion blasting would have almost certainly removed that evidence. Thus I am left with the possibility that the shell casting used by Studley was essentially straight from the sand mold, at least in regards to the surface texture.
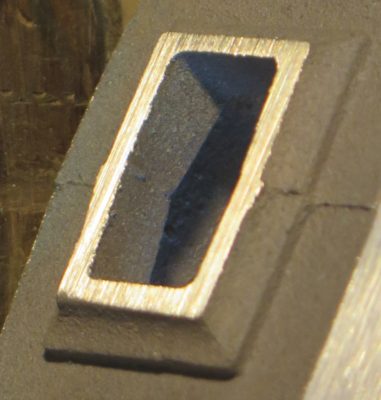
As nice as the new castings from Bill Martley are, they are not of the same quality as Studley’s (to be fair to Bill I have never seen contemporary sand castings of the quality evident in Studley’s menagerie) and the surfaces need to be worked extensively by hand to eventually get to a similar place, at least aesthetically.
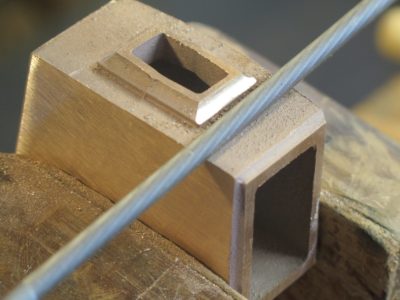
I already referred to establishing the cove profile with a 1/4″ chain saw file, and then cutting the flat edges of the same elements with barrette files I bought from Slav the File Pusher at Handworks last time.
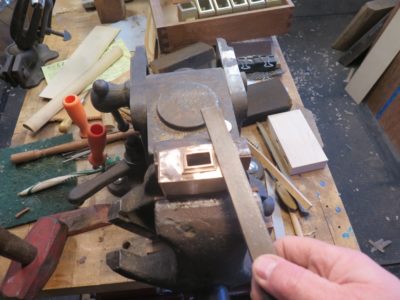
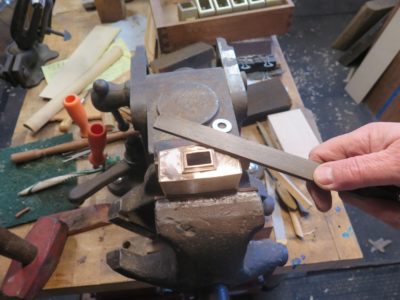

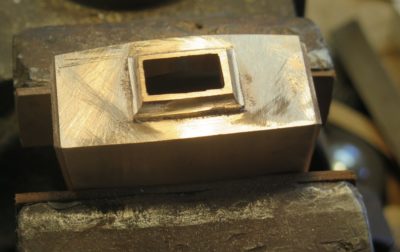
I then proceeded to work on the top and bottom of the mallet shell around the square collar, an always challenging proposition when trying to achieve uniformity on a surface that is not uninterrupted. The first goal is to get everything flat, working parallel to the sides of the rectilinear collar. I did this mostly with a small-ish mill file on which I had removed the teeth on one edge to as not to continue cutting where I did not want to cut.
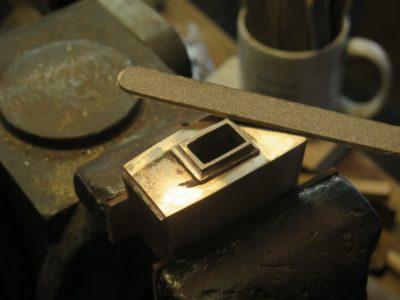
Once I got to flat I began to work with sandpaper sticks to begin reducing the tool marks left by the file. I literally used them flat, “rounding the corners” on the shell surface, working my way from 120 grit up to eventually arrive in the neighborhood of 600. The ultimate goal is to achieve a surface that has as little character as possible.
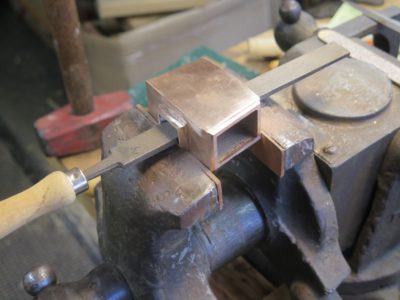
At that point the workpiece is ready for some additional contouring before the final surface treatment. The real design/detail genius of the Studley Mallet is that the primary corners are sharp at the faces of the mallet but quite rounded at the center point of the arc where two planes meet. I’m thinking that might be a seat of the pants exercise. I also began to work on the openings for the infill and handle.
Next time – working the surfaces of metals to “done.”


Join the Conversation!