Parquetry Tutorial – Assembling the Field
Once you have cut an adequate number of equilateral parallelogram lozenges, take a piece of heavy paper larger than the finished field onto which you will create the pattern field from the lozenges as has been illustrated previously.
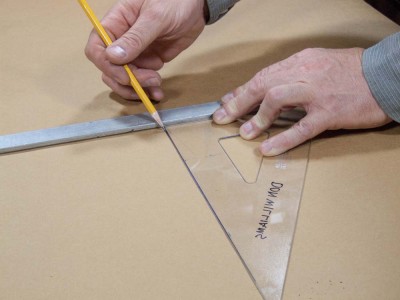
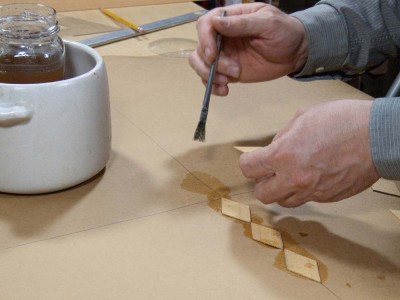
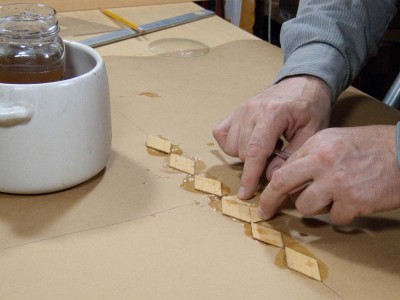
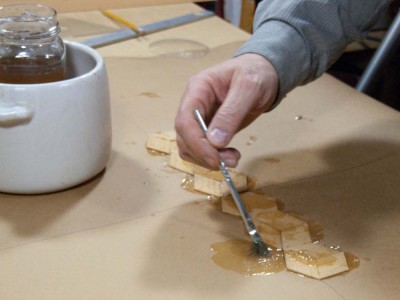
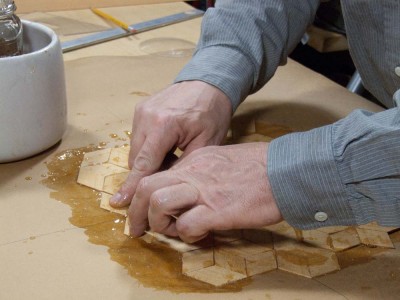
Mark the center lines of the pattern on both axis and the outer perimeter of the pattern field (one helpful step is to draw all the lines entirely to the edges of the paper; it will come back to assist you very soon!) begin to assemble and glue down the pattern with hot hide glue
Take care to periodically check the pattern against the pattern system making sure to always get the correct orientation of each lozenge. Otherwise there will be wails of anguish when you discover something out of proper orientation, resulting in aggravation, discouragement, and perhaps abandonment of the technique. That would be unfortunate as it is such a powerful and useful design tool.
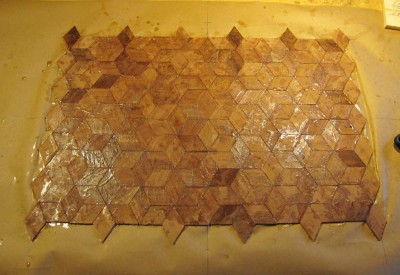
When you get enough lozenges glued down so that the entire pattern field is obscured, set it aside and let the glue harden prior to the next step of trimming the field.


Join the Conversation!