Parquetry Tutorial – Gluing and Clean-up
The penultimate chapter in the saga of creating a simple parquetry panel is to affix the assembled decorative lamina to the substrate of choice. In this instance I selected 1/2″ baltic birch plywood as the substrate, which is pretty much my default position these days.
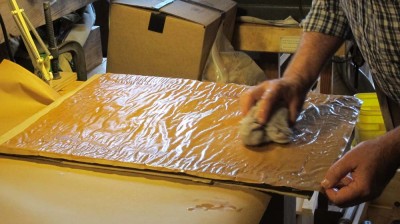
Once you are ready to put the assemblage together, the first thing to do is moisten both sides of the paper-backed parquetry. Not sopping wet, but damp.
This allows the assembled parquetry to move in the vertical axis while it is getting glued down, in other words allowing all the individual pieces of the pattern to be pressed down into intimate contact with the substrate. This is what you want. Don’t worry about the show surface being uneven in the aftermath, you will flatten and smooth it in the next, final episode.
Once the assembled lamina is a bit soft and ready to glue down, using hot animal hide glue slather both the substrate surface and the underside of the parquetry (the wood surface, not the papered surface) and place them in the proper alignment.
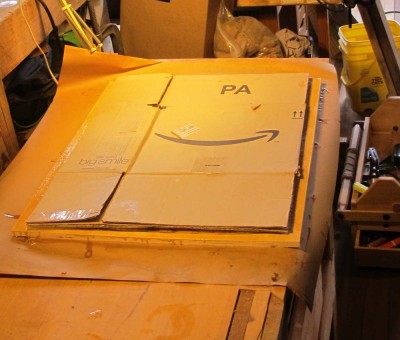
As a typical practice I then drape a piece of plastic sheet on top of the parquetry, followed by at least two thicknesses of corrugated cardboard or a flannel blanket to provide for even pressure on the uneven surface, followed by the gluing caul, usually a slab of plywood. For planar panels I often simply flip the glued panel over and clamp it face down to the bench top.
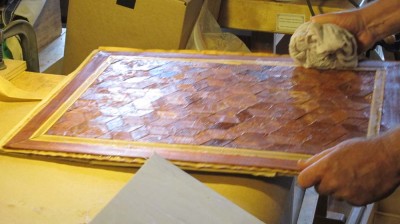
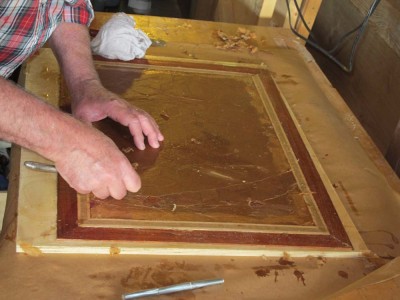
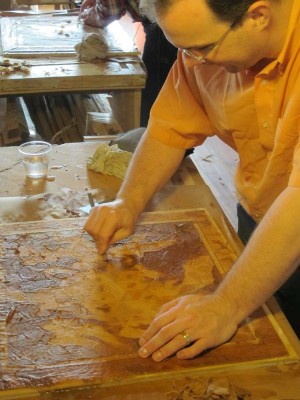
Leaving the construct to set overnight, in the morning unpack the whole unit and begin removing the paper on the surface of the parquetry, with a dampened sponge and a dull scraper or knife. Once you have finished with this and it is all clean and the excess glue scraped off, set it aside until the surface is dry enough to plane and scrape, which comes in the final steps.



Join the Conversation!