Parquetry Tutorial – Laying Out the Pattern

Once you have sawn a great pile of equilateral parallelograms with the jigs from the last post, you need to arrange them into the final pattern. Next post will go through the nuts and bolts of assembling a finished parquetry panel to adhere to a substrate, but for this post I want to diverge for just a few minutes and talk about the pattern layout itself. I feel justified in doing this because I have yet to teach a workshop where everyone does not make some layout mistake that has to be undone, often with great damage to the glued up pattern or at the very least loss of a lot of time and a raised level of frustration.
The key is to remember that in most instances, this exercise included PARQUETRY IS A REPEATED PATTERN. In fact, this simplest exercise is really about a dozen patterns superimposed on each other, and you must be mindful of their construction in order to avoid catastrophic mistakes that might deter you from finishing or continuing.
The pattern Roubo illustrates in the plate above, Figures 4 and 5, is simple and to my aesthetic taste, garish. I prefer to adapt it to my own preferences by using all the same wood for all the lozenges, and establish the shimmering pattern only through the changing grain patterns of the lozenges via laying them out.
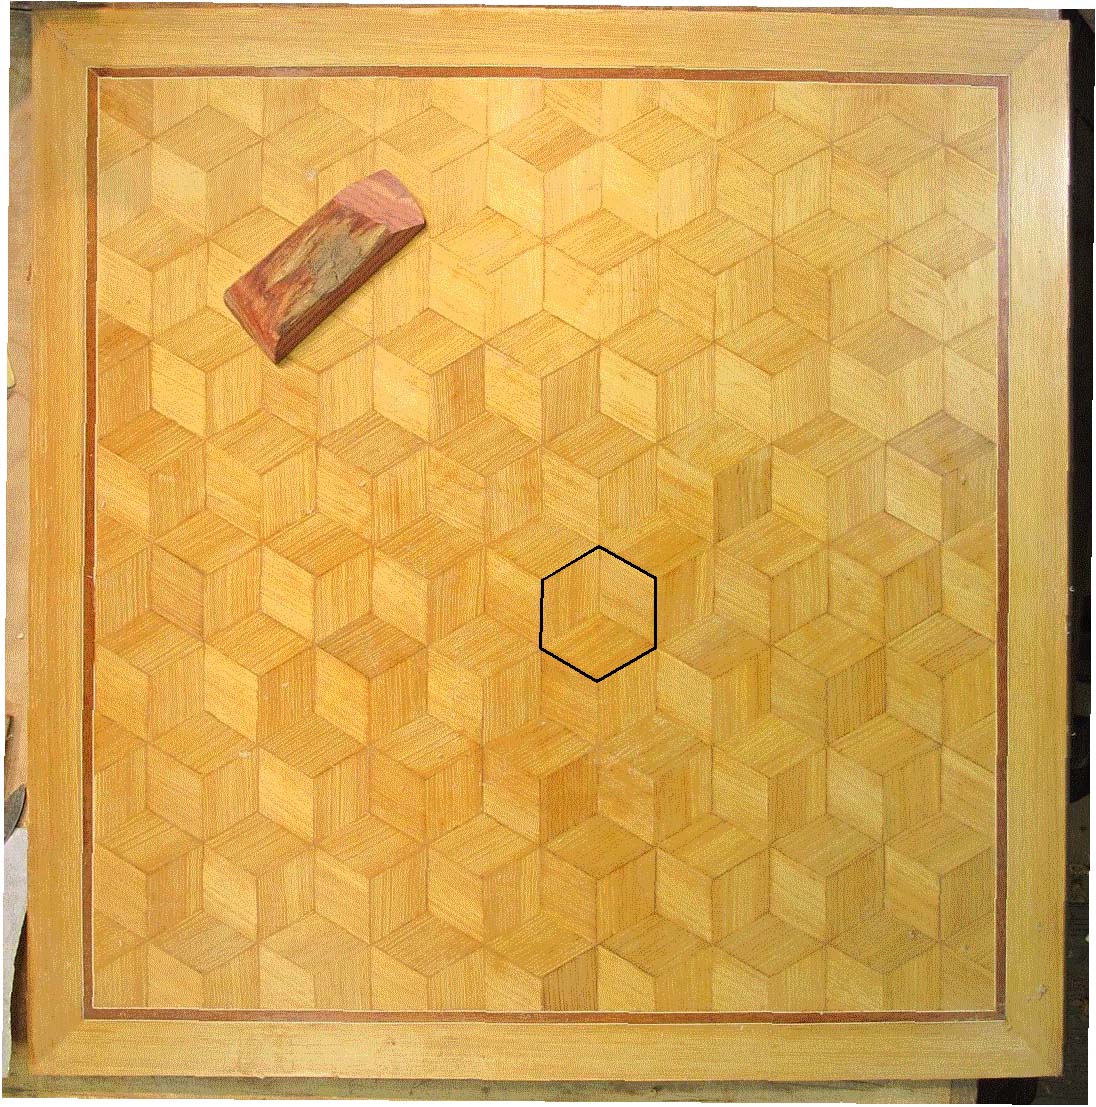
The simplest unit of the design is the cubic die. It is repeated ad infinitum until the panel is complete.
All you have to do is make sure you lay out each and every one of them with the grain pattern like this.

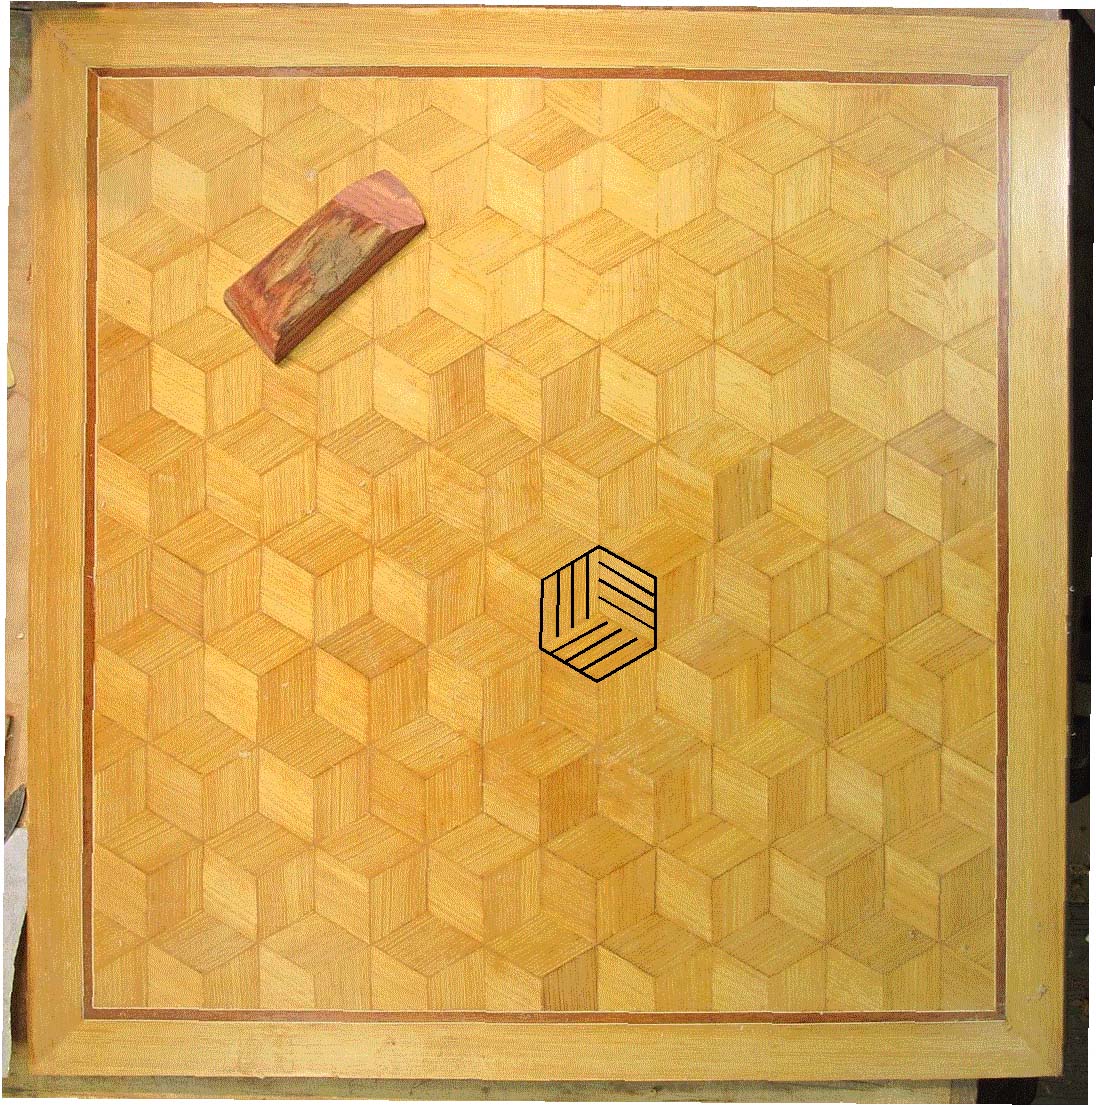
Or perhaps more simply, just remember to make it a whorl like this. But in truth, this is like George Costanza getting hypnotized by a poster on the wall of the bathroom. Hopefully you do not proceed only partially robed.

Such would be the risk when you realized suddenly that the dice overlap each other, and your eyes start to spin around. Let’s see if there are other approaches that might help.
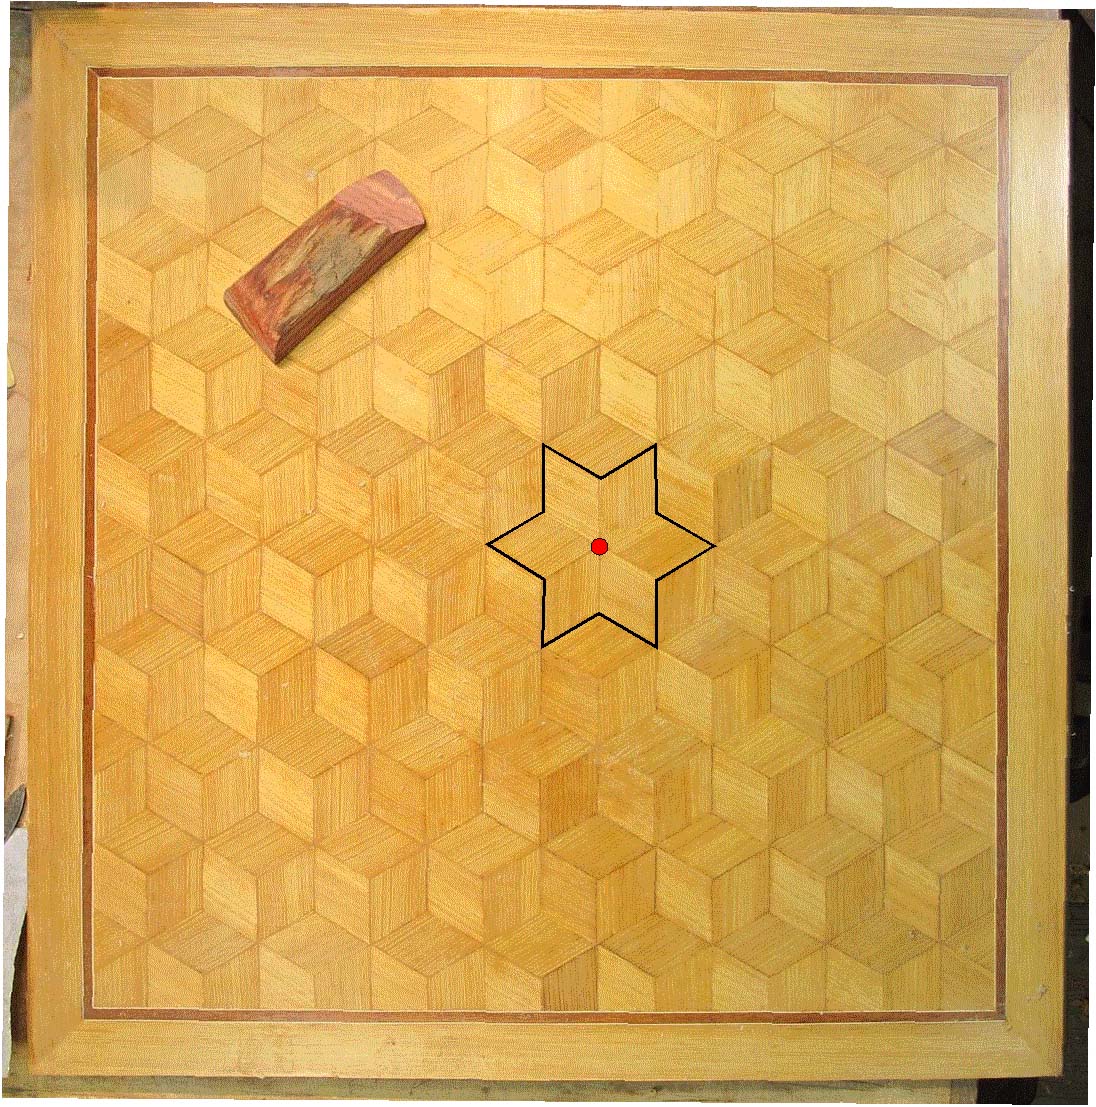
Another, second set of patterns is the pinwheel with a center point.

They are simple to lay out, just make sure that each opposing pair of lozenges is aligned to each other and the overall pattern. Like this,

and this,
and this.

Unfortunately, the pinwheels also overlap each otherand there is the risk of visual confusion. Arrrrgh!
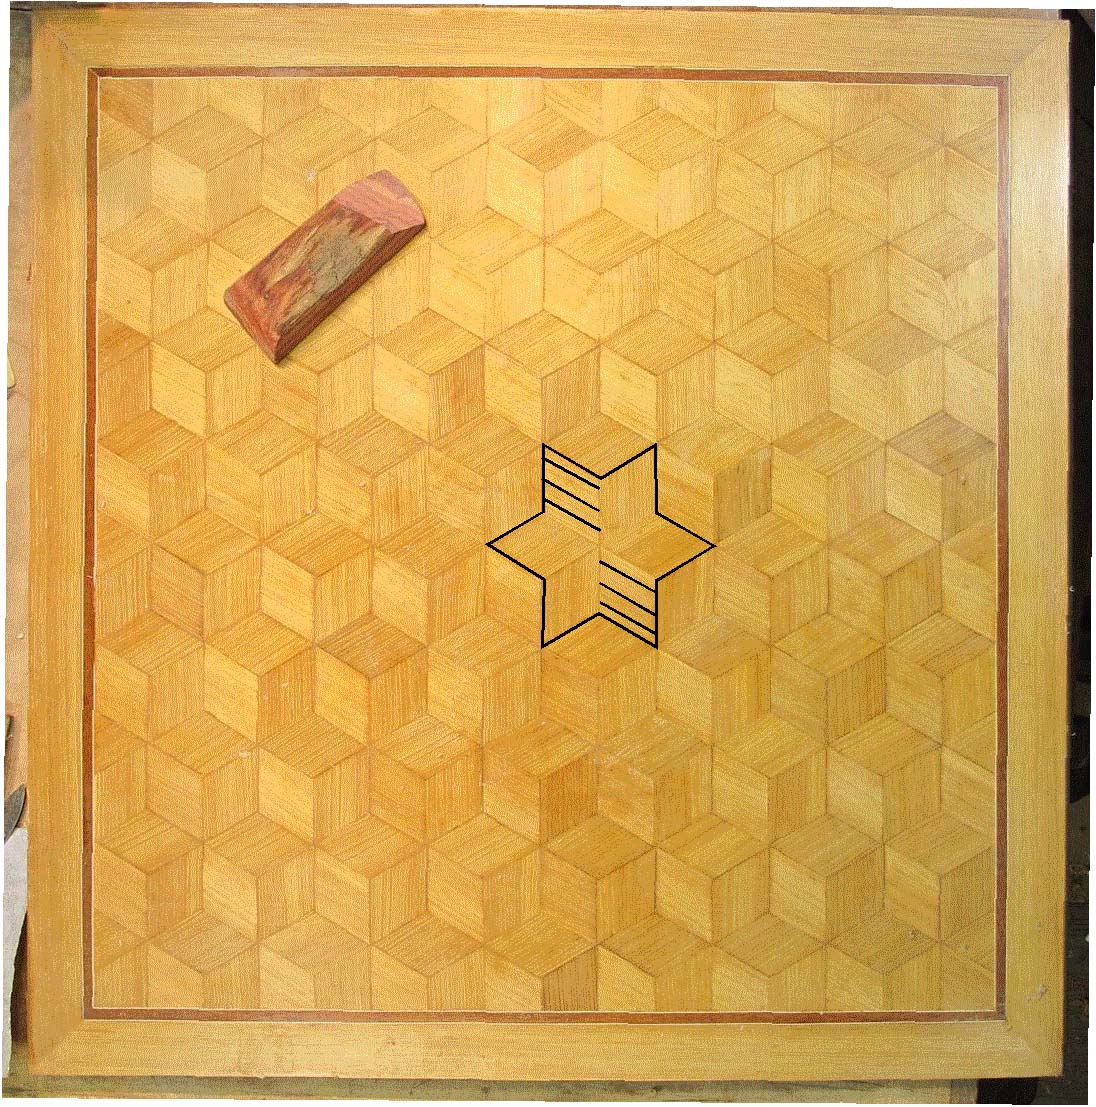
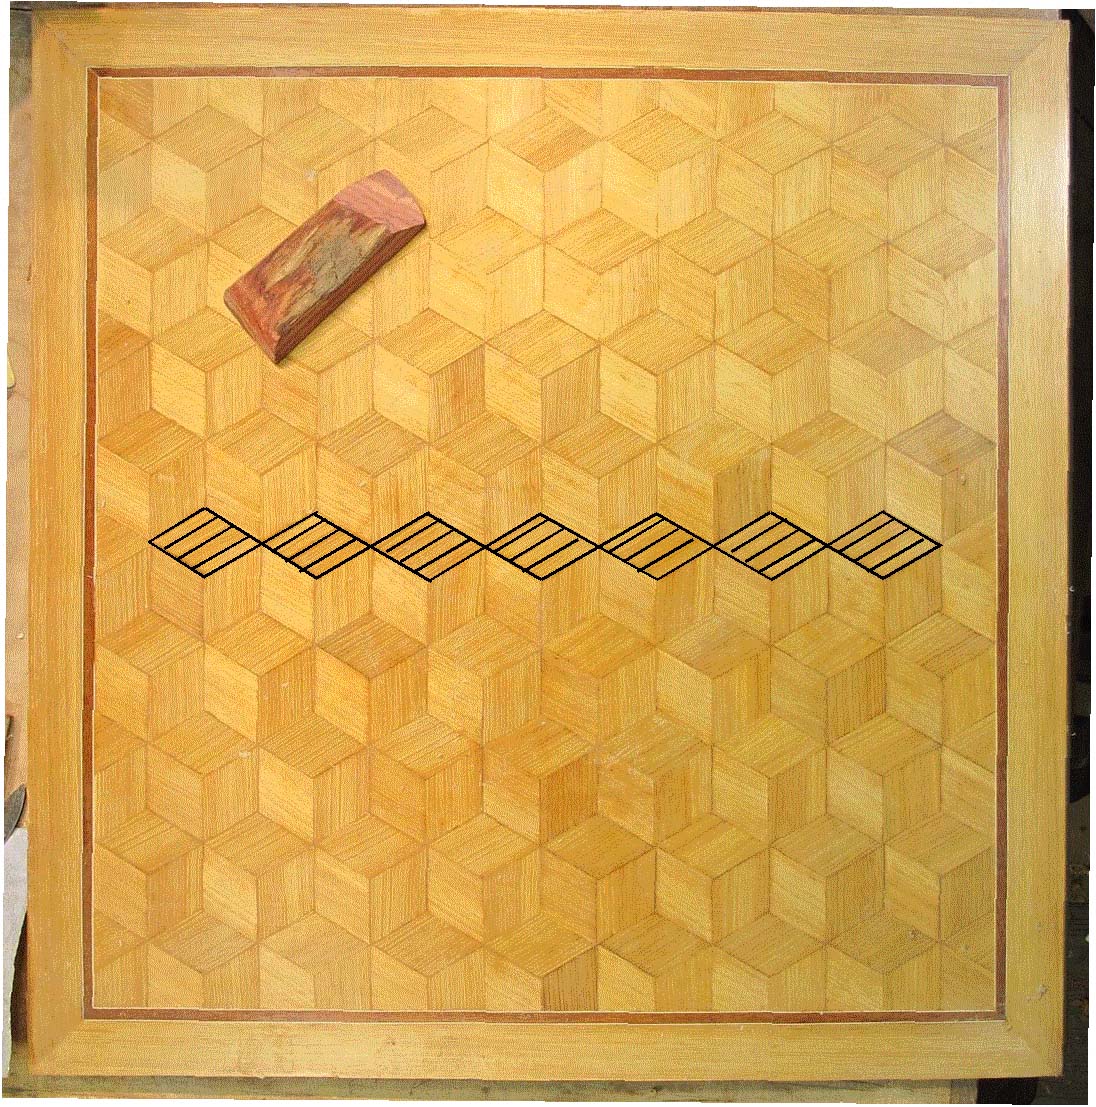
There are a third set of simultaneous patterns at work on the panel that are easy to keep in mind, running always in the background like a security system on your computer. It is the most straightforward pattern set, and this is often where I begin, laying out a horizontal row of lozenges tip-to-tip, each with the same grain orientation.
But, since we are working with a six-sided form, there are two additional complimentary patterns identical to the first one, each of these two off-set by 60-degrees.

Like this,
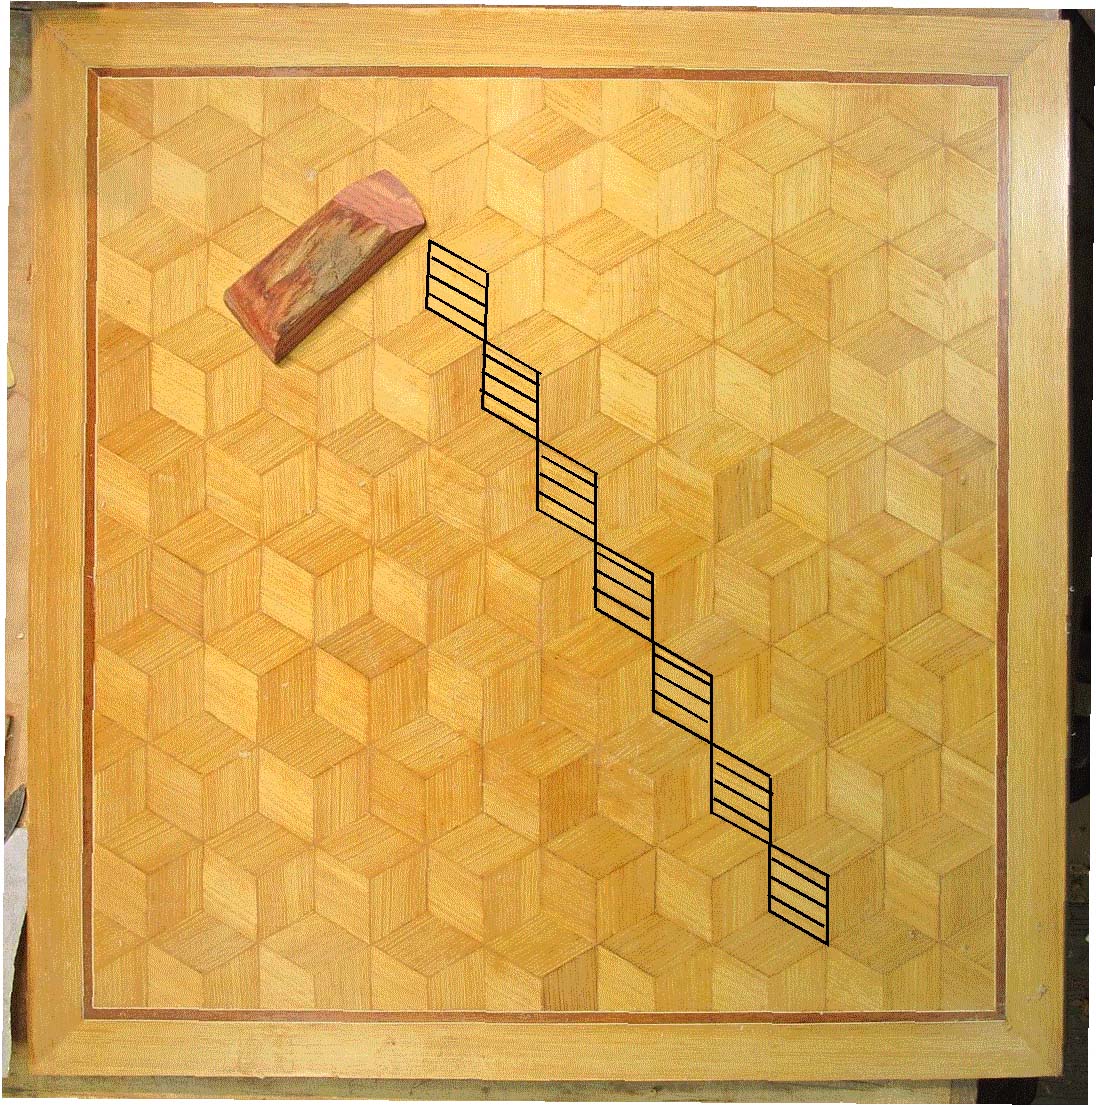
and this.
So, you can see the advantages of thinking about complex complimentary rows.
If you keep all these things in mind while you are assembling your panel, success is at hand.

Join the Conversation!