Parquetry Tutorial – Sawing and Planing Jigs
 For virtually any of the parquetry patterns described by Roubo, one or several sawing and planing jigs would be used. For a shop doing a variety of intricate parquetry, an inventory of dozens or even hundreds of jigs would not be unexpected. Quite literally every single shape for a parquetry pattern would require its own jig(s). In the simplest configuration that I am describing here, the cubic hexagon or “dice” pattern, also known as a “sunburst or pinwheel” pattern, a large number of identical 60-120-60-120 rhomboids were required, the number ranging from several dozen for a drawer front to a couple hundred for a door or even a couple thousand for a complete piece of furniture. Quick and accurate fabrication was and is integral to the success of this endeavor.
 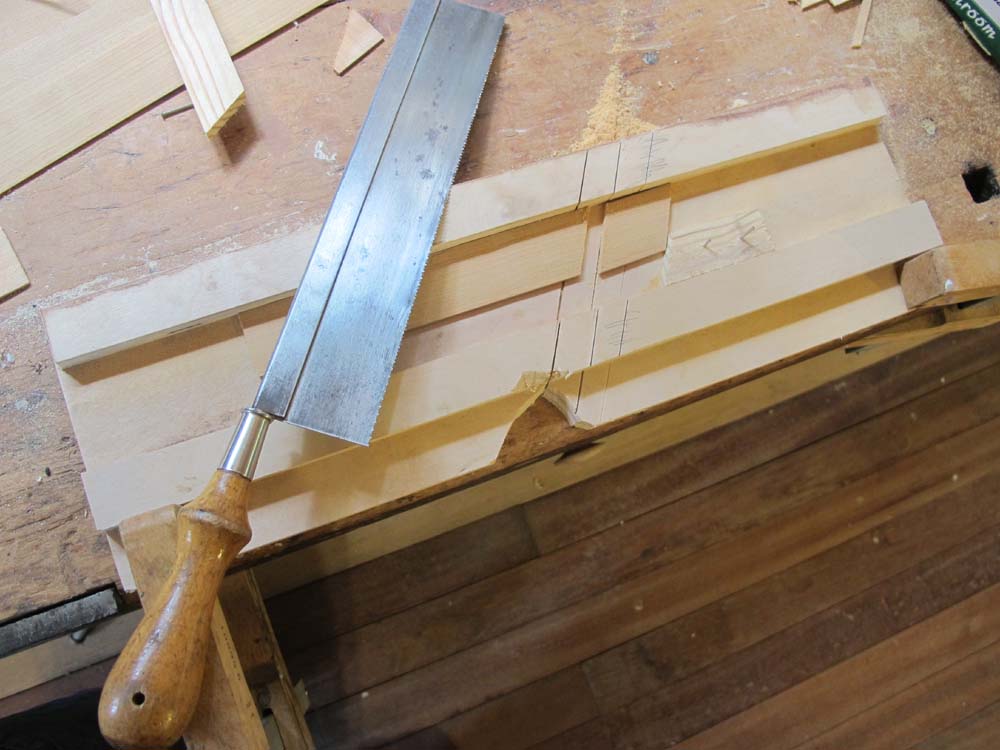 Fortunately it requires only the simplest jig and fairly careful layout and execution. I make a mitering jig with parallel fences on front and rear – the wider and thicker the better — with the space between them slightly greater than the width of the veneer strips being cut into rhomboids.
  Using a 30-60-90 triangle establish a 60-degree angle on your bevel gauge, then set that gauge against the rear edge of the back fence and cut the kerf. It is critical to get this angle correct, it must be 60-degrees. Not, 59, not 59 ½, but 60 (well, 59.9 might work). When engaging in a fairly large scale project I make new kerfs somewhat frequently to mitigate the compounding error of wallowed out kerfs in the fences.
 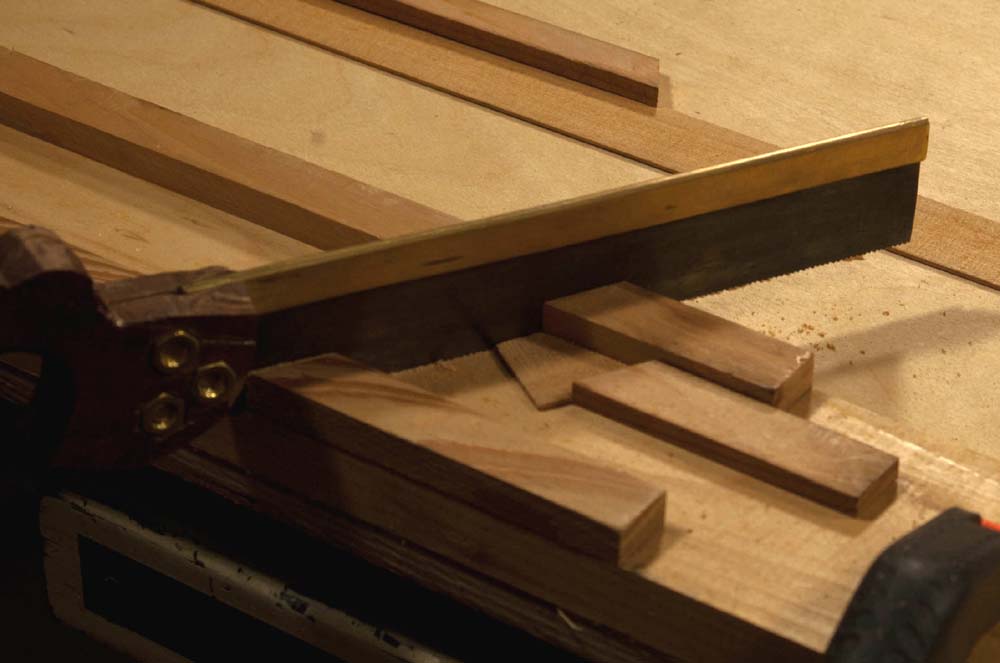 Since the width of the veneer stock can vary, for each run of parquetry a new spacer block needs to be placed for the rhombus being cut. To do this, simply place a piece of stop block stock in the saw and cut a small piece to be used as the angled stop block. Then take a piece of the veneer strip in the jig and saw off a small section at the 60-degree angle. Leaving the saw in place, fully embedded in the jig, rotate and flip that off-cut so that the recently sawn edge is now against the rear fence, and the side formerly against the rear fence is loosely against the saw blade. Place the spacer block against the edge of the off-cut and tack it in place, and you have a setup for making perfectly identical “lozenges” for composing the pattern.
  To check the accuracy of the set-up cut three pieces of the veneer strip stock and place them in the “dice” pattern. Make sure that the angles meet perfectly in the center of the pattern. If they do not, you need to lay out and cut another kerf until you get it right. Also, make sure that the sawn edge of the rhombus is EXACTLY the same length as the un-sawn edge. If it does not, tap the stop block towards or away from the saw a tiny bit until you get the dimension right.
  Another very useful jig is a dual shooting board with one fence at the 60-degree angle to adjust any lozenges (as you progress, it is almost inevitable that some inaccuracies will compound and need to be rectified) and a second fence at 45-degrees, to make perfect the ends of the banding where the pieces meet at the corner.

Join the Conversation!